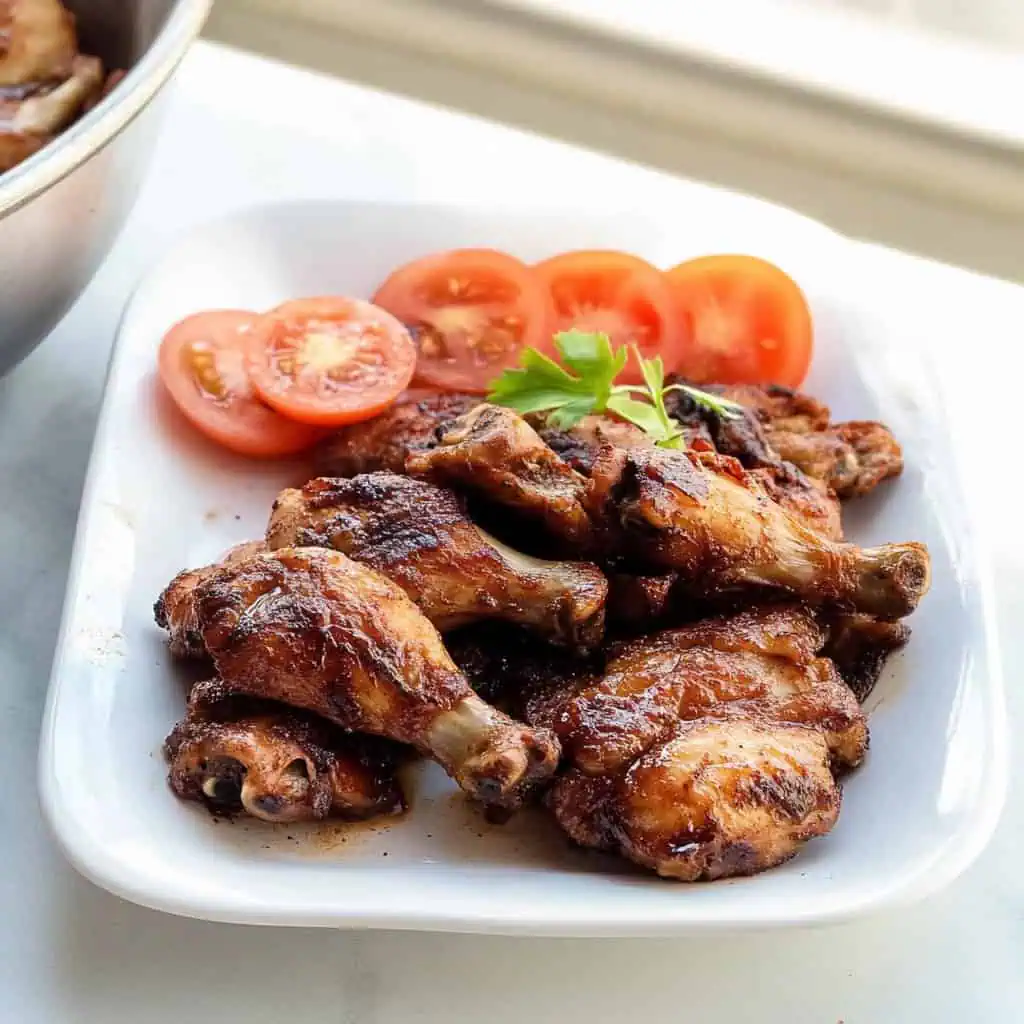
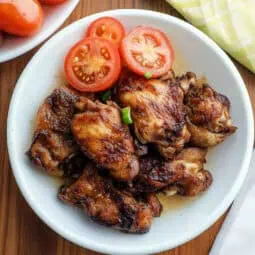
Filipino Chicken Tapa (Tapang Manok) is a delightful twist on a beloved breakfast classic. This recipe transforms tender chicken thighs into a savory-sweet masterpiece through a carefully balanced marinade of soy sauce, citrus, and fresh garlic.
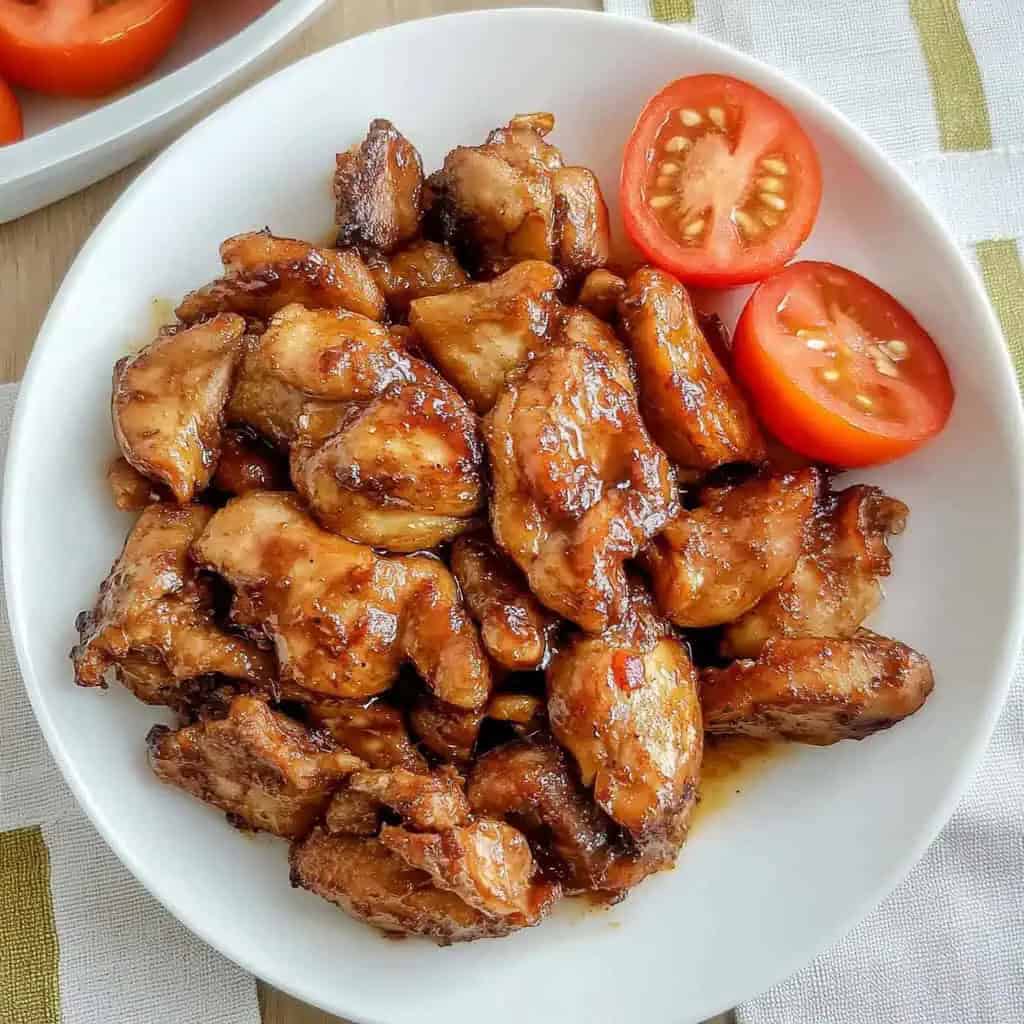
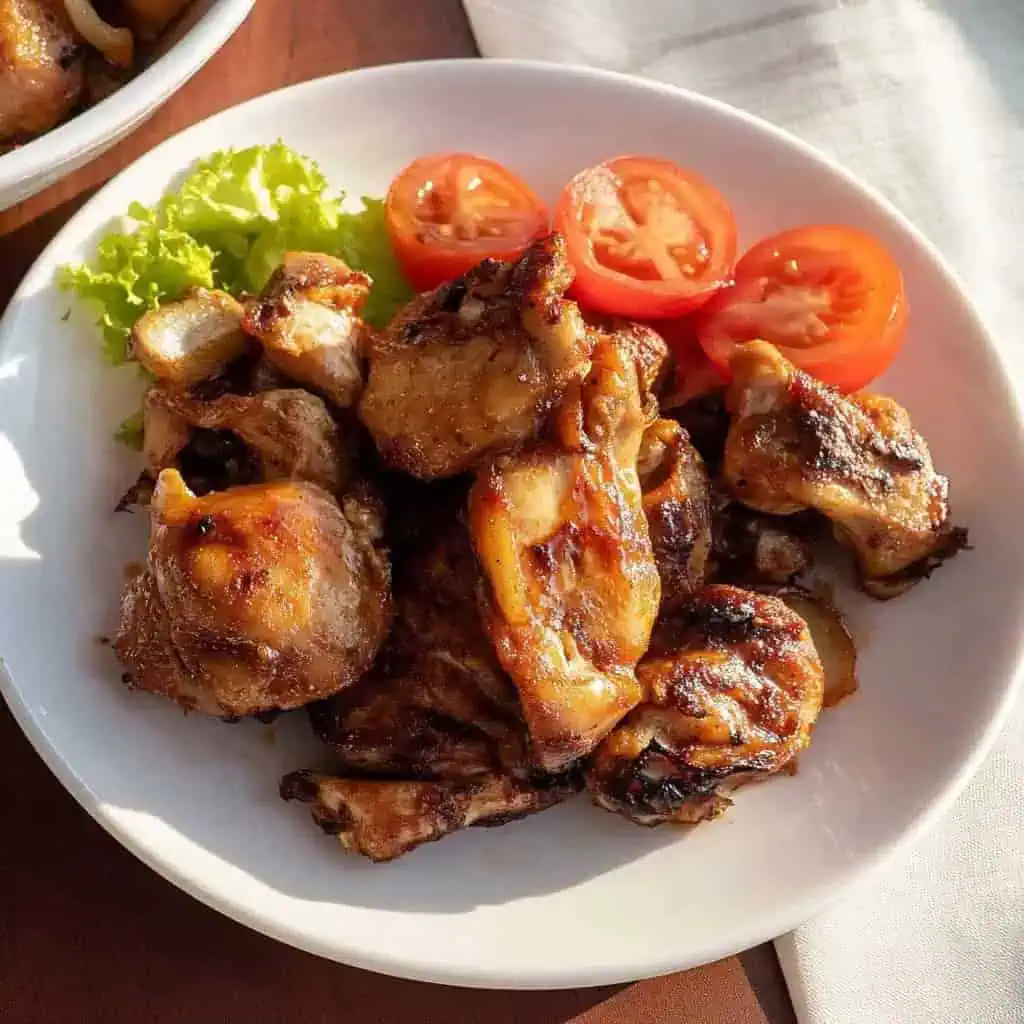
While traditionally made with beef, this chicken version offers a lighter, more budget-friendly alternative without compromising on flavor. The meat is marinated to perfection, then cooked until beautifully caramelized, creating those irresistible crispy edges that pair perfectly with garlic fried rice and sunny-side-up eggs in the classic Filipino breakfast combination known as "tapsilog.
This chicken tapa dish promises to bring the authentic flavors of Filipino cuisine to your table in under 30 minutes of active cooking time.
Jump to:
Why You'll Love This Recipe
- Budget-friendly alternative to beef tapa
- Make-ahead friendly - perfect for meal prep
- Healthier protein option with less saturated fat
- Ready in under 30 minutes (excluding marination)
- Versatile - great for breakfast, lunch, or dinner
- Kid-friendly and crowd-pleasing flavor profile
Ingredients
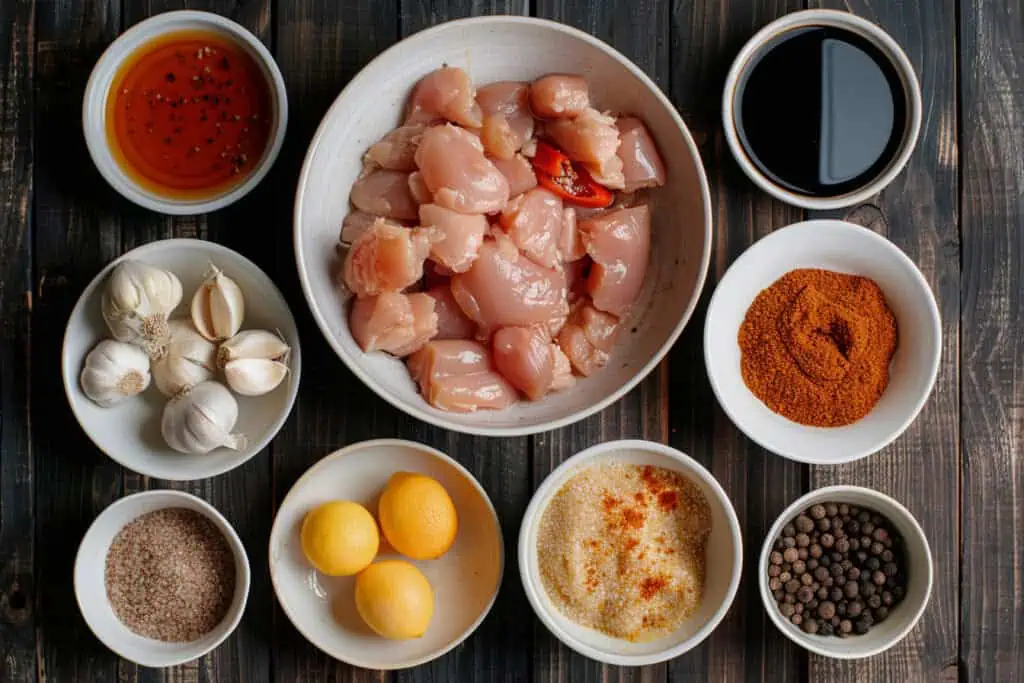
The ingredients in this Filipino Chicken Tapa are carefully selected to create the perfect balance of flavors. Chicken thighs provide a juicy, tender base that absorbs marinade better than leaner cuts. Soy sauce delivers deep umami richness, while calamansi or lemon juice adds brightness and helps tenderize the meat.
Fresh garlic infuses aromatic complexity throughout. Brown sugar creates that signature sweet-savory balance and helps with caramelization, giving the dish its distinctive golden edges. The combination of salt and pepper enhances all other flavors, while water helps create steam during cooking for juicy results. A small amount of oil ensures perfect browning without sticking.
Together, these ingredients transform simple chicken into a mouthwatering Filipino classic that's both accessible and authentic.
- 3 pounds boneless skinless chicken thighs
- ½ cup soy sauce
- ¼ cup calamansi or lemon juice
- 1 whole head garlic, minced
- 2 tablespoons brown sugar
- ½ teaspoon salt
- ¼ teaspoon black pepper
- ½ cup water
- 1 tablespoon cooking oil
Equipment
- Non-reactive bowl - For marinating the chicken without any metallic reaction with the acidic ingredients
- Meat mallet - To flatten chicken pieces for even cooking and increased tenderness
- Kitchen thermometer - To ensure chicken reaches the safe internal temperature of 165°F
- Heavy-bottom skillet or pan - Provides even heat distribution for perfect caramelization
- Sharp knife - For clean, precise cuts when slicing the cooked chicken
- Measuring cups and spoons - To ensure accurate proportions of marinade ingredients
How To Make
- Prepare the marinade: Mix soy sauce, calamansi or lemon juice, minced garlic, brown sugar, salt, and black pepper in a large bowl. Stir until sugar and salt completely dissolve.
- Prepare the chicken: Pat chicken thighs dry with paper towels. If any pieces are too thick, gently pound them to even thickness. Add the chicken to the marinade and mix well, ensuring each piece is coated. Cover and refrigerate for 4-8 hours.
- Pre-cooking prep: Take the chicken out of the refrigerator 30 minutes before cooking. Heat a large pan over medium-high heat (350°F/175°C). Drain the chicken from the marinade.
- Initial cooking: Place the chicken in the hot pan in a single layer with the water. Don't overcrowd - cook in batches if needed. Let it simmer until tender and the meat is almost cooked through.
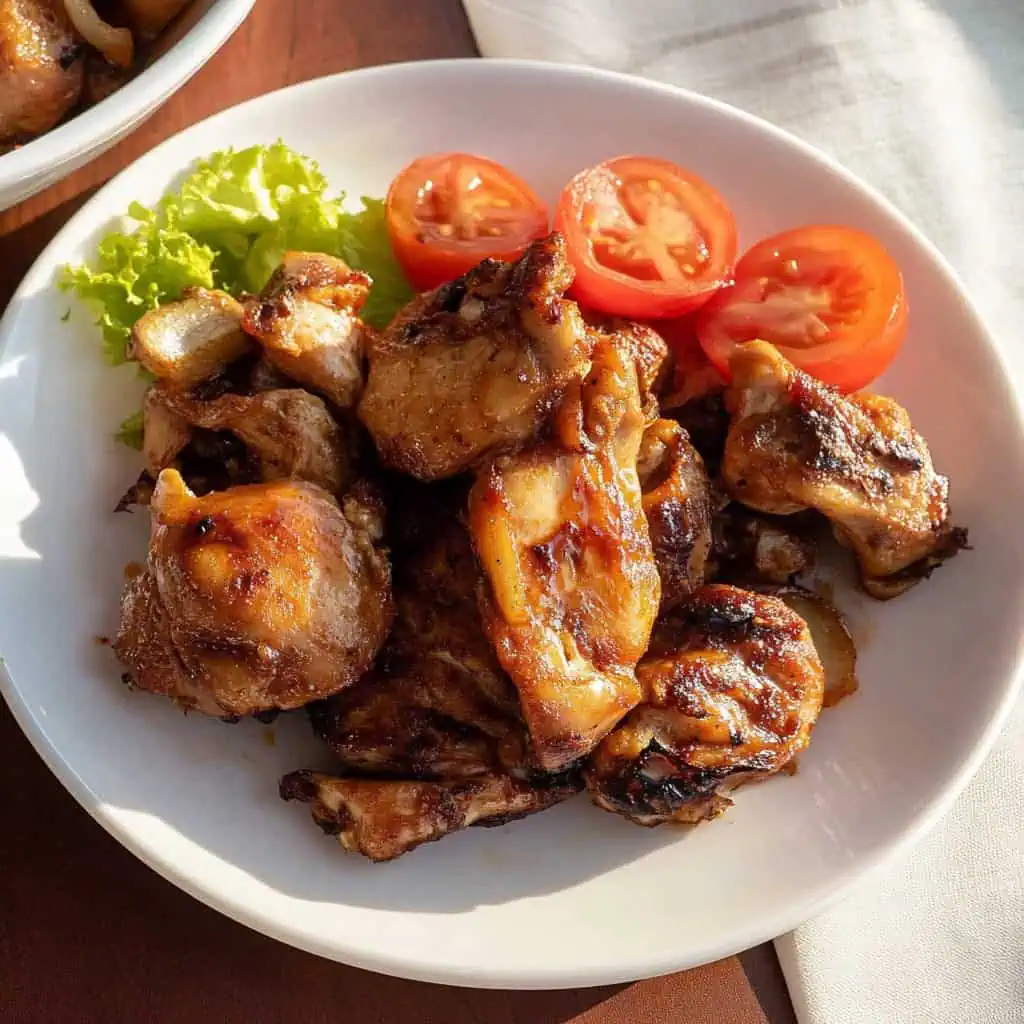
- Finish cooking: Add the oil and continue cooking. Turn the pieces occasionally until they develop a nice golden-brown color on all sides. The chicken is done when it reaches 165°F/74°C inside.
- Rest and serve: Let the chicken rest for 5-10 minutes before slicing. Cut against the grain into serving portions. Serve hot with garlic fried rice and a sunny-side-up egg for traditional tapsilog. Add some sliced tomatoes and vinegar dipping sauce on the side if desired.

Tips from Lola's Kitchen
- Slice against the grain - This breaks up the muscle fibers and makes each bite more tender
- Watch your marination time - Don't exceed 8 hours to prevent the meat from becoming mushy from the acidic marinade
- Rest before slicing - This allows juices to redistribute throughout the meat, ensuring moist chicken
- Use the marinade - If desired, boil the used marinade for 2-3 minutes and use it for basting during cooking for extra flavor
- Consider your cookware - A cast-iron skillet provides excellent heat retention and superior caramelization
- Room temperature cooking - Allowing the chicken to come to room temperature before cooking ensures more even cooking throughout
Substitutions
- Chicken: Chicken breast (sliced thinly) or turkey thigh can work as alternatives
- Calamansi/Lemon juice: White vinegar or apple cider vinegar provide similar acidity
- Brown Sugar: White sugar mixed with a touch of molasses, coconut sugar, or honey can be substituted
- Fresh Garlic: Garlic powder (1 tablespoon) or garlic paste works in a pinch
- Soy Sauce: Use liquid aminos or coconut aminos for a gluten-free option
Troubleshooting
- Tough Meat
- Solution: Pound meat to even thickness before marinating
- Ensure proper marination time (4-8 hours)
- Don't overcook; use a thermometer to reach exactly 165°F
- Too Salty
- Solution: Reduce soy sauce quantity or marination time
- Balance with additional brown sugar
- Rinse chicken briefly under cold water before cooking
- Not Caramelizing
- Solution: Ensure pan is properly preheated
- Pat chicken dry before cooking to remove excess moisture
- Don't overcrowd the pan as this lowers the temperature
- Add a touch more sugar to the marinade for better caramelization
Storage & Reheating
- Storage:
- Refrigerator: Store in an airtight container for 3-4 days
- Freezer: Raw marinated chicken can be frozen for up to 3 months; cooked tapa for up to 2 months
- Always thaw frozen tapa overnight in the refrigerator for food safety
- Reheating Methods:
- Stovetop (Best Method):
- Heat pan over medium heat
- Add 1-2 tablespoons water to create steam
- Cover and heat until internal temperature reaches 165°F
- This method preserves moisture and texture
- Microwave:
- Place in a microwave-safe dish
- Cover with a damp paper towel to prevent drying
- Heat in 30-second intervals, checking frequently
- Air Fryer:
- Preheat to 350°F
- Cook for 3-4 minutes
- Spritz with water before reheating to maintain moisture
- Stovetop (Best Method):
FAQ
Can I make this ahead for a party?
Yes! You can marinate up to 8 hours ahead or freeze the marinated chicken for up to 3 months. For events, cook just before serving or cook ahead and keep warm in a low oven (200°F) for up to an hour.
How do I know when the chicken is done?
Internal temperature should reach 165°F, and the meat should be no longer pink inside. The juices should run clear when pierced with a fork.
Can I grill this instead of pan-frying?
Absolutely! Preheat your grill to medium-high heat (375°F) and grill for 6-7 minutes per side until the internal temperature reaches 165°F. This adds a wonderful smoky flavor.
What sides best complement chicken tapa?
Traditional tapsilog includes garlic rice and a fried egg. Other great accompaniments include pickled vegetables (atchara), sliced cucumbers and tomatoes, or a vinegar dipping sauce made with chopped garlic, pepper, and a splash of soy sauce.
Can I reduce the salt content?
Yes, you can use low-sodium soy sauce and skip the additional salt. The marination time can also be shortened to reduce sodium absorption.
How can I make this dish more child-friendly?
Reduce the black pepper and garlic quantities for milder flavor. You can also increase the sugar slightly for a sweeter profile that appeals to children.
Is this recipe suitable for meal prep?
Definitely! Cook a large batch, portion into containers with rice, and refrigerate for up to 4 days. This makes an excellent grab-and-go meal throughout the week.
Related
Looking for other recipes like this? Try these:


Filipino Chicken Tapa (Tapang Manok)
Equipment
- Non-reactive bowl (Hindi kinakalawang na mangkok) for marination
- Meat mallet (Pamukpok ng karne) for tenderizing
- Kitchen thermometer ensures food safety
- Heavy-bottom skillet or pan (Makapal na kawali) for even heating
- Sharp knife [Matalas na kutsilyo] for slicing
- Measuring cups and spoons (Panukat) for precise ingredients
Ingredients
- 3 pounds boneless skinless chicken thigh (Hita ng manok)
- ½ cup soy sauce Toyo
- ¼ cup calamansi or lemon juice Kalamansi
- 1 whole head garlic minced (Bawang, tinadtad)
- 2 tablespoons brown sugar Asukal na pula
- ½ teaspoon salt Asin
- ¼ teaspoon black pepper Paminta
- ½ cup water Tubig
- 1 tablespoon cooking oil Mantika
Instructions
- Start by mixing soy sauce, calamansi or lemon juice, minced garlic, brown sugar, salt, and black pepper in a large bowl. Stir until sugar and salt completely dissolve. This is your marinade.
- Pat your chicken thighs dry with paper towels. If any pieces are too thick, gently pound them to even thickness. Add the chicken to the marinade and mix well, making sure each piece is coated. Cover and place in the refrigerator for 4-8 hours.
- Take the chicken out of the refrigerator 30 minutes before cooking. Heat a large pan over medium-high heat (350°F/175°C). Drain the chicken from the marinade.
- Put the chicken in the hot pan in a single layer with the water. Don't overcrowd - cook in batches if needed. Let it simmer until tender and the meat is almost cooked through.
- Add the oil and continue cooking. Turn the pieces occasionally until they develop a nice golden-brown color on all sides. The chicken is done when it reaches 165°F/74°C inside.
- Let the chicken rest for 5-10 minutes before slicing. Cut against the grain into serving portions.
- Serve hot with garlic fried rice and a sunny-side-up egg for traditional tapsilog. Add some sliced tomatoes and vinegar dipping sauce on the side if you like.
- Note: For food safety, always check that your chicken is fully cooked - the meat should be white throughout with no pink areas, and the juices should run clear.
Tips from Lola's Kitchen
- Slice chicken against the grain for maximum tenderness
- Don't marinate longer than 8 hours to prevent mushy texture
- Let meat rest 5-10 minutes before slicing
- Save marinade for basting if desired (must boil first)
- Best cooked in a cast-iron skillet for better caramelization
Nutrition
The Story Behind Filipino Chicken Tapa
The story of Chicken Tapa (Tapang Manok) weaves through the rich tapestry of Filipino culinary history, emerging as a practical and delicious adaptation of the traditional beef tapa. The word "tapa" itself comes from the prehistoric Malay word "tapai," referring to preserved meat or fish—a crucial preservation technique in the tropical Philippine climate before the advent of modern refrigeration.
While beef tapa has been a staple of Filipino breakfast tables for generations, the chicken version emerged as a thoughtful innovation during the late 20th century. As health consciousness grew and meat prices fluctuated, Filipino home cooks began experimenting with chicken as a lighter, more affordable alternative. This adaptation perfectly demonstrates the resourcefulness and adaptability inherent in Filipino cooking culture.
The preparation method mirrors the traditional tapa-making process, where meat is cured in vinegar or citrus juice (traditionally calamansi), salt, and garlic. This preservation technique not only extended the meat's shelf life but also created the distinctively tangy and savory flavor profile that Filipinos have come to love. The addition of soy sauce, a Chinese influence reflecting the Philippines' rich cultural exchanges, adds depth and umami to the dish.
Today, Chicken Tapa has earned its place as a beloved variant in the "-silog" family of Filipino breakfast dishes. When served as "tapsilog" (a portmanteau of tapa, sinangag [garlic rice], and itlog [egg]), it creates a harmonious breakfast plate that energizes Filipinos from all walks of life, from busy office workers to schoolchildren. The dish exemplifies how Filipino cuisine continues to evolve while maintaining its cultural identity, making traditional flavors accessible to modern diners.
What makes this version particularly special is its ability to absorb the marinade more quickly than beef, making it an excellent option for busy home cooks who want to enjoy the classic tapa experience without lengthy preparation time. The chicken's tender texture and ability to caramelize beautifully has helped this adaptation win hearts across the Philippines and beyond, proving that innovation in traditional cuisine can lead to equally delicious results.
This recipe, passed down through generations and refined in countless Filipino kitchens, represents the perfect balance of tradition and practicality that characterizes modern Filipino cooking. Whether served at a family breakfast, featured in a neighborhood carinderia (local eatery), or presented at contemporary Filipino restaurants, Chicken Tapa continues to tell the story of Filipino culinary ingenuity and adaptation.

Comments
No Comments