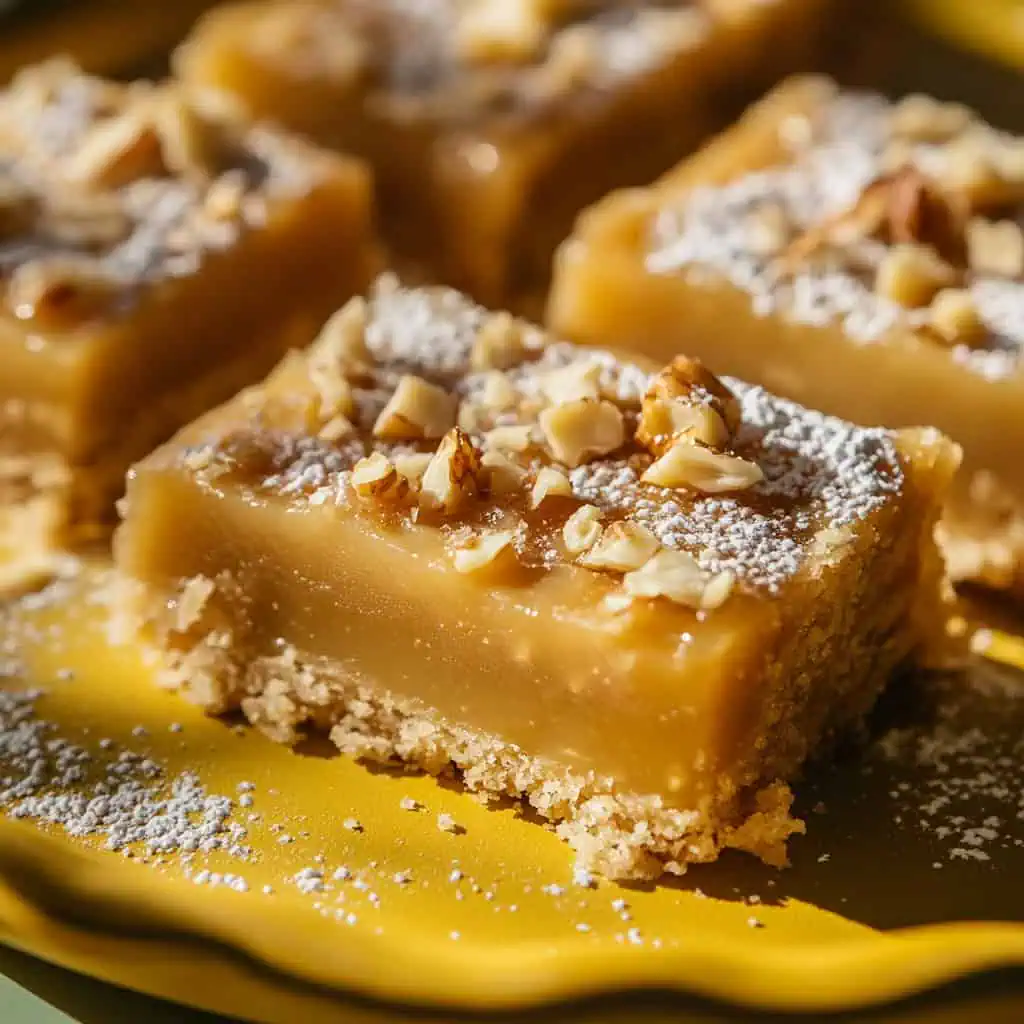
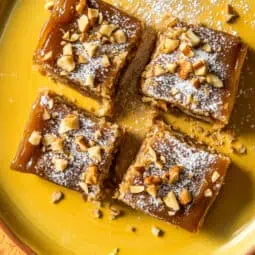
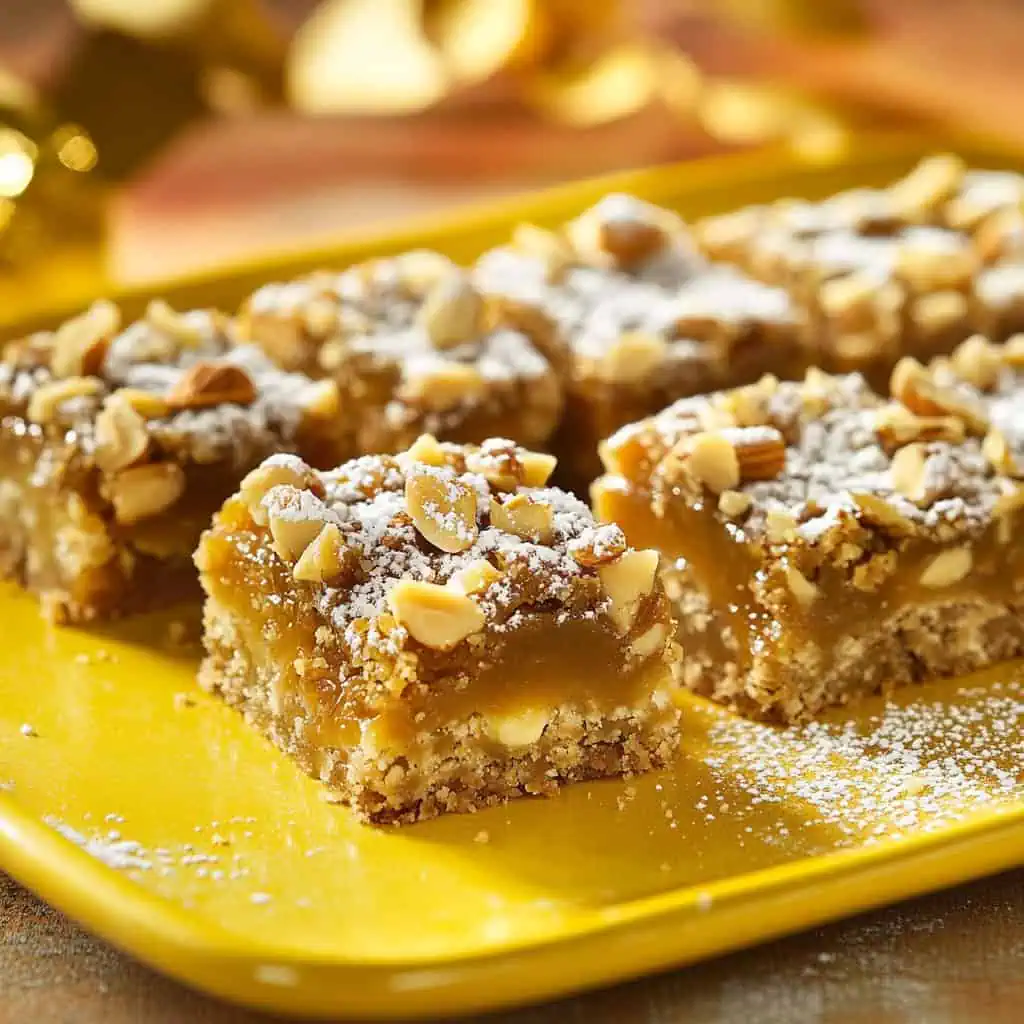
Let me share my family's favorite homemade version of Max's Restaurant's famous caramel bars. After lots of lunches at Max's and many attempts in my kitchen, I've finally cracked the code to making these gooey, buttery treats at home.
These bars taste just like the ones from the restaurant, but at a fraction of the cost. Instead of spending ₱80-100 for a small pack, you can make a whole batch at home for about ₱200-250. Plus, your kitchen will smell amazing!
I love making these as pasalubong or bringing them to family gatherings, and everyone always asks for the recipe. Even if you're new to baking, this recipe is really easy to follow. Just take your time mixing the ingredients and you'll end up with perfectly gooey caramel bars that taste just like Max's.
Jump to:
Why You'll Love This Recipe
- Achieves the signature gooey texture of Max's caramel bars
- More cost-effective than buying from the restaurant
- Customizable with various toppings
- Perfect for both family consumption and small business ventures
- Makes an excellent gift during holidays
- No special equipment required
Ingredients
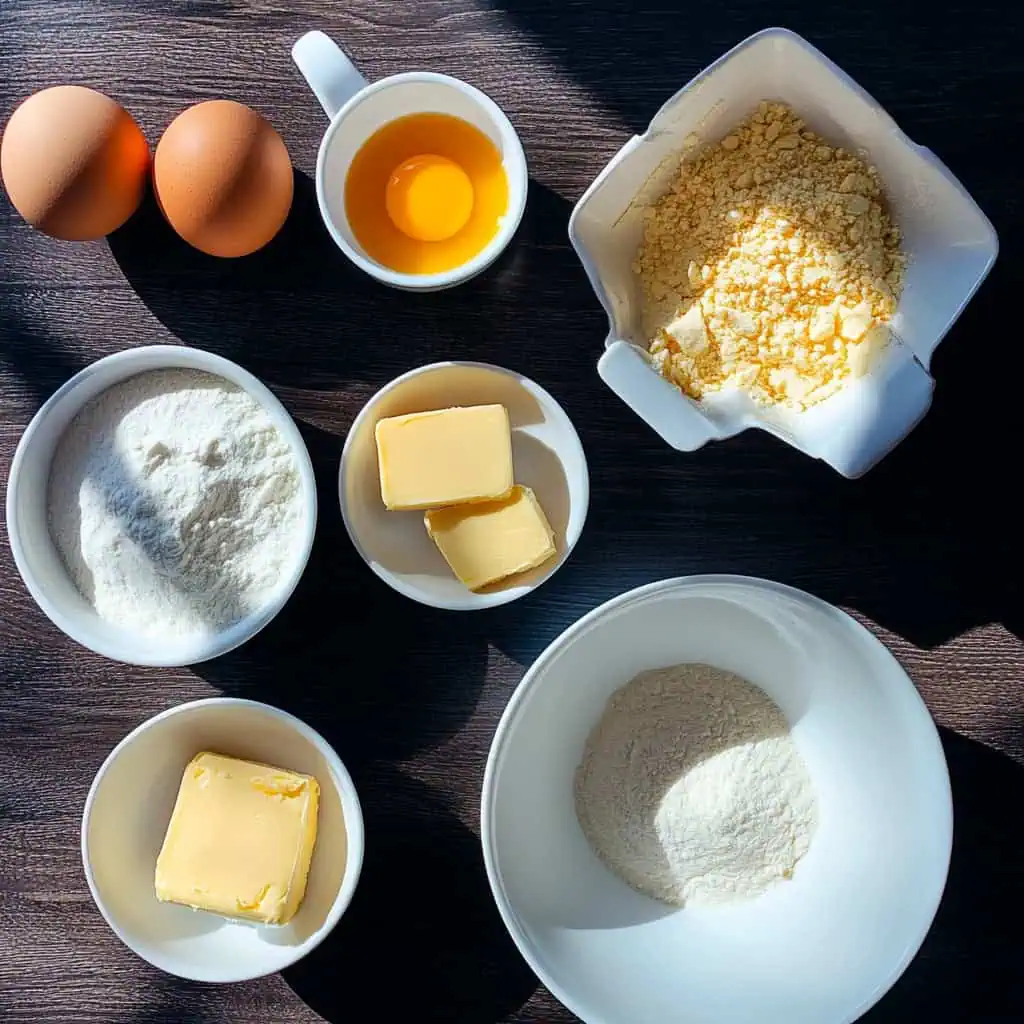
Each ingredient in this recipe plays a crucial role in creating Max's signature caramel bars. The egg yolks provide richness and structure, while the combination of sugar and condensed milk creates that distinctive caramel sweetness.
Butter adds the luxurious mouthfeel and flavor, with all-purpose flour providing just enough structure without making the bars too cake-like. The powdered milk is the secret ingredient that contributes to the unique texture and flavor profile.
Finally, the chopped nuts add a delightful crunch that contrasts beautifully with the soft, gooey interior.
For the Base:
- 6 egg yolks
- 1 cup granulated sugar
- 1½ cups condensed milk
- 1½ cups unsalted butter, softened at room temperature
- 2 cups all-purpose flour
- 1 cup powdered milk
For the Topping:
- 1 cup chopped nuts of choice:
- Pili nuts
- Cashew nuts
- Pistachios
- Optional: ½ cup dried mango bits
Equipment
- Stand mixer or hand mixer: Essential for achieving the perfect creamy texture by properly incorporating air into the butter mixture
- 9x13 inch rectangular baking pan: Ensures the bars have the proper thickness and bake evenly
- Parchment paper: Prevents sticking and allows for easy removal of the bars
- Mixing bowls: Needed for separate dry and wet ingredients
- Fine-mesh sieve: For sifting dry ingredients to eliminate lumps
- Toothpicks: Used for testing doneness
- Wire cooling rack: Allows proper air circulation for even cooling
- Measuring cups and spoons: Ensures accurate measurements for consistent results
- Sharp knife: For cutting clean, precise bars
How To Make
- Begin by allowing your butter to soften at room temperature for one hour. While waiting, line your 9x13 inch baking pan with parchment paper, ensuring some paper hangs over the edges for easy removal later. Preheat your oven to 350°F (180°C).
- Using a fine-mesh strainer, sift the all-purpose flour and powdered milk together into a bowl and set aside. In a separate large mixing bowl, use your mixer on medium speed to beat the softened butter and sugar together until the mixture becomes light and fluffy – this should take about 5 minutes.
- Add your egg yolks to the butter mixture one at a time, ensuring each yolk is fully incorporated before adding the next. Pour in the condensed milk and mix until just combined. Now, gradually add your sifted flour and milk mixture while mixing on low speed. Stop mixing as soon as everything is combined – overmixing will compromise the gooey texture we're aiming for.
- Pour the batter into your lined baking pan, spreading it evenly to the corners. Sprinkle your chosen chopped nuts evenly over the top. Place the pan in your preheated oven and bake for 35 minutes, or until the top is light golden brown. To test if it's done, insert a toothpick in the center – it should come out with a few moist crumbs.
- Allow the bars to cool in the pan on a wire rack for 15 minutes. Then, using the overhanging parchment paper, carefully lift the entire slab out of the pan and let it cool completely for about an hour. Once fully cooled, cut into 24 equal-sized bars. For the cleanest cuts, wipe your knife with a hot, damp cloth between each slice.
- Store your caramel bars in an airtight container at room temperature for up to three days, or in the refrigerator for up to a week. Let them come to room temperature before serving for the best texture.

Tips from Lola's Kitchen
- Room temperature ingredients are crucial: Cold butter or eggs won't incorporate properly, affecting the final texture.
- The creaming process matters: Don't rush beating the butter and sugar – this step creates air pockets that give the bars their unique texture.
- Handle with care: When adding flour, mix just until combined. Overmixing develops gluten, making the bars tough instead of tender.
- Even spreading matters: Take time to spread the batter evenly in the pan for uniform baking.
- Timing is everything: Begin checking for doneness at 30 minutes. The perfect caramel bar is slightly underbaked in the center.
- Cooling patience pays off: Resist cutting too soon! Complete cooling sets the structure and makes for cleaner cuts.
- Fresh is best: These bars are at their peak within the first 48 hours of baking.
- Quality ingredients show: Use the best butter you can afford – it's the dominant flavor.
Substitutions
- Butter: Margarine can work but will produce a slightly different texture and flavor. Use high-quality margarine for best results.
- Condensed milk: In a pinch, use evaporated milk plus ¼ cup extra sugar, but expect a less rich result.
- All-purpose flour: Cake flour creates a more tender bar but reduces the signature chewiness slightly.
- Powdered milk: Non-dairy milk powder works well for a lactose-friendly version.
- Nuts: Any nuts work beautifully – almonds, walnuts, and pecans are excellent alternatives to traditional pili nuts.
- Sugar: Light brown sugar can replace white for a deeper caramel flavor, though the color will be darker.
Troubleshooting
- Bars too dry or crumbly: Likely overbaked or overmixed after adding flour. Next time, reduce baking time by 3-5 minutes and mix more gently.
- Bars not setting properly: Underbaked or butter was too warm. Increase baking time by 3-5 minutes next time.
- Gooey center but burnt edges: Oven temperature too high or hot spots in your oven. Use an oven thermometer and rotate pan halfway through baking.
- Bars sinking in the middle: Excessive air incorporated during mixing or opened oven door during baking. Mix more gently and avoid opening the oven until the minimum baking time is reached.
- Too dense: Likely overmixed after adding flour or ingredients weren't at room temperature. Handle dough more gently next time.
- Top cracking: Oven temperature too high or placed too close to top heating element. Lower oven rack position and consider reducing temperature slightly.
Storage & Reheating
- Room temperature: Store in an airtight container for 2-3 days. Layer with parchment paper to prevent sticking.
- Refrigerator: Will keep up to 1 week in an airtight container. The texture becomes firmer but still delicious.
- Freezer: Wrap individual bars in plastic wrap then aluminum foil and freeze for up to 3 months. Thaw overnight in the refrigerator.
- Refreshing: To revive day-old bars, microwave for 10-15 seconds until just warm (not hot).
- Serving from cold: Always bring refrigerated bars to room temperature (about 30 minutes) before serving for optimal texture.
FAQ
Why didn't my bars turn out as gooey as Max's?
The key is not overmixing after adding flour and removing from oven when the center is still slightly underdone. The bars will continue cooking from residual heat when removed from the oven.
Can I make these ahead for an event?
Yes, they stay fresh for 2-3 days at room temperature or one week refrigerated. For best presentation, bake them 1 day before the event.
Can I reduce the sugar amount?
You can reduce sugar by up to ¼ cup, but this will affect both texture and keeping quality. The condensed milk sweetness is essential for authentic flavor.
Why did my bars crack on top?
Oven temperature too high, placed too close to top heating element, or cooled too quickly. Next time, position the rack in the middle, check your oven temperature, and cool gradually.
Can I double the recipe?
Yes, but use two 9x13 pans rather than one larger pan for even baking. Baking time remains the same.
How do I know when they're perfectly done?
Edges should be light golden brown and slightly pulling away from the pan. The center should appear set but still slightly soft when gently pressed, a toothpick inserted will come out with a few moist crumbs, not wet batter.
Can I use a glass baking dish instead of metal?
Yes, but reduce the oven temperature by 25°F and you may need to extend baking time by a few minutes. Glass retains heat differently than metal.
My bars seem too soft even after cooling. What went wrong?
They might be underbaked, or your oven temperature might be too low. Use an oven thermometer to verify accuracy. You can return underbaked bars to the oven for a few more minutes.
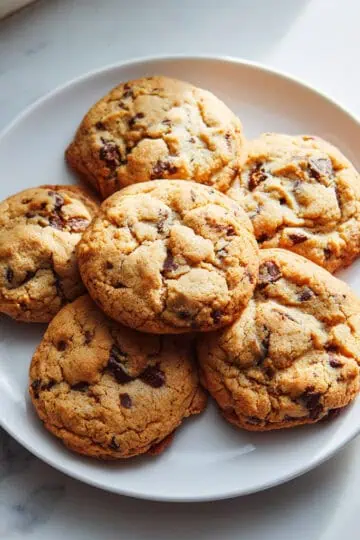
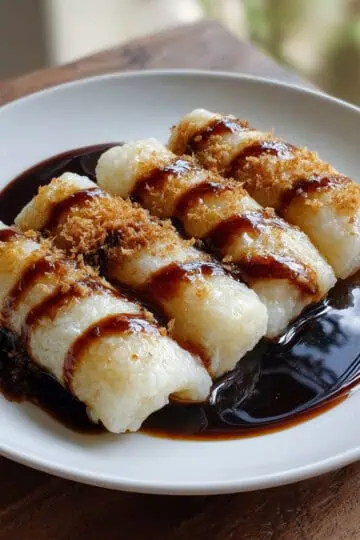
Related
Looking for other recipes like this? Try these:


Max's Restaurant-Style Caramel Bars
Equipment
- Stand mixer or hand mixer for achieving the perfect creamy texture
- 9x13 inch rectangular baking pan ensures proper thickness
- Parchment Paper prevents sticking
- Mixing bowls for separate dry and wet ingredients
- Fine-Mesh Sieve for sifting dry ingredients
- Toothpicks for testing doneness
- Wire cooling rack for proper cooling
- Measuring cups and spoons for accurate measurements
Ingredients
For the Base
- 6 egg yolks pula ng itlog
- 1 cup granulated sugar asukal
- 1½ cups condensed milk kondensadang gatas
- 1½ cups unsalted butter softened at room temperature (mantikilya)
- 2 cups all-purpose flour harina
- 1 cup powdered milk pulbos na gatas
For the Topping
- 1 cup chopped nuts of choice:
- Pili nuts pili
- Cashew nuts kasuy
- Pistachios pistasyo
- Optional: ½ cup dried mango bits
Instructions
- Start by letting your butter soften at room temperature for one hour. While waiting, line your 9x13 inch baking pan with parchment paper, making sure to leave some paper hanging over the edges for easy removal later. Preheat your oven to 350°F (180°C).
- Using a fine-mesh strainer, sift the all-purpose flour and powdered milk together into a bowl and set aside. In a separate large mixing bowl, use your mixer on medium speed to beat the softened butter and sugar together until the mixture becomes light and fluffy – this should take about 5 minutes.
- Add your egg yolks to the butter mixture one at a time, making sure each yolk is fully mixed in before adding the next one. Pour in the condensed milk and mix until just combined. Now, gradually add your sifted flour and milk mixture while mixing on low speed. Stop mixing as soon as everything is combined – overmixing will ruin the gooey texture we want.
- Pour the batter into your lined baking pan, spreading it evenly to the corners. Sprinkle your chosen chopped nuts evenly over the top. Place the pan in your preheated oven and bake for 35 minutes, or until the top is light golden brown. To test if it's done, stick a toothpick in the center – it should come out with a few moist crumbs.
- Let the bars cool in the pan on a wire rack for 15 minutes. Then, using the overhanging parchment paper, carefully lift the entire thing out of the pan and let it cool completely for about an hour. Once fully cooled, cut into 24 equal-sized bars. For the cleanest cuts, wipe your knife with a hot, damp cloth between each slice.
- Store your caramel bars in an airtight container at room temperature for up to three days, or in the refrigerator for up to a week. Let them come to room temperature before serving for the best texture.
Tips from Lola's Kitchen
- Room temperature ingredients ensure better mixing
- Don't overmix after adding flour to maintain proper texture
- Watch carefully during last 5 minutes of baking to prevent over-browning
- Let cool completely before cutting for clean edges
- Use a hot knife (cleaned between cuts) for professional-looking bars
Nutrition
The Story Behind Max's Restaurant's Caramel Bars
When Filipinos think of comfort food, Max's Restaurant often comes to mind. While the restaurant chain is famous for its "Sarap-to-the-Bones" fried chicken, their caramel bars have become an equally beloved treasure since they were first introduced in the 1980s. These golden, gooey treats started as a simple dessert offering but quickly became a must-have pasalubong and merienda favorite across the Philippines.
Max's Restaurant, which opened its doors in 1945 in Scout Tuazon, Quezon City, was originally known for serving American troops after World War II. As the restaurant expanded, they wanted to create desserts that would complement their famous chicken while appealing to the Filipino sweet tooth. Their caramel bars were born from this vision – combining the richness of condensed milk, a pantry staple in many Filipino households, with the local love for merienda treats.
What makes these bars truly special is their unique texture. Unlike typical Western-style caramel squares that can be overwhelmingly sweet, Max's version strikes a perfect balance. The bars have a tender, slightly gooey center that melts in your mouth, topped with chopped pili nuts – a distinctly Filipino touch that adds both texture and a subtle buttery flavor that's become their signature.
Today, Max's caramel bars are more than just a dessert – they're a taste of childhood memories for many Filipinos. Whether enjoyed after a family Sunday lunch at Max's, bought as pasalubong for loved ones, or served during special occasions, these bars have become deeply woven into Filipino food culture. The popularity of these bars has even inspired countless home bakers to recreate them, leading to the rise of small home-based businesses selling their own versions across the country.
While the original recipe remains a closely guarded secret, this homemade version captures the essence of what makes Max's caramel bars so special. From the perfectly balanced sweetness to that signature gooey texture, making these bars at home lets you bring a piece of Max's Restaurant's legacy right to your own kitchen.

Comments
No Comments