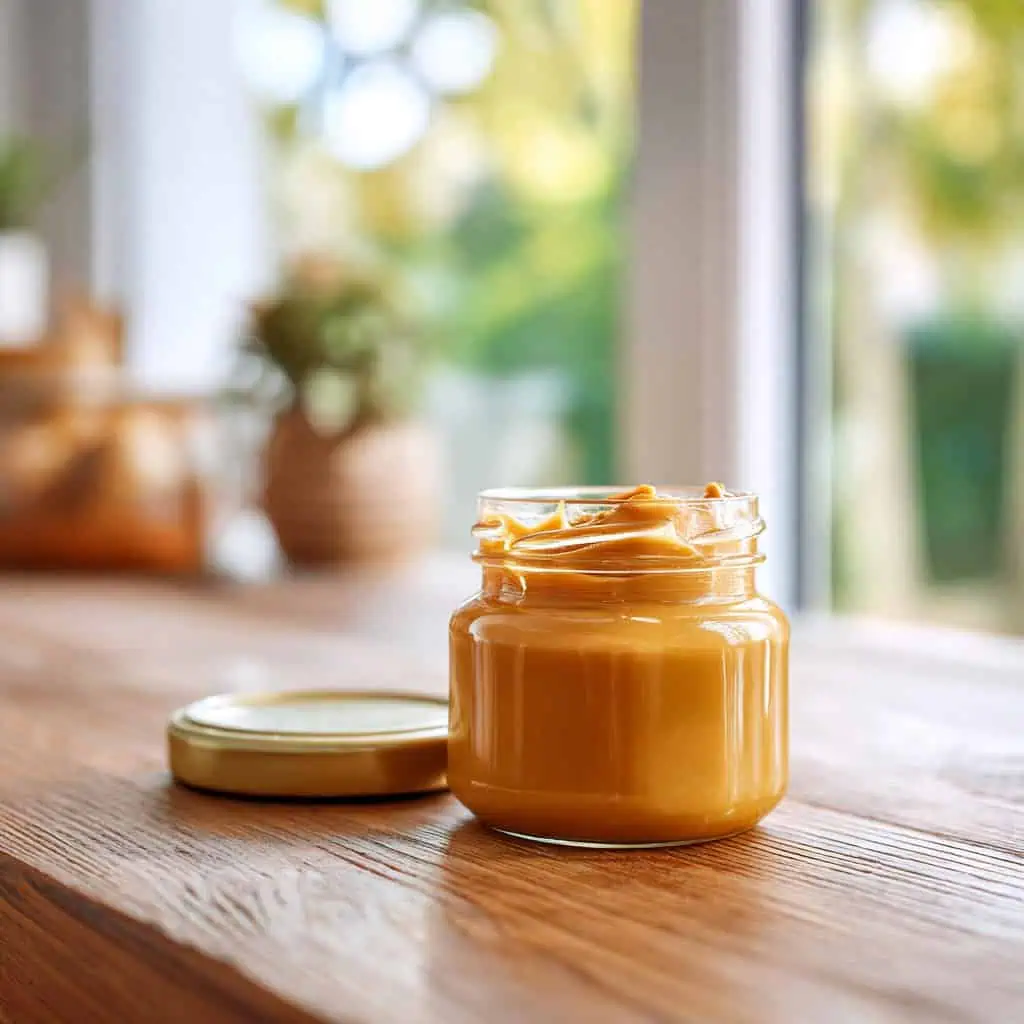
Growing up, yema was always that special treat my Lola would make during the holidays. Sweet, rich, and absolutely irresistible. But honestly? Sometimes it was just too sweet for me, especially as an adult. That's when I decided to create my own version that keeps all the creamy, buttery goodness of traditional yema but adds a bright twist with calamansi juice and a pinch of salt.
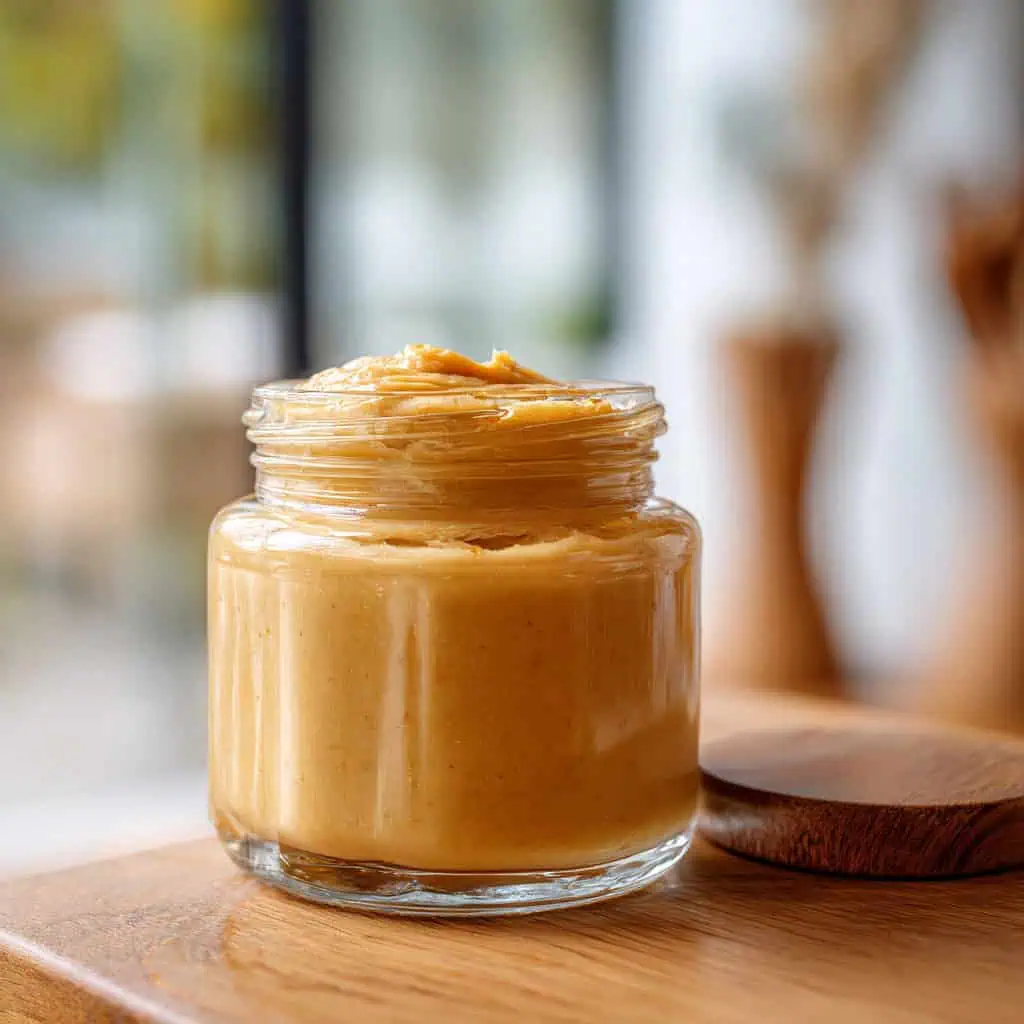
The result is this amazing spreadable version that's perfectly balanced. Sweet but not cloying, rich but refreshing. I accidentally made too much one Christmas and started spreading it on everything from pandesal to crackers, and now my family asks for this recipe more than the original candy!
Once you try this 15-minute spread, you'll never go back to the overly sweet store-bought versions.
Jump to:

Why You'll Love This Recipe
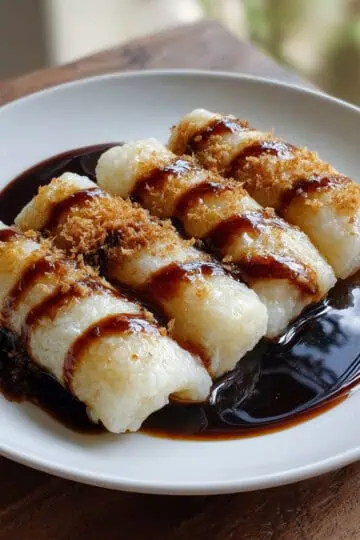
This yema spread takes the beloved Filipino candy to the next level! Unlike traditional versions that can be overwhelmingly sweet, this recipe strikes the perfect balance with bright calamansi juice and a pinch of salt that cuts through the richness. It's incredibly versatile - spread it on pandesal, use it as cake filling, or swirl it into ice cream.
The best part? It comes together in just 15 minutes with simple ingredients you probably already have in your kitchen. Plus, it keeps in the fridge for up to a month, making it the perfect make-ahead treat for any Filipino food lover.
Ingredients
- 1 can (14 oz) condensed milk
- 4 large egg yolks
- 1 tablespoon fresh calamansi juice
- 1 teaspoon vanilla extract
- ⅛ teaspoon salt
- 1 tablespoon butter
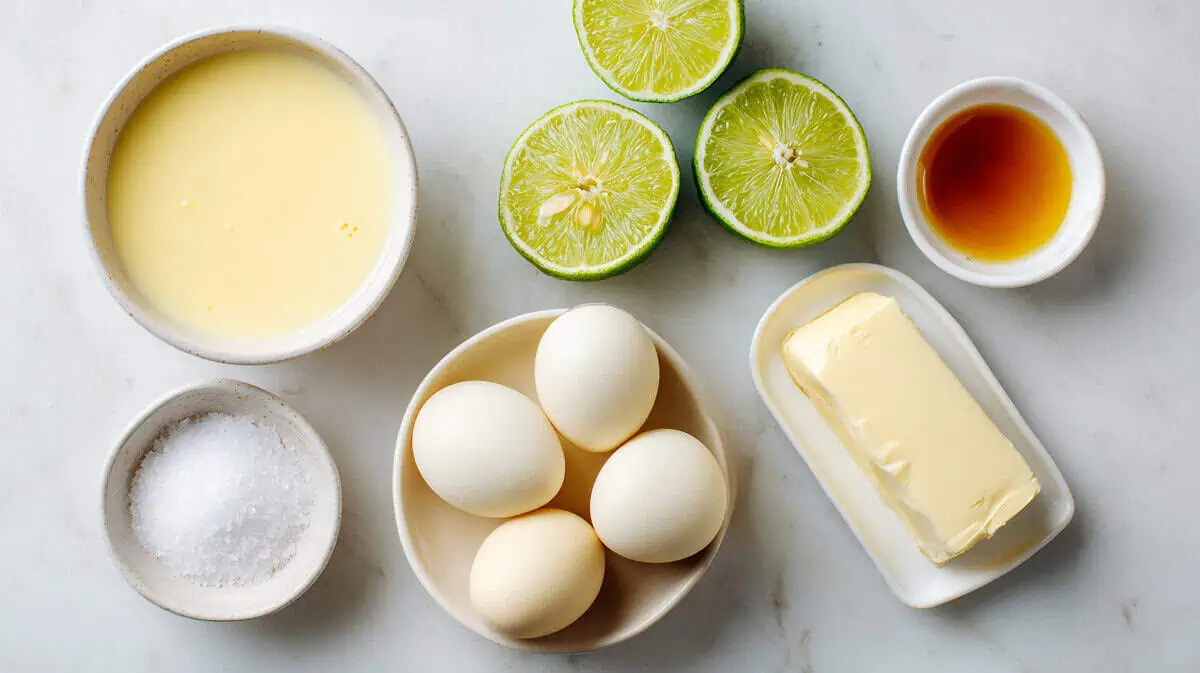
Each ingredient plays a crucial role in creating the perfect yema spread. The condensed milk provides the sweet, creamy base that's essential for authentic yema flavor. Egg yolks act as a natural thickener and add richness without making it too heavy.
Fresh calamansi juice is the game-changer here - its bright acidity cuts through the sweetness and adds a refreshing tang. Vanilla extract deepens the flavor profile, while a pinch of salt enhances all the other flavors. Finally, butter stirred in at the end creates that luxurious, smooth texture that makes this spread irresistible.
Equipment
- Medium Saucepan - Essential for cooking the mixture evenly without burning. The medium size prevents overflow while allowing proper heat distribution.
- Wire Whisk - Helps combine ingredients smoothly and prevents lumps from forming. Also perfect for constant stirring during cooking.
- Clean Glass Container - For storing your finished spread. Glass won't absorb flavors and makes it easy to see how much you have left.

How To Make
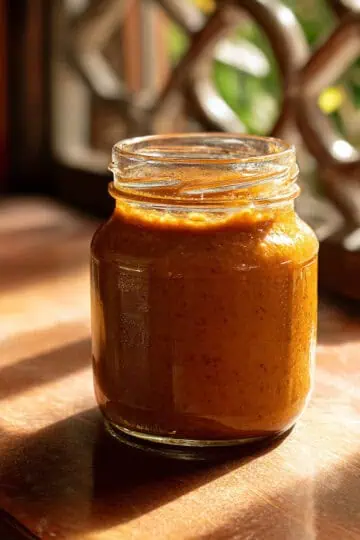
- Start by combining the condensed milk, egg yolks, calamansi juice, vanilla extract, and salt in your medium saucepan. Use your whisk to mix everything together until the mixture is completely smooth and well combined - this ensures even cooking later.
- Place the saucepan over medium-low heat and begin cooking while stirring constantly with your whisk. The key here is patience and continuous stirring to prevent the bottom from burning. Keep the heat at around level 3 if your burner goes from 1 to 8.
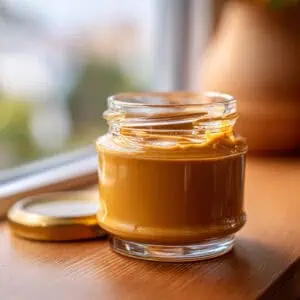
- Continue cooking and stirring for about 7 minutes. You'll notice the mixture gradually thickening and becoming more golden in color. It should coat the back of a spoon when ready - this is your sign that it's reached the perfect consistency.
- Remove the saucepan from heat immediately once the mixture has thickened. Add the tablespoon of butter while the mixture is still hot, which will help it melt quickly and incorporate smoothly.
- Whisk the butter into the yema spread until it's completely melted and fully incorporated. The mixture should now look glossy and extra creamy - this is exactly what you want.
- Transfer your finished yema spread into a clean glass container and let it cool completely to room temperature before refrigerating. This cooling process helps it reach its final texture.

Tips from Lola's Kitchen
- Use fresh calamansi juice whenever possible - bottled works but fresh gives the best bright flavor
- Don't rush the cooking process - low and slow prevents burning and ensures smooth texture
- Stir constantly in figure-8 motions - this prevents hot spots and keeps everything moving
- Test doneness by coating a spoon - if it clings to the spoon, it's ready
- Add butter off the heat - this prevents it from separating or becoming greasy
- Cool completely before refrigerating - rushing this step can cause condensation and watery texture
Substitutions
- No calamansi juice? Replace with equal parts lemon and lime juice mixed together
- Out of vanilla extract? Try ½ teaspoon of vanilla paste or skip entirely
- Want dairy-free? Use coconut condensed milk and coconut oil instead of butter
- Egg-free version? Replace yolks with 2 tablespoons cornstarch mixed with 3 tablespoons milk
- Less sweet version? Reduce condensed milk to ¾ can and add 2 tablespoons heavy cream
Troubleshooting
- Mixture is too thin? Cook for 2-3 more minutes while stirring constantly
- Developed lumps? Strain through fine mesh sieve while still warm
- Tastes too sweet? Add another ½ tablespoon of calamansi juice next time
- Mixture curdled? Heat was too high - start over with lower temperature
- Butter won't incorporate? Make sure mixture is still warm when adding butter
- Spread is grainy? Egg yolks may have scrambled - strain and cook at lower heat next time
Storage & Reheating
- Refrigerator storage: Keeps fresh for up to 1 month in airtight glass container
- Freezer storage: Can be frozen for up to 3 months in freezer-safe container
- Room temperature: Safe for up to 2 hours only due to dairy content
- Reheating tips: Warm gently in microwave at 30-second intervals, stirring between
- Consistency fix: If too thick after chilling, stir in 1 teaspoon warm milk
- Prevent skin formation: Press plastic wrap directly onto surface before storing
Can I double this recipe?
Yes, but cook in batches for best results and even heating
Why is my spread different colors?
Natural variation in condensed milk brands affects final color
How do I know if it's gone bad?
Look for mold, off smells, or sour taste - when in doubt, throw it out
Can I use this for baking?
Absolutely! Perfect as cake filling, frosting, or cookie centers
What's the best way to serve it?
Room temperature for spreading, chilled for firmer consistency
Can I make it less rich?
Mix with equal parts cream cheese to lighten the texture and flavor
Related
Looking for other recipes like this? Try these:


Homemade Yema Spread
Ingredients
- 1 can 14 oz condensed milk
- 4 large egg yolks
- 1 tablespoon fresh calamansi juice
- 1 teaspoon vanilla extract
- ⅛ teaspoon salt
- 1 tablespoon butter
Instructions
- Start by combining the condensed milk, egg yolks, calamansi juice, vanilla extract, and salt in your medium saucepan. Use your whisk to mix everything together until the mixture is completely smooth and well combined - this ensures even cooking later.
- Place the saucepan over medium-low heat and begin cooking while stirring constantly with your whisk. The key here is patience and continuous stirring to prevent the bottom from burning. Keep the heat at around level 3 if your burner goes from 1 to 8.
- Continue cooking and stirring for about 7 minutes. You'll notice the mixture gradually thickening and becoming more golden in color. It should coat the back of a spoon when ready - this is your sign that it's reached the perfect consistency.
- Remove the saucepan from heat immediately once the mixture has thickened. Add the tablespoon of butter while the mixture is still hot, which will help it melt quickly and incorporate smoothly.
- Whisk the butter into the yema spread until it's completely melted and fully incorporated. The mixture should now look glossy and extra creamy - this is exactly what you want.
- Transfer your finished yema spread into a clean glass container and let it cool completely to room temperature before refrigerating. This cooling process helps it reach its final texture.
Tips from Lola's Kitchen
- Use fresh calamansi juice whenever possible - bottled works but fresh gives the best bright flavor
- Don't rush the cooking process - low and slow prevents burning and ensures smooth texture
- Stir constantly in figure-8 motions - this prevents hot spots and keeps everything moving
- Test doneness by coating a spoon - if it clings to the spoon, it's ready
- Add butter off the heat - this prevents it from separating or becoming greasy
- Cool completely before refrigerating - rushing this step can cause condensation and watery texture
The Story Behind Filipino Yema
Yema holds a special place in Filipino dessert culture, with roots tracing back to Spanish colonial influence in the Philippines. The name "yema" comes from the Spanish word for egg yolk, which makes perfect sense since traditional yema candy is made primarily from egg yolks and sugar. Spanish colonizers brought this confection technique to the Philippines, where Filipino cooks adapted it using local ingredients and their own culinary creativity.
Originally, yema was a simple candy made by cooking egg yolks with sugar until thick and golden. Filipino families would shape the mixture into small balls and wrap them in colorful cellophane, making them popular treats during special occasions like Christmas, birthdays, and town fiestas. The candy became so beloved that different regions developed their own variations, some adding milk, others incorporating coconut or nuts.
What makes Filipino yema unique is how it evolved beyond its Spanish origins. Filipino cooks began using condensed milk instead of regular sugar, creating a creamier, more luxurious texture that became the standard. This adaptation made yema more accessible to home cooks and gave it the distinctive rich flavor that Filipinos love today. The addition of condensed milk also meant the candy lasted longer, making it perfect for gift-giving and special celebrations.
In recent years, yema has experienced a renaissance in Filipino cuisine. Creative bakers and home cooks have transformed this traditional candy into cakes, tarts, ice cream flavors, and now spreads like this recipe. This evolution shows how Filipino food culture continues to innovate while honoring traditional flavors. By turning yema into a spread, we're making this beloved flavor more versatile and accessible for everyday enjoyment, not just special occasions.

Comments
No Comments