Back in the '90s, our tiny home bakery in Bataan was always filled with the sweet aroma of freshly baked bread every morning. Among all our bestsellers, Kababayan bread held a special place in my heart. I remember watching my Tatay Amen carefully grease each muffin tin with his special mixture - a technique that gave these golden muffins their iconic hat-like shape.
Today, I'm sharing our family's recipe that's been bringing smiles to our neighborhood for over two decades. It's the same recipe that helped put my siblings through college, one batch of Kababayan at a time.
What Is Kababayan Bread?
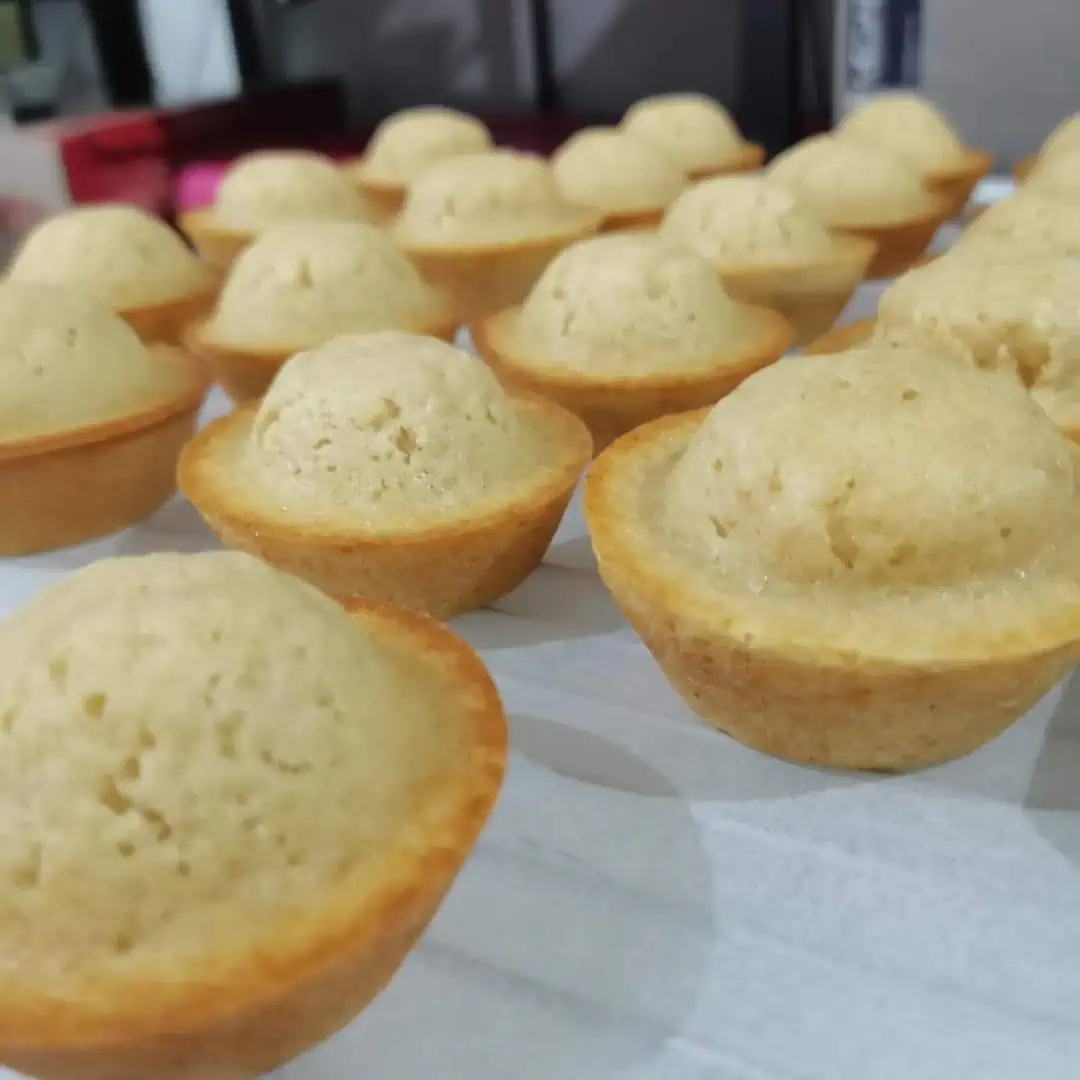
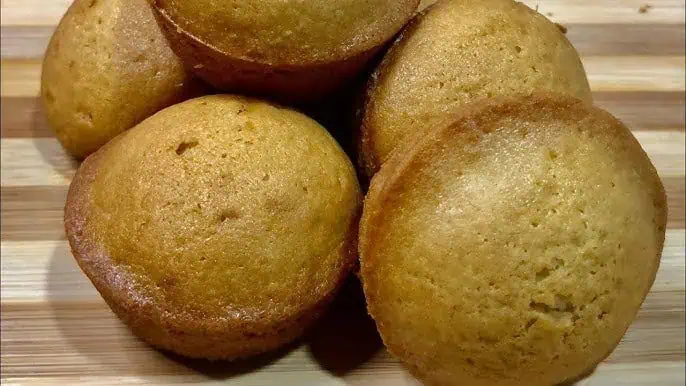
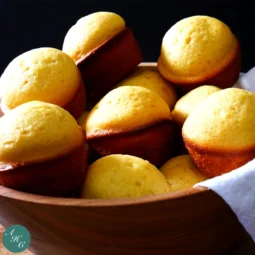
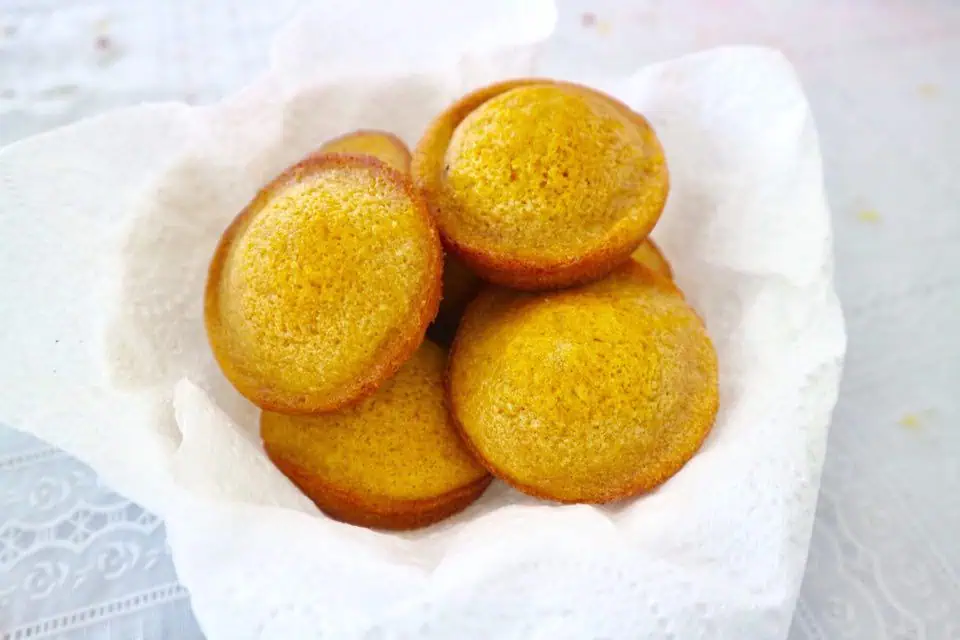
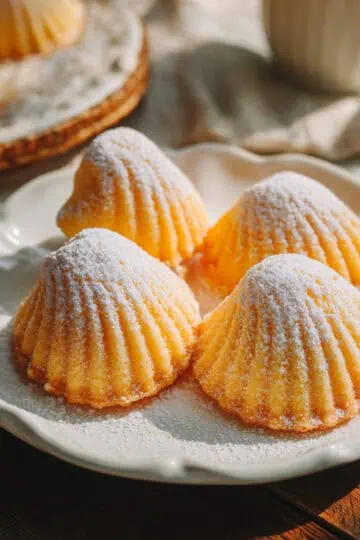
Kababayan bread is a traditional Filipino sweet muffin characterized by its distinctive dome shape resembling a salakot (native Filipino hat). Made with a rich batter of flour, eggs, evaporated milk, and oil, it achieves its iconic form through a specialized two-temperature baking technique and careful pan preparation. The result is a golden-yellow, moist bread with a tender crumb that captures the essence of Filipino bakery craftsmanship.
Jump to:
Why You'll Love This Recipe
- Authentic Filipino flavor with a perfect balance of sweetness
- Distinctive hat-like shape (salakot) that makes it uniquely Filipino
- Stays moist for days thanks to the perfect ratio of wet ingredients
- Better than bakery-quality results
- Perfect for breakfast or merienda (afternoon snack)
- Kid-friendly recipe that's great for family bonding
Ingredients
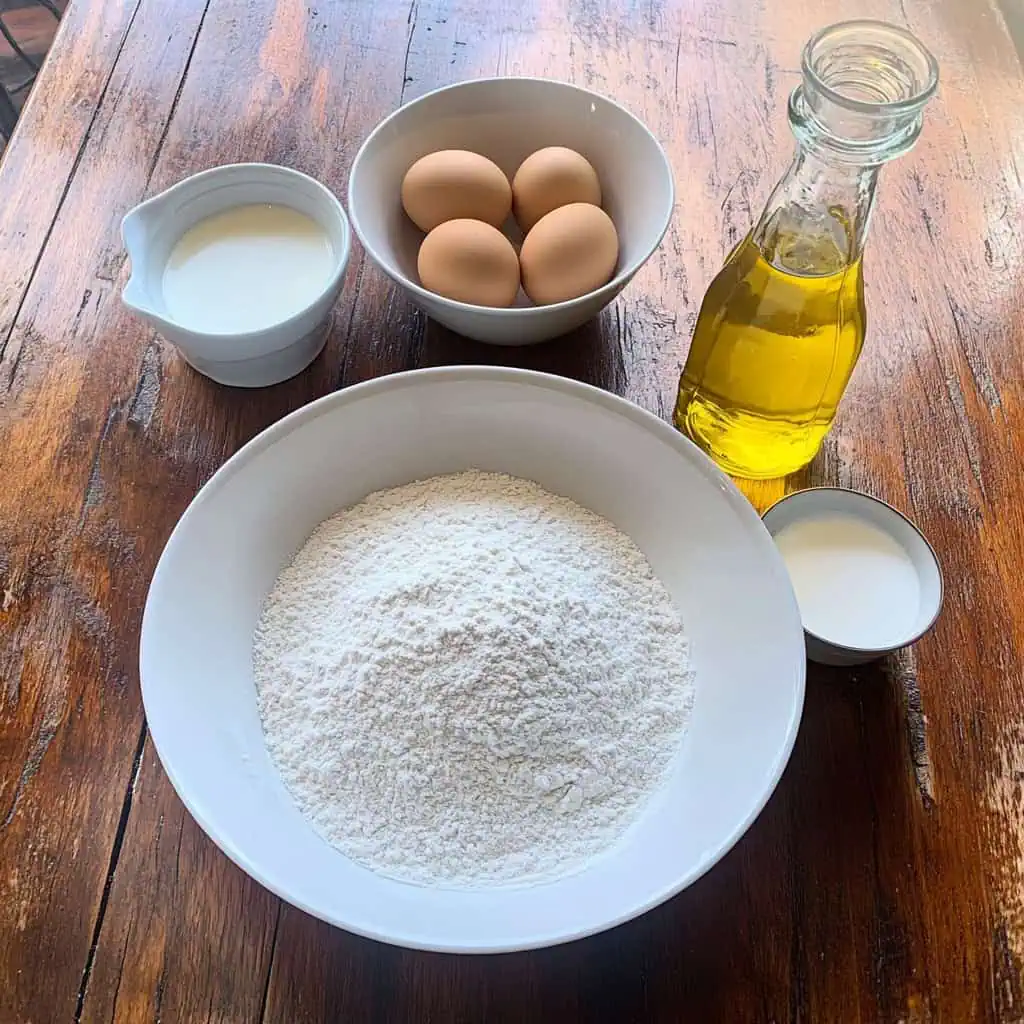
Each component plays a vital role - eggs provide structure, evaporated milk adds richness without thinning the batter, oil creates moisture that lasts for days, and the special greasing mixture is the secret to the iconic hat shape.
The high ratio of liquid to dry ingredients ensures a tender crumb, while baking powder gives just enough lift without causing cracks.
For Greasing the Pan:
- ½ cup lard or shortening
- 2 tablespoons oil
- 3 tablespoons all-purpose flour
For the Batter:
- 2 large eggs, room temperature
- 1 can (370ml) evaporated milk, room temperature
- ¼ teaspoon salt
- 1¼ cups sugar
- ⅔ cup vegetable oil or coconut oil
- 1 teaspoon vanilla extract
- 3 cups all-purpose flour
- 3 teaspoons baking powder
- Yellow food coloring
Equipment
- 2 12-cup muffin pans: Light-colored pans are preferred for even baking
- Large mixing bowl: For combining ingredients
- Electric mixer or whisk: For achieving a smooth batter consistency
- Measuring cups and spoons: For precise measurements of ingredients
- Sifter: For removing flour lumps and ensuring a smooth texture
- Piping bag or ice cream scoop: For neat batter portioning into muffin tins
- Cooling rack: For proper cooling after baking
- Toothpicks: For testing doneness
- Oven thermometer: For accurate temperature reading, crucial for the two-temperature baking method
How To Make
- Prepare the greasing mixture by combining ½ cup lard, 2 tablespoons oil, and 3 tablespoons flour in a small bowl until well blended. Generously coat two 12-cup muffin pans with this mixture, ensuring a thick layer as this helps create the signature hat shape. Preheat your oven to 200°C/400°F.
- Make the batter by beating 2 large eggs in a large mixing bowl. Add one can (370ml) of evaporated milk, ¼ teaspoon salt, and 1¼ cups sugar, then mix until the sugar completely dissolves. Pour in ⅔ cup vegetable oil and 1 teaspoon vanilla, mixing until well combined.
- Combine dry ingredients by sifting together 3 cups all-purpose flour and 3 teaspoons baking powder. Add this to your wet ingredients and mix with a whisk or electric mixer until smooth. The batter should form continuous ribbons when lifted - if it's too thick, add water gradually until you reach this consistency. Add ¼ teaspoon yellow food coloring and mix just until evenly distributed.
- Fill muffin pans by pouring or piping the batter into your prepared muffin pans, filling each cup about ¾ full.
- Use the two-temperature baking method by placing in the preheated oven and baking at 200°C/400°F for 3-5 minutes, or until you see the edges rise and form a crater in the middle. Then reduce the temperature to 160°C/320°F and continue baking for another 10-15 minutes until fully baked. Test for doneness by inserting a toothpick in the center - it should come out clean.
- Cool and serve by letting the muffins cool in the pan for 5 minutes before removing. The middle part will have risen to create the signature dome shape. Transfer to a cooling rack and serve warm or at room temperature.

Tips from Lola's Kitchen
- Use room temperature ingredients for better incorporation and smoother batter
- Test batter consistency - it should form ribbons when lifted from the whisk; if too thick, add water one tablespoon at a time
- Never open the oven door during the first 10 minutes of baking to prevent collapsing
- Greasing technique matters - the thick flour-oil-lard mixture is crucial for the signature shape
- Tap pans gently before baking to release air bubbles
- For extra shine brush the tops with simple syrup while still warm
- Cool gradually - 5 minutes in the pan, then transfer to a rack to prevent soggy bottoms
Substitutions
- Evaporated milk: Replace with 1½ cups fresh milk mixed with 2 tablespoons milk powder
- Lard/shortening: Substitute with butter or margarine for the greasing mixture
- Vegetable oil: Use melted butter or coconut oil for a different flavor profile
- All-purpose flour: Cake flour works well (use 3 cups + 6 tablespoons)
- Yellow food coloring: Saffron or turmeric powder provides natural coloring
- Sugar: Reduce to 1 cup for less sweetness or replace ¼ cup with brown sugar for depth
Troubleshooting
- Flat tops instead of domes: Your initial oven temperature may be too low or you opened the door too early
- Dense texture: You may have overmixed the batter; mix just until ingredients are combined
- Bread sticking to pan: Increase the amount of greasing mixture or extend cooling time in the pan
- Cracks on top: Reduce initial baking temperature slightly or check oven for hot spots
- Raw centers: Your oven temperature may be too high; lower overall temperature and extend baking time
- Uneven coloring: Rotate pans halfway through the second baking phase for more consistent results
Storage & Reheating
- Room temperature: Store in an airtight container for up to 3 days
- Refrigerator: Keep fresh for up to 1 week in a sealed container
- Freezer: Wrap individually in plastic wrap, then foil, and freeze for up to 3 months
- Reheating methods:
- Microwave for 15-20 seconds (cover with damp paper towel to prevent drying)
- Oven at 150°C/300°F for 5 minutes
- Air fryer at 160°C/320°F for 2-3 minutes
- Refreshing stale bread: Brush with simple syrup or milk before reheating
FAQ
Why is it called Kababayan?
The name means "fellow countryman" in Filipino, and its shape resembles a traditional Filipino hat called salakot, connecting it to our cultural heritage.
Can I make mini versions?
Yes! Use mini muffin tins and reduce the total baking time to about 12-15 minutes (2 minutes at high temperature, then 10-13 at lower temperature).
Why does my Kababayan collapse after baking?
This typically happens when the oven door is opened too soon or the temperature fluctuates too much. The two-temperature method is crucial - the initial high heat sets the structure.
How do I achieve the perfect dome shape?
The combination of proper greasing, correct batter consistency, and the two-temperature baking method creates the signature dome. Don't skimp on the greasing mixture!
Can I reduce the sugar?
Yes, you can reduce by up to ¼ cup without significantly affecting the texture. For more substantial reductions, add 1-2 tablespoons more oil to maintain moisture.
Why is my Kababayan not yellow enough?
Traditional recipes use egg yolks for color, but modern versions use food coloring. Add more yellow food coloring if desired, or use natural alternatives like saffron.
How do I know when they're done?
A toothpick inserted in the center should come out clean. The tops should be golden brown and feel firm but springy when gently pressed.
Can I make this ahead for a party?
Absolutely! They stay moist for days. Bake up to 2 days ahead and store in airtight containers. Refresh by warming slightly before serving.
What makes Kababayan different from regular muffins?
The special greasing method, unique dome shape, texture, and two-temperature baking technique set it apart from regular muffins.
Is this bread suitable for breakfast?
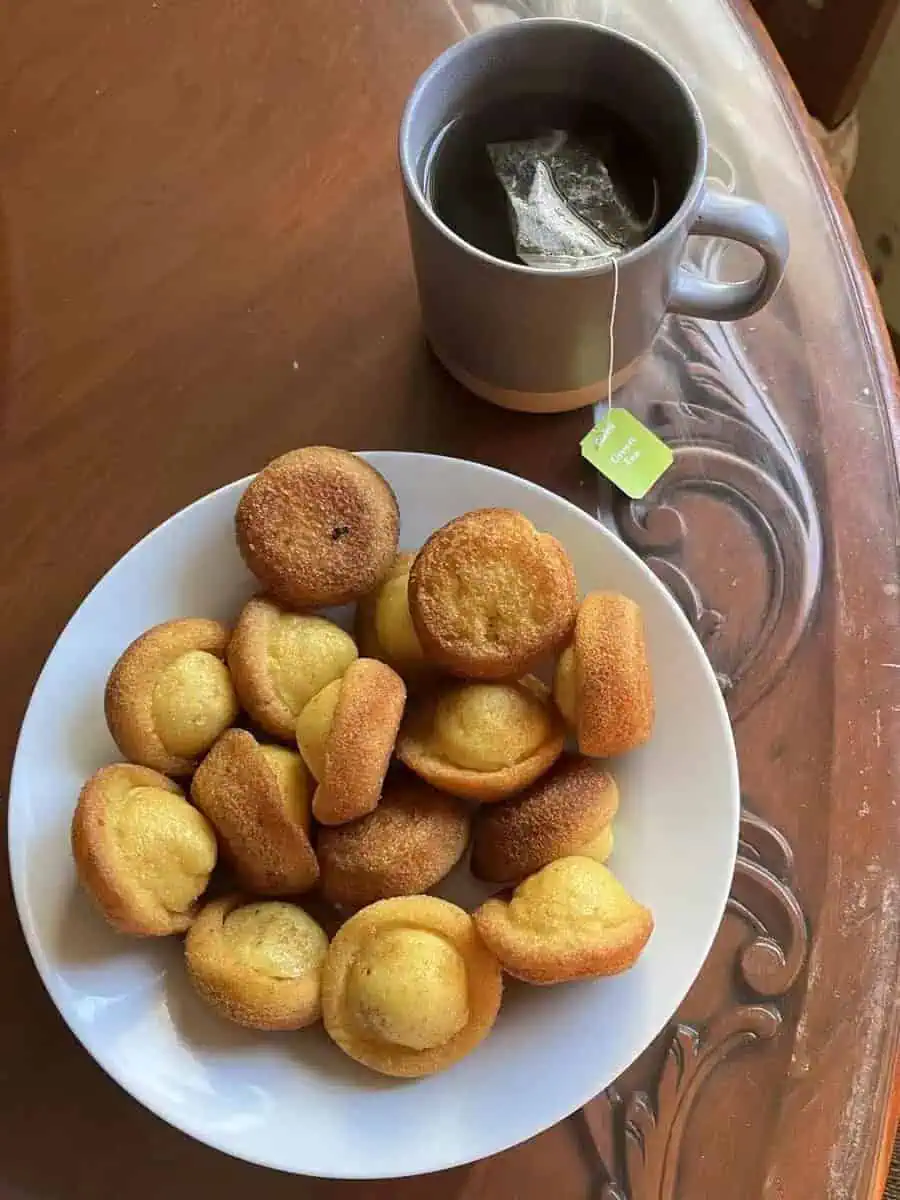
Yes! In the Philippines, it's commonly enjoyed for breakfast with coffee or hot chocolate, or as an afternoon snack (merienda).
Related
Looking for other recipes like this? Try these:
Kababayan Bread Recipe (Filipino Hat Bread)
Equipment
- 2 12-cup muffin pans Light-colored pans preferred for even baking
- Large mixing bowl (Malaking mangkok) For combining ingredients
- Electric mixer or whisk For achieving smooth batter
- Measuring cups and spoons (mga panukat) For precise measurements
- Sifter For removing flour lumps
- Piping bag or ice cream scoop For neat batter portioning
- Cooling rack For proper cooling
- Toothpicks For testing doneness
- Oven thermometer For accurate temperature reading
Ingredients
For Greasing the Pan (Panghilod sa Muffin Tin)
- ½ cup lard or shortening
- 2 tablespoons oil mantika
- 3 tablespoons all-purpose flour harina
For the Batter (Para sa Masa)
- 2 large eggs malalaking itlog, room temperature
- 1 can 370ml evaporated milk (evaporada), room temperature
- ¼ teaspoon salt asin
- 1¼ cups sugar asukal
- ⅔ cup vegetable oil or coconut oil
- 1 teaspoon vanilla extract vanilla
- 3 cups all-purpose flour harina
- 3 teaspoons baking powder pampaalsa
- Yellow food coloring dilaw na pangkulay
Instructions
- First, prepare the greasing mixture by combining ½ cup lard, 2 tablespoons oil, and 3 tablespoons flour in a small bowl until well blended. Generously coat two 12-cup muffin pans with this mixture, ensuring a thick layer as this helps create the signature hat shape. Preheat your oven to 200°C/400°F.
- In a large mixing bowl, beat 2 large eggs. Add one can (370ml) of evaporated milk, ¼ teaspoon salt, and 1¼ cups sugar, then mix until the sugar completely dissolves. Pour in ⅔ cup vegetable oil and 1 teaspoon vanilla, mixing until well combined.
- Sift together 3 cups all-purpose flour and 3 teaspoons baking powder. Add this to your wet ingredients and mix with a whisk or electric mixer until smooth. The batter should form continuous ribbons when lifted - if it's too thick, add water gradually until you reach this consistency. Add ¼ teaspoon yellow food coloring and mix just until evenly distributed.
- Pour or pipe the batter into your prepared muffin pans, filling each cup about ¾ full. Place in the preheated oven and bake at 200°C/400°F for 3-5 minutes, or until you see the edges rise and form a crater in the middle. Then reduce the temperature to 160°C/320°F and continue baking for another 10-15 minutes until fully baked. Test for doneness by inserting a toothpick in the center - it should come out clean.
- Let the muffins cool in the pan for 5 minutes before removing. The middle part will have risen to create the signature dome shape. Transfer to a cooling rack and serve warm or at room temperature. Makes 24 pieces of Kababayan bread.
Tips from Lola's Kitchen
- Always use room temperature ingredients for better mixing
- The batter should form ribbons when lifted - if too thick, add water gradually
- Never open the oven door during the first 10 minutes of baking
- Test doneness with a toothpick inserted in the center
- Let cool in the pan for 5 minutes before removing
Nutrition
The Story Behind Kababayan Bread
Growing up in the bustling streets of the Philippines, Kababayan bread has been a cherished part of our culinary heritage since the 1960s. This beloved muffin-like bread earned its name from the Tagalog word "kababayan," meaning fellow countrymen, reflecting its deep connection to Filipino culture. Its most distinctive feature – the dome shape resembling a salakot (traditional Filipino sun hat) – wasn't just a happy accident, but a deliberate tribute to our farming ancestors who wore these protective headpieces while working under the tropical sun.
The story of Kababayan bread is intertwined with the rise of neighborhood panaderias (bakeries) that dotted the Philippine landscape during the post-war era. These small, family-run establishments became community gathering spots, where the aroma of freshly baked bread would draw locals in for their daily pan de sal and merienda treats. While its exact origins remain debated among Filipino baking historians, many credit the innovative bakers of Bulacan province, known as the country's bakery capital, for perfecting the unique two-temperature baking technique that gives Kababayan its signature shape.
What makes this bread truly special is its evolution from a simple bakery staple to a symbol of Filipino ingenuity. Unlike other colonial-influenced breads in the Philippines, Kababayan bread is proudly native in both design and character. The golden-yellow color, achieved traditionally through egg yolks and now often enhanced with food coloring, represents the warm Filipino sunshine, while its affordable price point historically made it accessible to people from all walks of life – truly living up to its name as the "common people's bread."
Today, whether you're walking through the busy streets of Manila or visiting a small town in the provinces, you'll find Kababayan bread proudly displayed in bakery windows alongside other Filipino classics. It's more than just a bread – it's a taste of nostalgia, community, and Filipino pride, often enjoyed during breakfast with hot coffee or as an afternoon snack with traditional tsokolate (Filipino hot chocolate). Modern bakers have begun experimenting with variations, adding ube (purple yam) or pandan flavors, but the classic recipe remains a testament to the timeless appeal of traditional Filipino baking.
This humble bread has survived changing times and tastes, remaining a favorite among Filipinos worldwide. Its enduring popularity speaks to how simple bread can carry the weight of cultural identity and community connection, one golden dome at a time.



Comments
No Comments