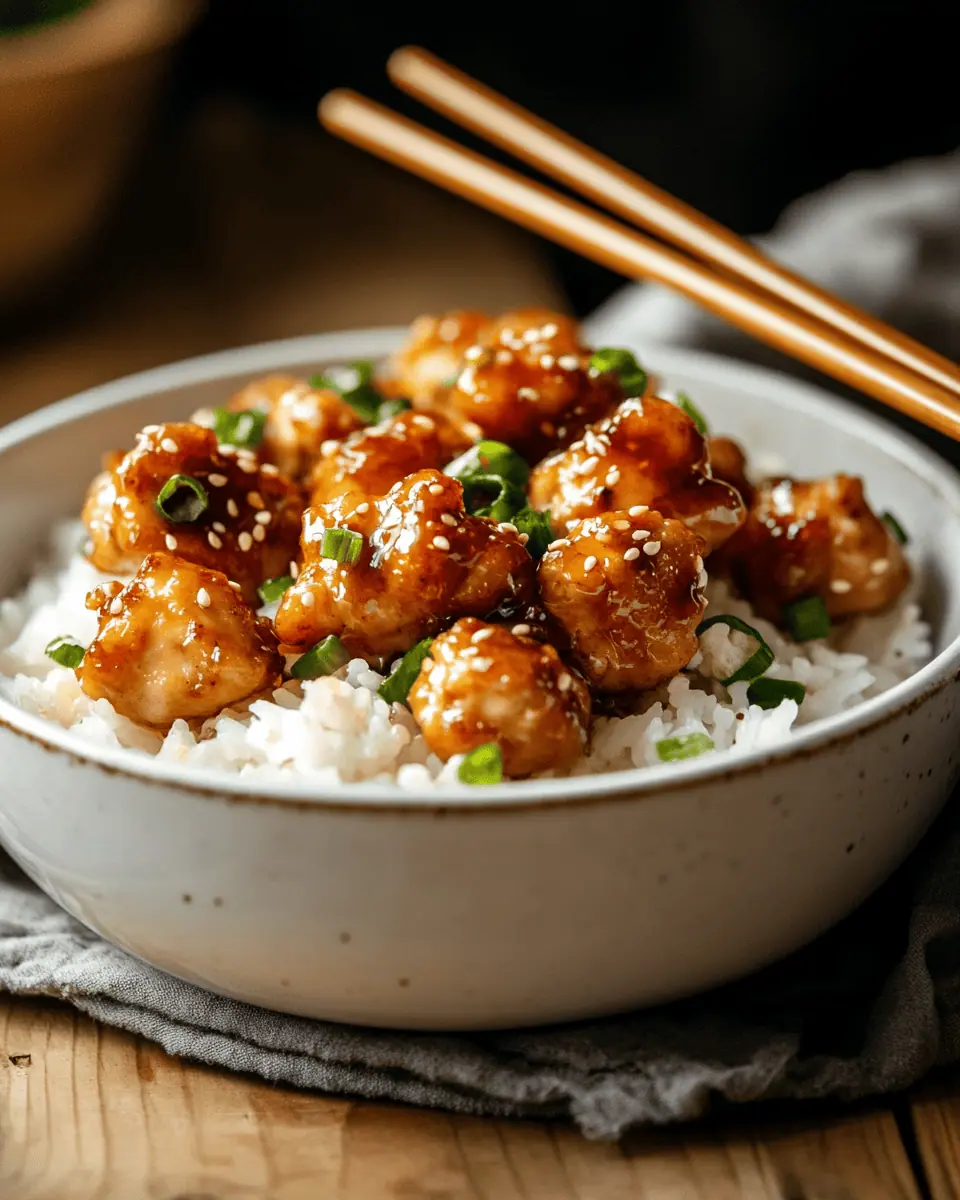
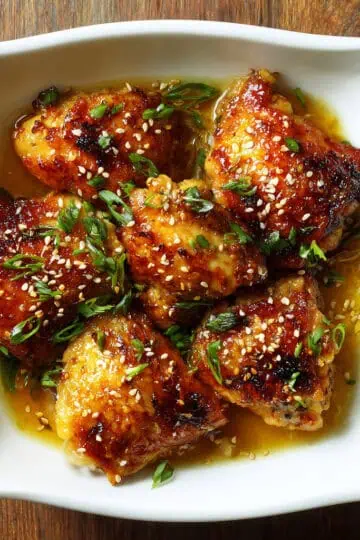
I always love walking into North Park Restaurant late at night and being greeted by the sweet, garlicky aroma from their kitchen. Their Honey Garlic Chicken has been my ultimate comfort food since college, those times when my barkada and I would pool our last remaining allowance just to share this crackling crispy chicken glazed in that irresistible matamis-maalat sauce.
Every bite of their perfectly balanced honey garlic chicken, with its crispy exterior and juicy meat, brings back memories of countless celebration dinners and late-night food trips after reviewing for finals. After years of being a loyal customer (and probably keeping North Park in business with my frequent cravings), I was determined to recreate this beloved dish at home.
Through countless kitchen experiments and some precious tips from my Lola (who swears by her special garlic-toasting technique), I finally perfected this homemade version that captures that distinct North Park flavor we all love.
Now I'm excited to share this honey garlic recipe that lets you enjoy restaurant-quality dish right from your own kitchen, perfect for family dinners or when you're craving North Park but don't want to brave the traffic.
Jump to:
Why You'll Love This Recipe
- Restaurant-Quality Results: Achieves that coveted North Park-style crispiness and flavor
- Perfectly Balanced Sauce: Sweet, savory, and garlicky without being overwhelming
- Foolproof Method: Step-by-step instructions ensure success every time
- Make-Ahead Friendly: Can be prepared in stages
- Budget-Friendly: Uses simple pantry ingredients
- Family Favorite: Appeals to both kids and adults
- Versatile: Works great for both family dinners and special occasions
Ingredients
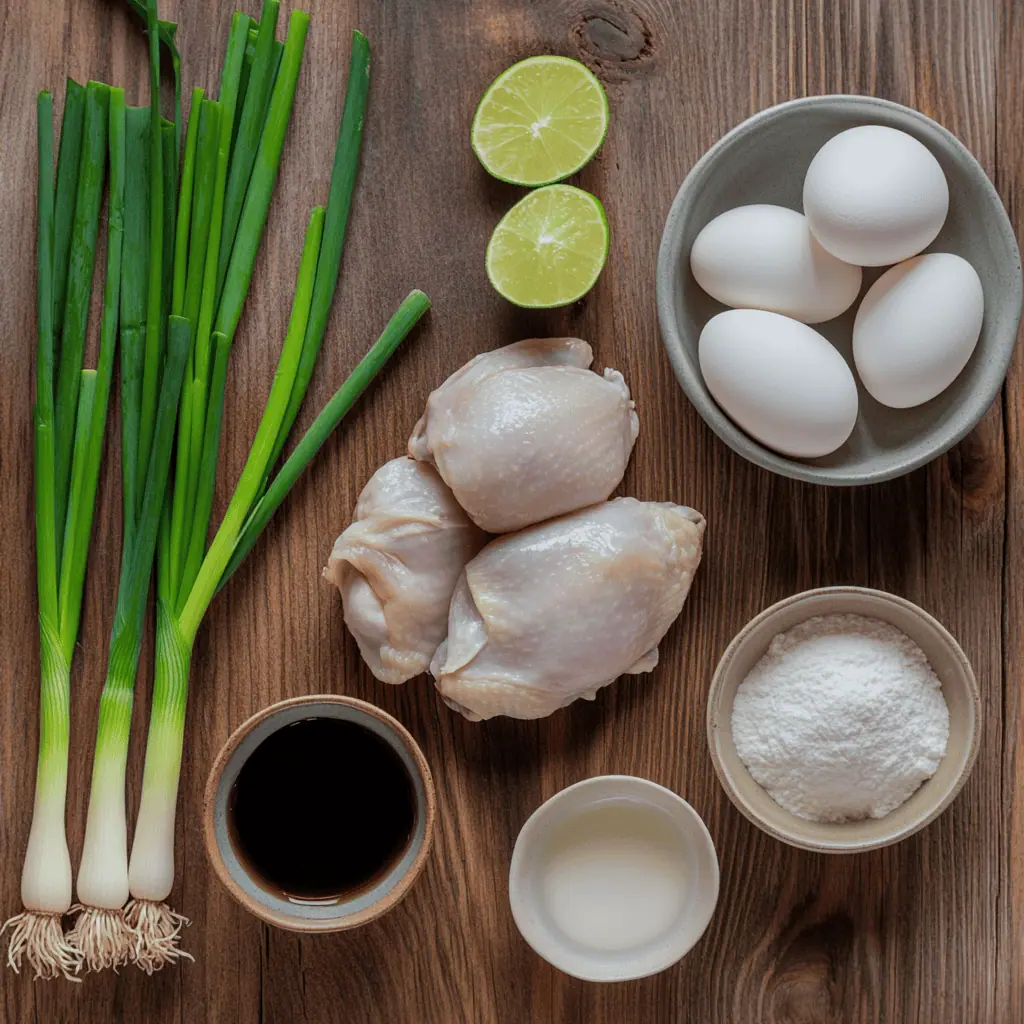
Each ingredient in this recipe plays an essential role: soy sauce and Shaoxing wine tenderize the chicken and add depth, while egg whites and cornstarch create that signature crispy coating. The honey provides sweetness balanced by savory soy sauce, aromatic garlic delivers that irresistible flavor, and citrus juice cuts through the richness.
This careful combination creates the perfect balance of sweet, savory, and tangy that makes restaurant-style honey garlic chicken so addictive.
For the Chicken Marinade:
- 1 pound (450g) boneless skinless chicken thigh or breast (manok), cut into 1-inch cubes
- ¼ cup soy sauce (toyo)
- 1 tablespoon Chinese cooking wine (Shaoxing wine)
- 2 egg whites (puti ng itlog)
- 1 tablespoon cornstarch (gawgaw)
For the Honey Garlic Sauce (Sarsa):
- ½ cup honey (pulot)
- ¼ cup light soy sauce (toyo)
- Juice from 1 lime or calamansi (dayap/kalamansi)
- 4 cloves garlic, peeled and grated (bawang)
- 1 teaspoon Sriracha sauce
- Salt (asin) and pepper (paminta) to taste
For Garnish:
- Green onions, chopped (sibuyas dahon)
- Toasted sesame seeds
- Extra toasted garlic bits (optional)
Equipment
- Large mixing bowls: For marinating chicken and preparing the egg white coating
- Deep frying pan or wok (kawali): Provides even heat distribution for perfect frying
- Cooking thermometer: Essential for maintaining the exact oil temperatures needed for the double-frying technique
- Whisk: For properly incorporating the cornstarch into the egg whites without lumps
- Slotted spoon or spider strainer (sandok na may butas): Allows oil to drain when removing chicken pieces
- Paper towels: For draining excess oil and ensuring crispy chicken
- Small saucepan: For preparing the honey garlic sauce
- Sharp knife and cutting board: For uniform chicken pieces that cook evenly
How To Make
- Cut your chicken thighs or breast into uniform 1-inch cubes so they cook evenly. In a large mixing bowl, combine the chicken with soy sauce and Shaoxing wine. Mix well until all pieces are coated. Cover the bowl and refrigerate for 30 minutes.
- While waiting, set up a wire rack over a baking sheet or lay out paper towels for draining. Have your thermometer ready to monitor oil temperature.
- After 30 minutes, remove the chicken from the refrigerator. Drain off all the marinade and pat the chicken pieces dry with paper towels. This helps achieve a crispy coating.
- In a clean bowl, whisk two egg whites until frothy but not stiff. Add one tablespoon of cornstarch to the egg whites and whisk until smooth with no lumps. Add your dried chicken pieces to this mixture and gently fold until each piece is coated. Let rest for 5 minutes.
- Pour cooking oil into your deep frying pan or wok until it reaches a depth of at least 3 inches. Heat the oil to 350°F. If you don't have a thermometer, test the oil by dropping a small amount of coating into it - it should bubble gently and float.
- Working in small batches of 4-5 pieces, carefully lower the coated chicken into the hot oil. Fry for 3 minutes until light golden. Remove using a slotted spoon and place on your wire rack or paper towels. Repeat with remaining chicken. Let all pieces rest for 5 minutes.
- Increase your oil temperature to 375°F. Return the chicken pieces to the hot oil in batches. Cook for 2-3 minutes until deep golden brown. Make sure chicken reaches 165°F for safety. Remove and drain again.
- In a clean wok or large pan over medium heat, gently toast your minced garlic until fragrant but not brown, about 30 seconds. Immediately add your honey and light soy sauce, stirring constantly to combine.
- Let the sauce simmer until bubbling, about 2-3 minutes. Add your lime or calamansi juice, stirring to incorporate. Reduce heat to low and continue simmering until the sauce thickens enough to coat the back of a spoon.
- Return all your fried chicken pieces to the pan with the sauce. Gently toss for 30 seconds until each piece is evenly coated with the glossy sauce.
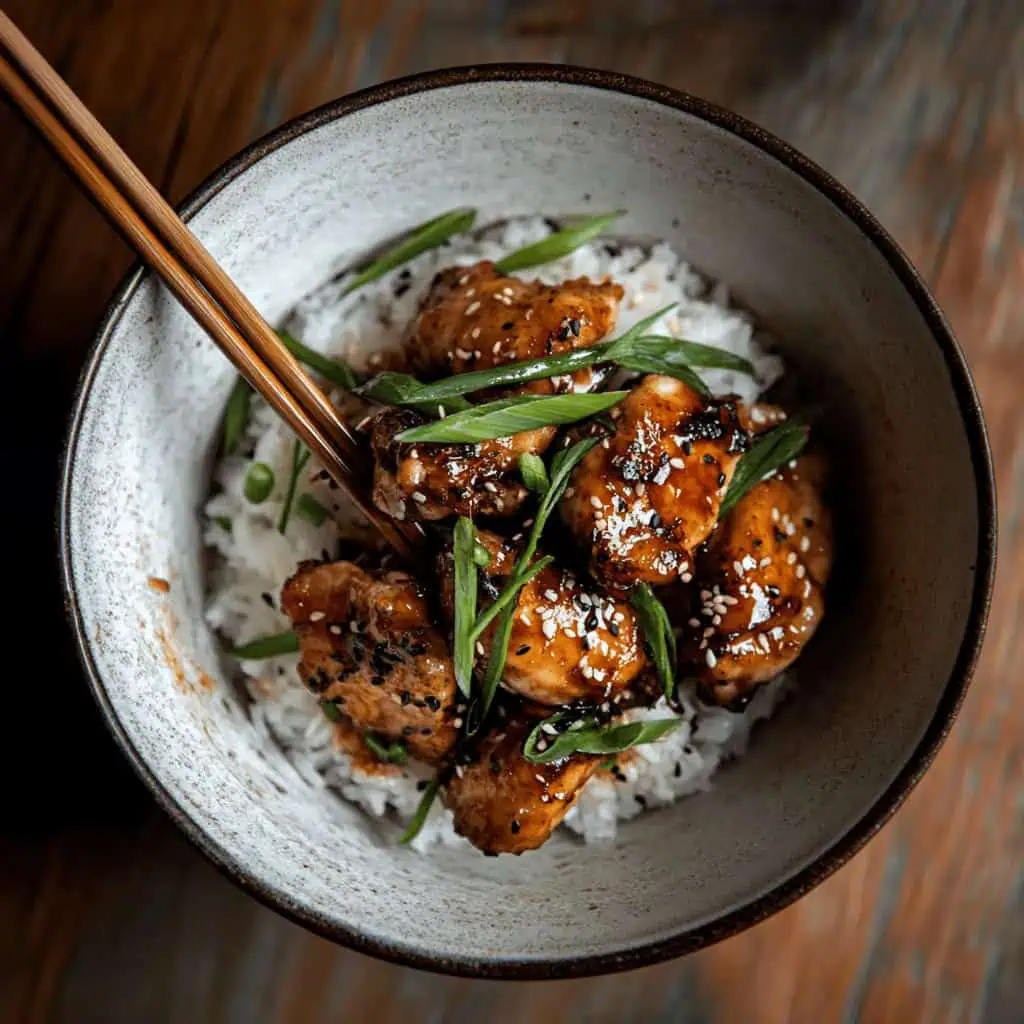
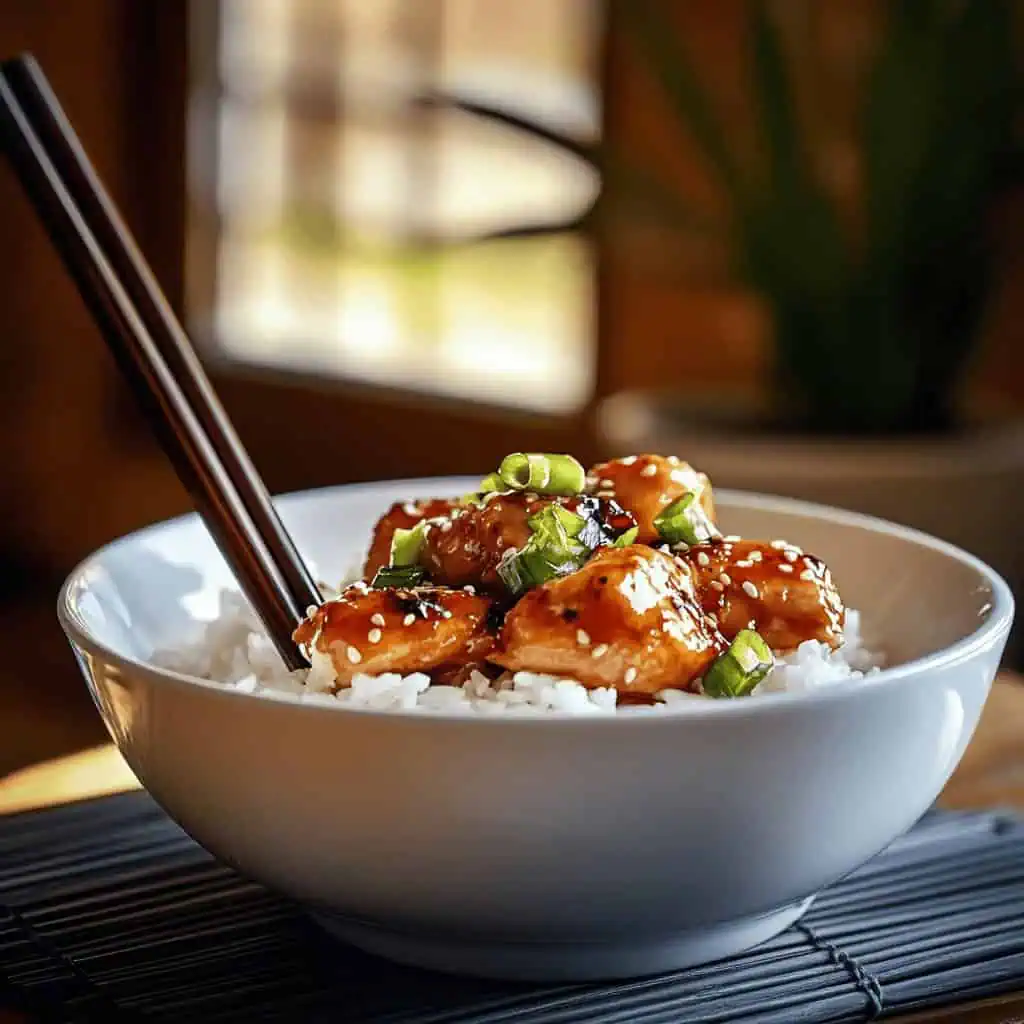
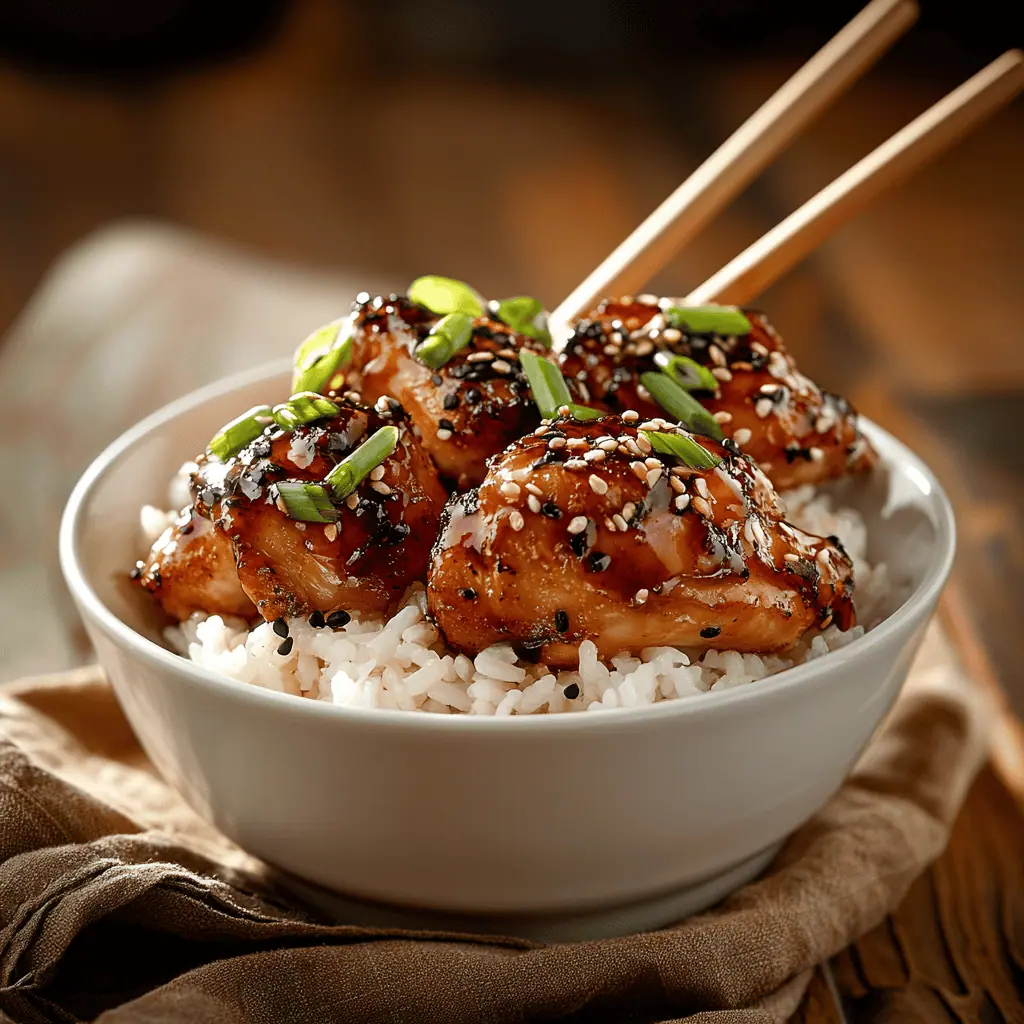
- Transfer your honey garlic chicken to a serving plate. Garnish with toasted garlic and chopped green onions. Serve immediately while hot, ideally with steaming white rice.

Tips from Lola's Kitchen
- Prep tip: Freeze chicken for 15 minutes before cutting for easier, more precise slicing
- Tenderness secret: Always cut chicken against the grain for maximum tenderness
- Crispiness hack: Pat chicken dry before coating for better adhesion
- Professional method: The double-fry technique (once at 350°F, rest, then again at 375°F) is what restaurants use for that unmistakable crunch
- Consistency is key: Keep oil temperature steady throughout frying for even cooking
- Equipment recommendation: A candy thermometer is worth the investment for perfect results
Substitutions
- Chinese cooking wine: Use dry sherry, mirin, or rice vinegar if Shaoxing wine isn't available
- Sriracha: Substitute with sambal oelek, gochujang, or red pepper flakes for heat
- Fresh garlic: In a pinch, use 1 teaspoon garlic powder, but fresh gives the authentic flavor
- Honey: Maple syrup or agave nectar work well for different flavor profiles
- Light soy sauce: For gluten-free option, use tamari or coconut aminos
- Chicken: For a vegetarian version, substitute extra-firm tofu (pressed and dried well)
- Calamansi/lime: Lemon juice or even a splash of white vinegar can work
Troubleshooting
Soggy Chicken
- Cause: Oil temperature too low or chicken not properly dried
- Solution: Ensure oil is hot enough (350°F) and don't overcrowd the pan
- Fix: If already cooked, place chicken on a wire rack in a 400°F oven for 3-5 minutes to re-crisp
Sauce Too Thick
- Problem: Sauce becomes too sticky or gloopy
- Solution: Add water, chicken broth, or fresh citrus juice, 1 tablespoon at a time
- Technique: Whisk continuously until reaching desired consistency
Sauce Too Thin
- Issue: Sauce isn't coating the chicken properly
- Solution: Simmer longer to reduce, or add a cornstarch slurry (1 teaspoon cornstarch mixed with 2 teaspoons cold water)
- Pro tip: Add the slurry gradually while whisking continuously
Burning Garlic
- Problem: Garlic turns bitter instead of aromatic
- Solution: Use Lola's technique - add garlic to a cold pan with oil, then heat gradually
- Recovery: If garlic starts to brown too quickly, immediately add the liquid ingredients
Storage & Reheating
Refrigeration
- Store chicken and sauce separately in airtight containers
- Keeps well for up to 3 days in the refrigerator
- Always cool completely before refrigerating
Freezing
- Freeze the fried chicken (without sauce) for up to 2 months
- Place in single layers with parchment paper between
- Sauce can be frozen separately in ice cube trays, then transferred to freezer bags
Reheating for Best Results
- Stovetop Method: Heat a non-stick pan over medium heat. Add chicken and a splash of water (creates steam). Cover and heat for 2-3 minutes until hot.
- Oven Method (Preferred): Preheat oven to 350°F. Place chicken on a wire rack over a baking sheet. Heat for 10-15 minutes until crispy and hot throughout.
- Microwave (Quick Option): Place chicken in a microwave-safe dish. Cover with a damp paper towel. Heat in 30-second intervals until hot.
- Sauce Reheating: Warm sauce separately in a small saucepan until just simmering. Toss with reheated chicken just before serving.
FAQ
Can I make this ahead for a party?
Yes! Fry the chicken and make the sauce up to a day ahead, but store separately. Reheat the chicken in the oven at 350°F for 10 minutes to restore crispiness, then toss with reheated sauce just before serving.
How do I know when the chicken is safely cooked?
The internal temperature should reach 165°F (74°C). Without a thermometer, ensure there's no pink in the center and juices run clear.
Can I use an air fryer instead of deep-frying?
Absolutely! Preheat your air fryer to 375°F, spray the basket with cooking oil, and cook the coated chicken for 12-15 minutes, shaking the basket halfway through. You'll still get crispy results with less oil.
Is this recipe gluten-free?
Not as written, but you can easily make it gluten-free by substituting tamari or coconut aminos for the soy sauce and ensuring your Shaoxing wine substitute is gluten-free.
Can I double this recipe for a larger crowd?
Yes, but fry in small batches to maintain oil temperature. For the sauce, you may not need to exactly double the honey – start with 1.5 times the amount and adjust to taste.
My family doesn't like spicy food. Can I omit the Sriracha?
Absolutely! The Sriracha adds depth more than heat, but you can omit it entirely or substitute with 1 teaspoon of ketchup for color and a mild flavor boost.
What's the best cut of chicken to use?
Thighs are recommended for their moisture and flavor, but breasts work well too if you prefer leaner meat. Just be careful not to overcook breast meat as it can dry out quickly.
Related
Looking for other recipes like this? Try these:
Restaurant-Style Honey Garlic Chicken
Equipment
- Large mixing bowls
- Deep frying pan or wok
- Thermometer (optional but recommended)
- Whisk
- Slotted spoon
- Paper towels
- Small saucepan
- Sharp knife and cutting board
Ingredients
For the Chicken Marinade:
- 1 pound boneless skinless chicken thigh or breast (manok), cut into 1-inch cubes
- ¼ cup soy sauce toyo
- 1 tablespoon Chinese cooking wine Shaoxing wine
- 2 egg whites puti ng itlog
- 1 tablespoon cornstarch gawgaw
For the Honey Garlic Sauce (Sarsa):
- ½ cup honey pulot
- ¼ cup light soy sauce toyo
- Juice from 1 lime dayap
- 4 cloves garlic peeled and grated (bawang)
- 1 teaspoon Sriracha sauce
- Salt asin and pepper (paminta) to taste
For Garnish:
- Green onions chopped (sibuyas dahon)
- Toasted sesame seeds optional
Instructions
- Begin by cutting your chicken thighs (hita ng manok) into uniform 1-inch cubes. Ensure your cuts are even for consistent cooking. Place the chicken pieces in a large mixing bowl (malaking mangkok).
- In your mixing bowl, combine the chicken with soy sauce (toyo) and Shaoxing wine. If Shaoxing wine isn't available, you may substitute rice wine vinegar or regular white vinegar. Mix well until all pieces are evenly coated. Cover the bowl and place in the refrigerator set at 40°F (4°C). Let the chicken marinate for exactly 30 minutes - no longer, as the soy sauce can make the meat too salty.
- While waiting, prepare your cooking station. Set up a wire rack (cooling rack) over a baking sheet, or lay out several layers of paper towels for draining. Have your thermometer ready to monitor oil temperature (temperatura ng mantika).
- After 30 minutes, remove the chicken from the refrigerator. Drain off all the marinade and pat the chicken pieces thoroughly dry with paper towels. Patting dry is crucial (importante) for achieving a crispy coating.
- In a clean bowl, vigorously whisk two egg whites (puti ng itlog) until they become frothy but not stiff. Add one tablespoon of cornstarch (gawgaw) to the egg whites and whisk until completely smooth with no lumps (walang butil-butil).
- Add your dried chicken pieces to the egg white mixture and gently fold until each piece is evenly coated. Allow this coating to rest on the chicken for 5 minutes to ensure proper adhesion.
- Pour cooking oil into your deep frying pan or wok (kawali) until it reaches a depth of at least 3 inches. Heat the oil to exactly 350°F (175°C). If you don't have a thermometer, test the oil by dropping a small amount of coating into it - it should bubble gently and float to the surface.
- Working in small batches (4-5 pieces at a time), carefully lower the coated chicken pieces into the hot oil. Fry for exactly 3 minutes until they turn light golden in color. Remove them using a slotted spoon or spider strainer (sandok na may butas) and place on your prepared wire rack or paper towels. Repeat with remaining chicken. Let all pieces rest for 5 minutes.
- Increase your oil temperature to 375°F (190°C). Return the chicken pieces to the hot oil in batches for their second fry. Cook for 2-3 minutes until they achieve a deep golden brown color. Check that the internal temperature reaches 165°F (74°C) for food safety. Remove and drain again.
- In a clean wok or large pan, begin preparing your sauce (sarsa). Over medium heat (350°F/175°C), gently toast your minced garlic (bawang na dinikdik) until fragrant but not brown, about 30 seconds. Immediately add your honey (pulot) and light soy sauce (toyo), stirring constantly to combine.
- Let the sauce simmer until it starts bubbling, about 2-3 minutes. Add your calamansi or lime juice (katas ng kalamansi), stirring to incorporate. Reduce the heat to low (200°F/93°C) and continue simmering until the sauce thickens enough to coat the back of a spoon.
- Return all your fried chicken pieces to the pan with the sauce. Gently toss everything together for 30 seconds until each piece is evenly coated with the glossy sauce (makintab na sarsa). The sauce should cling to the chicken without making it soggy.
- Transfer your honey garlic chicken to a serving plate. Garnish with additional toasted garlic (sinangag na bawang) and chopped green onions (dahon ng sibuyas). Serve immediately while hot, ideally with steaming white rice (mainit na kanin).
- For any leftover chicken, allow it to cool completely before storing. Keep the chicken and any extra sauce in separate airtight containers in the refrigerator. When reheating, warm the chicken in an oven at 350°F (175°C) for 10 minutes to restore crispiness, then toss with reheated sauce just before serving.
- Note: For best results, maintain your oil temperature (temperatura ng mantika) as consistently as possible throughout the frying process. A thermometer is highly recommended, but if you don't have one, make sure the oil gently bubbles around the chicken - too much bubbling means the oil is too hot, while too little means it's not hot enough.
Tips from Lola's Kitchen
- Freeze chicken for 15 minutes before cutting for easier slicing
- Always cut chicken against the grain for maximum tenderness
- Pat chicken dry before coating for better adhesion
- Double-fry technique: Fry once at 350°F, rest for 5 minutes, then fry again at 375°F for extra crispiness
- Keep oil temperature consistent for even cooking
- Use a candy thermometer to monitor oil temperature
Nutrition
The Story Behind Honey Garlic Chicken
This Asian-inspired honey garlic chicken recipe has become a beloved staple in Filipino homes, particularly gaining popularity through Chinese restaurants like North Park that have perfected the balance of crispy chicken and that irresistible honey garlic sauce. While many assume this dish has ancient Chinese origins, it actually emerged in North America during the 1970s when Chinese-American restaurants began adapting traditional recipes to local tastes, creating fusion dishes that would appeal to Western palates.
The dish quickly spread across Asia, with each country adding its own twist. In the Philippines, local cooks enhanced the recipe by incorporating distinctly Filipino elements like calamansi instead of lemon, and adding a hint of toyo (soy sauce) for that signature Asian umami that Filipinos love. The result is a perfectly balanced sauce that's matamis-alat (sweet-salty) – a flavor profile that's incredibly popular in Filipino cuisine.
What makes this version special is the use of traditional Filipino cooking techniques passed down through generations. Many Pinoy home cooks have perfected the art of double-frying (a technique locally known as "double kawali") to achieve that signature crispiness that rivals any restaurant version. The addition of cornstarch in the marinade, a technique known as "velveting" in Chinese cooking, has been embraced by Filipino cooks to ensure the chicken stays incredibly tender inside while maintaining its crispy exterior.
Today, honey garlic chicken has earned its place in modern Filipino comfort food alongside classics like Chicken Joy and Sweet and Sour Pork. It's become a staple at family gatherings, potluck parties, and even small carinderias (local eateries) across the Philippines. The dish perfectly represents the evolution of Filipino cuisine – taking international flavors and making them uniquely our own through local ingredients and cooking methods.
Whether you're craving restaurant-style honey garlic chicken or looking to recreate those late-night North Park memories, this recipe captures that perfect balance of sweet honey, aromatic garlic, and savory soy sauce that's made it a Filipino favorite. It's ideal for busy weeknight dinners yet special enough for celebrations, proving that sometimes the best dishes are those that bridge cultures and bring families together around the dinner table.
You'll find that this homemade version often tastes even better than takeout, as you can control the sweetness, adjust the garlic to your liking, and ensure the chicken is perfectly cooked to your preference. Plus, the aroma of garlic toasting and honey caramelizing in your kitchen creates an inviting atmosphere that no delivery service can match.
This detailed recipe has been tested countless times in Filipino home kitchens, incorporating feedback from both experienced cooks and beginners. Every step, from the marinade to the final garnish, has been carefully crafted to ensure you achieve that restaurant-quality taste while using ingredients readily available in local markets and supermarkets.
Remember: Perfect honey garlic chicken isn't just about the sauce-to-chicken ratio—it's about achieving that caramelized exterior while keeping the chicken juicy inside, and creating a sauce that's thick enough to coat each piece but still has plenty left to flavor the rice.

Comments
No Comments