You know those lazy Sunday mornings when you peek into your backyard garden and spot those tender okra pods ready for picking? That's exactly how this recipe came to be in our family.
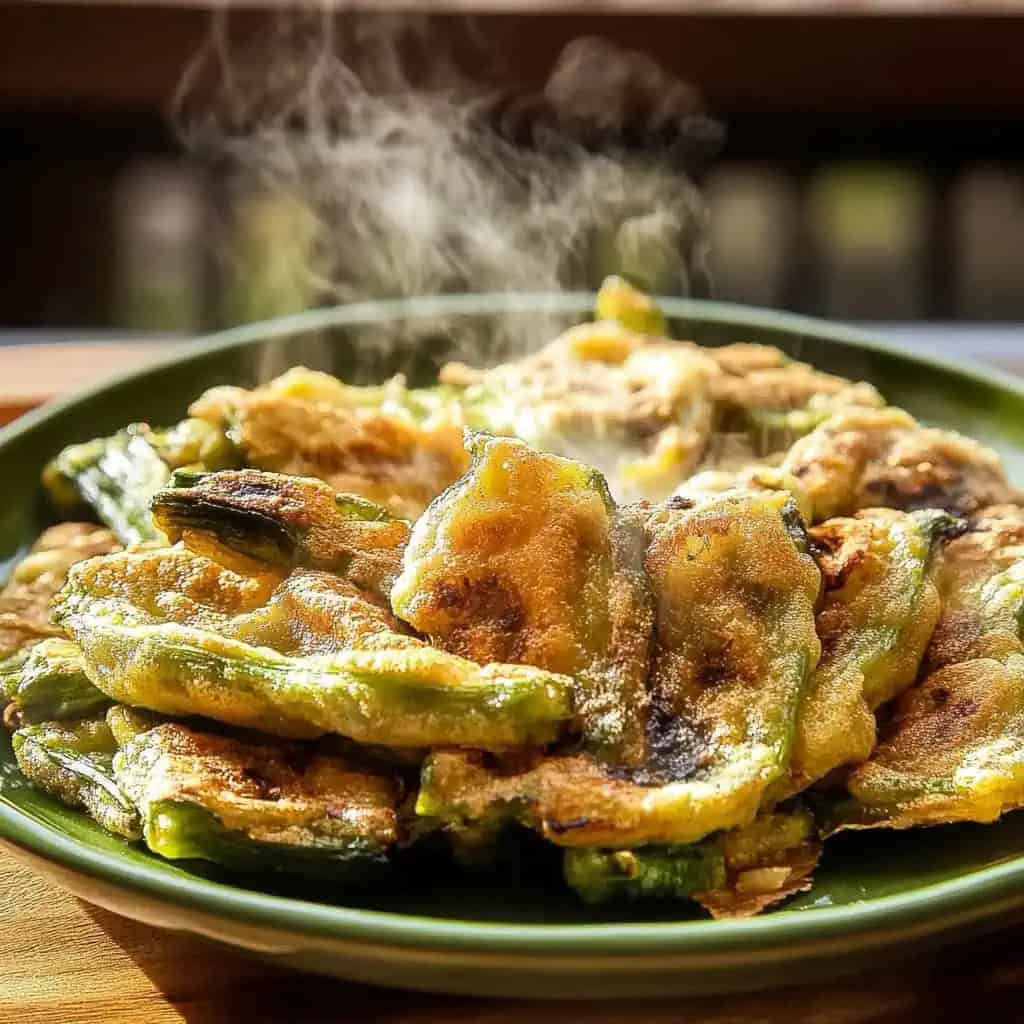
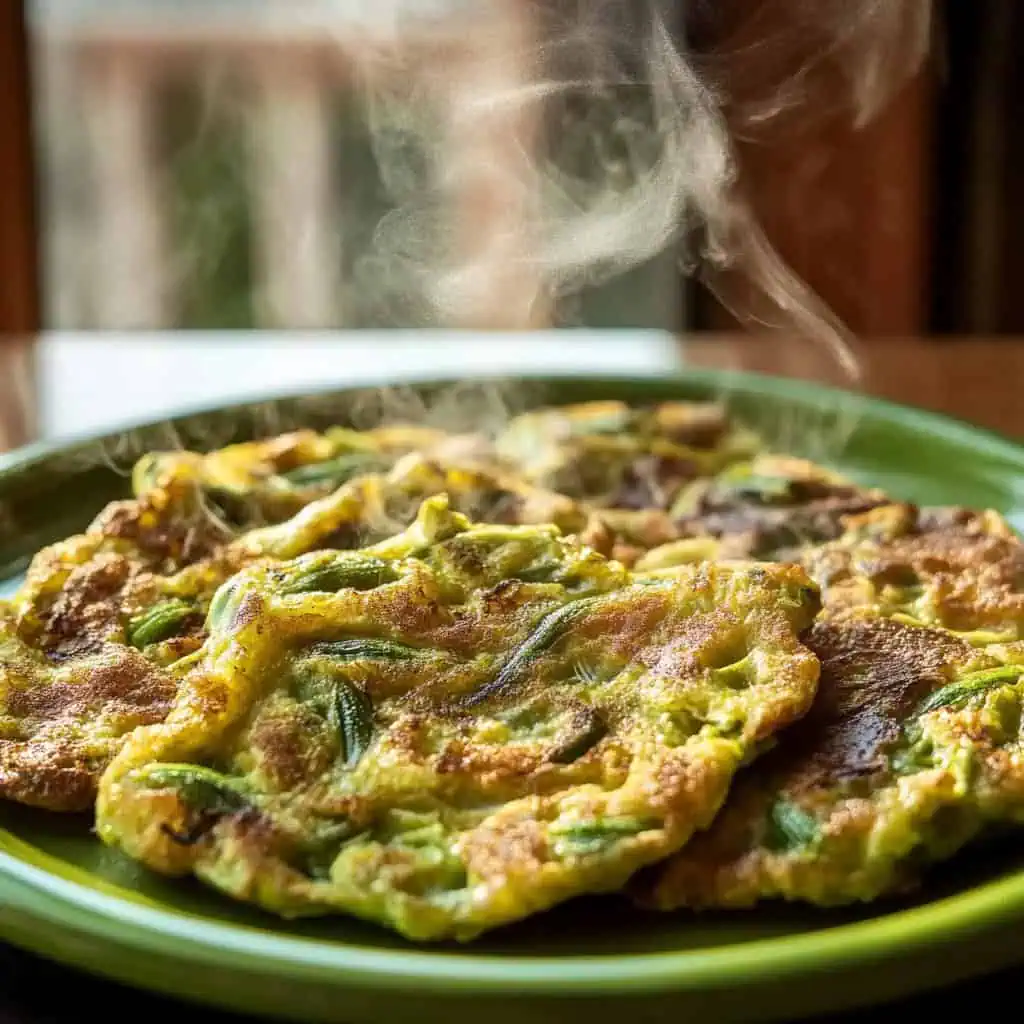
Growing up in the Philippines, we always had okra growing along our back fence. While most folks know okra from our classic sinigang or ginisa, this Tortang Okra recipe is our family's favorite way to use up those fresh morning harvests. It turns those backyard vegetables into something a crispy, golden omelette.
It's simple, homey cooking at its best, and it always reminds me of those morning garden harvests with my Lola.
Jump to:

Why You'll Love This Recipe
- Unique texture combination - crispy edges with tender okra
- Budget-friendly yet nutritious
- Ready in under 30 minutes
- Perfect for breakfast or ulam (main dish)
- Kid-friendly way to enjoy vegetables
Ingredients
The ingredients in this Tortang Okra recipe work together beautifully to create a balanced dish. Fresh okra provides nutrients and unique texture, while eggs bind everything together and add protein.
Cornstarch is the secret weapon that reduces okra's natural sliminess and creates crispy edges. Spring onions and garlic add aromatic flavor, enhancing the dish without overpowering it. The simple seasonings of salt and pepper let the natural flavors shine through, while cooking oil creates that essential golden-brown exterior.
Together, these ingredients transform humble vegetables into a satisfying meal that's both economical and delicious.

- 3 large eggs
- 2 tablespoons cornstarch
- 2 tablespoons water
- 2 cups okra, thinly sliced
- 2 stalks spring onions, chopped (white and green parts separated)
- 3 cloves garlic, minced
- Freshly ground black pepper
- Salt
- Cooking oil
Equipment
- Non-stick pan - Ensures easy flipping and even cooking without sticking
- Sharp knife - Creates precise, thin slices of okra for optimal texture
- Whisk - Thoroughly combines eggs and cornstarch for a smooth mixture
- Spatula - Helps shape the omelette and allows for clean flipping
- Cutting board - Provides stable surface for safe vegetable preparation
- Measuring cups and spoons - Ensures accurate ingredient proportions

How To Make
- In a bowl, whisk together 3 large eggs, 2 tablespoons cornstarch, 2 tablespoons water, ½ teaspoon salt, and ¼ teaspoon ground black pepper until completely smooth. Set aside.
- Thinly slice 2 cups of fresh okra at an angle. Chop 2 stalks of spring onions, keeping white and green parts separate. Mince 3 cloves of garlic.
- Heat 2 tablespoons of oil in a non-stick pan over medium heat (350°F/175°C). Add the minced garlic and white parts of spring onions, cooking until fragrant, about 1 minute. Add the sliced okra and stir-fry for 2 minutes. Remove vegetables from pan and let cool slightly.
- Once cooled, gently mix the cooked vegetables into your egg mixture. Add the green parts of spring onions and stir to combine everything evenly.
- Heat 3 tablespoons of fresh oil in your pan over medium-low heat (325°F/165°C). Test if the oil is ready by dropping a tiny bit of egg mixture in—it should sizzle gently. For each piece, scoop about ⅔ cup of mixture into the hot pan. Use your spatula to gently flatten and shape into a round patty.
- Cook each piece for 3 minutes on the first side, or until golden brown. You'll know it's ready to flip when the edges start to look set. Carefully flip and cook for another 3 minutes on the other side.
- Serve immediately while hot and crispy. Pair with banana ketchup or spiced vinegar for dipping. Each batch should make 4-6 pieces, depending on your preferred size.
Note: If cooking multiple pieces, wipe the pan clean with paper towels and add fresh oil between batches to prevent burning and ensure even browning.

Tips from Lola's Kitchen
- Get the perfect slice - Cut okra thinly at an angle to reduce the natural sliminess and create better texture in the final dish.
- Moisture matters - Always pat the okra dry after washing to ensure crispy edges on your omelette.
- Respect the space - Don't overcrowd the pan—cook in batches for the best results. Each omelette needs room to brown properly.
- Temperature test - The oil should be hot but not smoking. Test with a drop of egg mixture—if it sizzles gently, it's perfect.
- Patience pays off - Let the first side cook until truly golden before attempting to flip. Rushing this step leads to broken omelettes.
Substitutions
- No cornstarch? Use all-purpose flour instead, though the texture will be slightly less crisp.
- Out of spring onions? Regular white or yellow onions work well, just use about ¼ cup finely chopped.
- Fresh okra unavailable? Frozen okra can work—just thaw completely and pat very dry before using.
- Egg alternatives? This recipe doesn't work well with egg substitutes due to the setting properties needed.
- Oil options - Any neutral oil works, but coconut oil adds a subtle flavor that complements the dish nicely.
Troubleshooting
- Problem: Omelette is too slimy Solution: Increase cornstarch to 3 tablespoons and make sure to slice okra very thinly.
- Problem: Omelette breaks when flipping Solution: Let it cook longer on the first side until edges are completely set, and use a wide spatula.
- Problem: Not getting crispy edges Solution: Ensure your oil is hot enough before adding the mixture and don't overcrowd the pan.
- Problem: Mixture is too watery Solution: Let cooked vegetables cool completely before adding to eggs, and pat okra extra dry.
- Problem: Burning too quickly Solution: Lower your heat to medium-low and add a bit more oil to create buffer between pan and mixture.
Storage & Reheating
- Refrigeration: Store leftovers in an airtight container for up to 3 days. The texture will soften but flavors will deepen.
- Reheating method: For best results, reheat in a lightly oiled pan over medium heat for 2-3 minutes per side. This restores some crispness.
- Not recommended: Freezing isn't recommended as the texture of both eggs and okra deteriorates significantly.
- Meal prep tip: You can pre-slice okra and store in the refrigerator for 1-2 days before using, but the complete mixture should be cooked immediately.
- Room temperature: Safe at room temperature for up to 2 hours, making it good for packed lunches if consumed within this timeframe.
FAQ
Why add cornstarch to the egg mixture?
Cornstarch creates crispier edges and helps bind the mixture, counteracting okra's natural sliminess for better texture.
Can I make Tortang Okra ahead of time?
While best served fresh and hot, you can prepare it up to 4 hours ahead and reheat in a pan. The texture won't be as crisp but flavors will still be delicious.
How do I prevent the okra from being too slimy?
Slice the okra thinly, don't overcook during the initial stir-fry, and add enough cornstarch to the egg mixture to balance moisture.
Is this dish spicy?
The basic recipe isn't spicy, but you can add bird's eye chilies or cayenne pepper to taste if you prefer heat.
What's the best dipping sauce to serve with it?
Traditional options include banana ketchup or spiced vinegar (suka), but sweet chili sauce also pairs wonderfully.
Can I add meat to this recipe?
Absolutely! Small amounts of pre-cooked ground pork, shredded chicken, or flaked tinapa (smoked fish) work beautifully.
Why separate the white and green parts of spring onions?
The white parts are cooked first to develop flavor, while the greens are added later for fresh color and taste.
Can I use this recipe for meal prep?
It's best enjoyed fresh, but you can store cooked omelettes for 2-3 days in the refrigerator and reheat in a pan.
Related
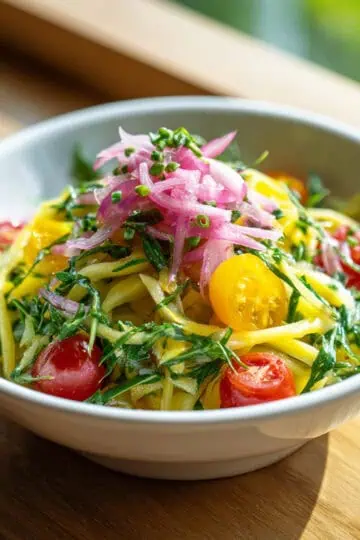
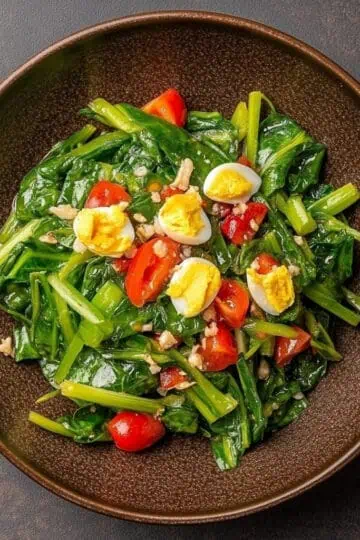
Looking for other recipes like this? Try these:


Tortang Okra (Filipino Okra Omelette)
Equipment
- Non-stick pan (kawali) ensures easy flipping and even cooking
- Sharp knife (kutsilyo) for precise okra slicing
- Whisk for smooth egg mixture
- Spatula for flipping the torta
- Cutting board (Sangkalan) for preparing ingredients
- Measuring cups and spoons (Panukat) for accurate portions
Ingredients
- 3 large eggs itlog
- 2 tablespoon cornstarch
- 2 tablespoon water tubig
- 2 cups okra okra, thinly sliced (manipis na hiwa)
- 2 stalks spring onions dahon ng sibuyas, chopped, white and green parts separated
- 3 cloves garlic bawang, minced (dinikdik)
- Freshly ground black pepper dinurog na paminta
- Salt asin
- Cooking oil mantika
Instructions
- Begin by whisking together 3 large eggs, 2 tablespoons cornstarch, 2 tablespoons water, ½ teaspoon salt, and ¼ teaspoon ground black pepper in a bowl until the mixture is completely smooth. Set this aside.
- Thinly slice 2 cups of fresh okra at an angle. Chop 2 stalks of spring onions, keeping the white and green parts separate. Mince 3 cloves of garlic.
- Heat 2 tablespoons of oil in a non-stick pan over medium heat (350°F/175°C). Add the minced garlic and white parts of spring onions, cooking until fragrant, about 1 minute. Add the sliced okra and stir-fry for 2 minutes. Remove the vegetables from the pan and let them cool slightly.
- Once cooled, gently mix the cooked vegetables into your egg mixture. Add the green parts of spring onions and stir to combine everything evenly.
- Heat 3 tablespoons of fresh oil in your pan over medium-low heat (325°F/165°C). To test if the oil is ready, drop a tiny bit of egg mixture in - it should sizzle gently. For each piece, scoop about ⅔ cup of the mixture into the hot pan. Use your spatula to gently flatten and shape it into a round patty.
- Cook each piece for 3 minutes on the first side, or until golden brown. You'll know it's ready to flip when the edges start to look set. Carefully flip and cook for another 3 minutes on the other side.
- Serve immediately while hot and crispy. Pair with banana ketchup or spiced vinegar (suka) for dipping. Each batch of mixture should make 4-6 pieces, depending on your preferred size.
- Note: If cooking multiple pieces, wipe the pan clean with paper towels and add fresh oil between batches to prevent burning and ensure even browning.
Tips from Lola's Kitchen
- Slice okra thinly at an angle to reduce sliminess
- Pat okra dry after washing to ensure crispier edges
- Don't overcrowd the pan - cook in batches if needed
- Test oil temperature with a drop of egg mixture - it should sizzle gently
Nutrition
The Story Behind Tortang Okra
In the heart of Filipino home gardens, where vegetables grow in abundance alongside herbs and fruit trees, okra has always held a special place in our daily meals. This humble vegetable, known locally as "okra" or "lady fingers," thrives in the tropical climate of the Philippines, making it a backyard staple across the archipelago.
While okra traditionally stars in dishes like sinigang (sour soup) and ginisang okra (sautéed okra), the creation of Tortang Okra speaks to the Filipino talent for culinary innovation and resourcefulness. Like many beloved Filipino recipes, this dish emerged from the practice of "recycling" leftover vegetables by transforming them into something entirely new through the addition of eggs - a cooking technique that reflects both practical wisdom and creative ingenuity.
The word "torta" itself comes from Spanish influence, meaning omelette, but Filipinos have made it uniquely their own. In Filipino cuisine, torta has evolved to encompass a wide variety of egg-based dishes, from Tortang Talong (eggplant omelette) to Tortang Giniling (ground meat omelette). What makes Tortang Okra special is its distinctive addition of cornstarch to the egg mixture - a technique that creates the sought-after crispy exterior while maintaining the vegetable's tender interior.
In many Filipino households, especially in provincial areas where okra grows abundantly, this dish represents the essence of "lutong bahay" (home cooking). It's often prepared for breakfast or as a simple lunch paired with steamed rice, embodying the Filipino tradition of transforming simple, home-grown ingredients into satisfying meals that bring families together around the table.
Today, as more people discover the versatility and health benefits of okra, this once-humble torta variation is finding its way onto more breakfast tables and into the spotlight of Filipino food blogs and cooking shows. Its growing popularity reflects a broader appreciation for traditional Filipino cooking methods that minimize waste while maximizing flavor and nutrition.


Comments
No Comments