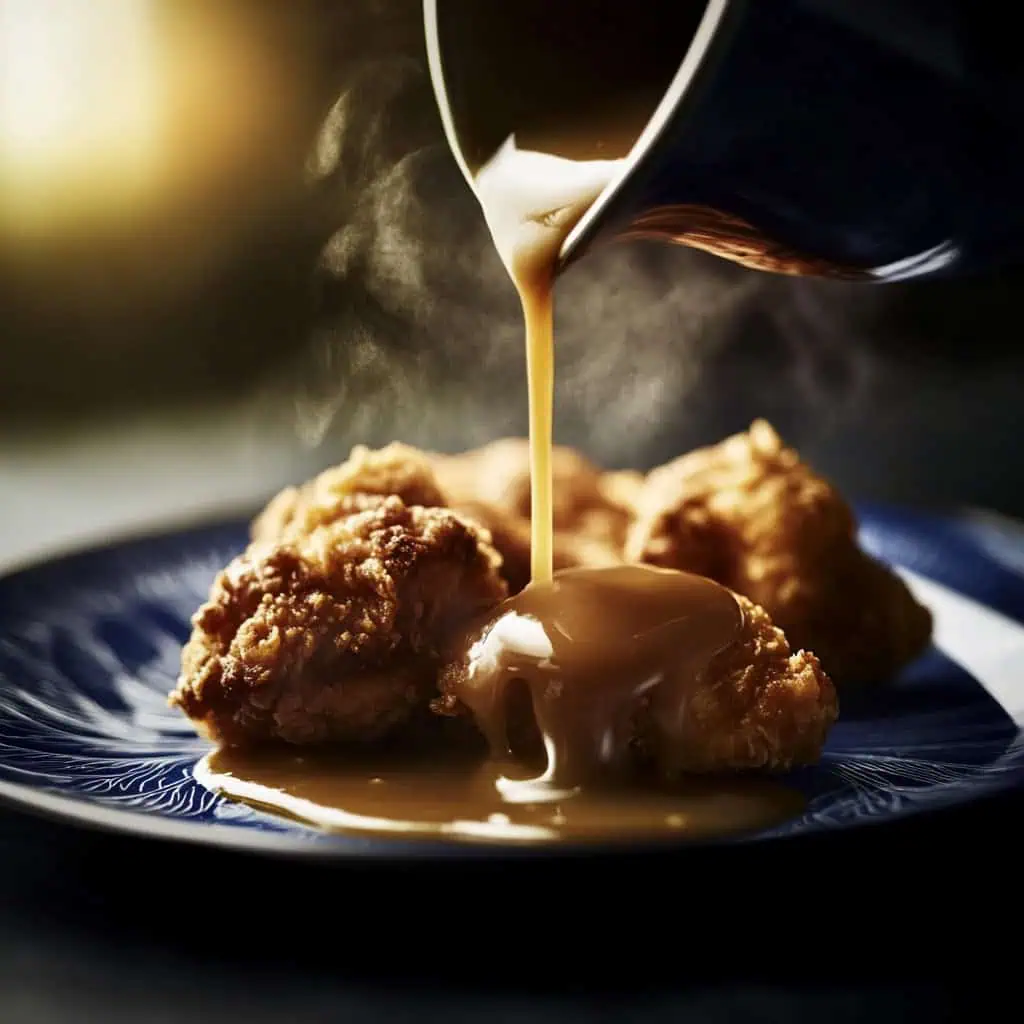
You know that moment when you're at KFC, and you find yourself shamelessly scraping every last drop of gravy off your plate? Yeah, we've all been there. That rich, smooth, golden-brown sauce is practically drinkable - let's be honest, some of us have definitely thought about it!
While their chicken is legendary, it's their gravy that turns a simple meal into comfort food heaven. Whether you're drowning your mashed potatoes in it or using it as a dip for your fries (or secretly mixing it with rice), KFC's gravy is pure magic.
But here's the thing: you don't need to drive to KFC or use any canned stuff to get that same amazing taste. This homemade version nails that signature flavor using just simple pantry ingredients. So let's make some gravy that would make the Colonel himself proud!
Jump to:
Why You'll Love This Recipe
- Made with simple pantry ingredients you already have
- No artificial ingredients or canned gravy needed
- Rich, smooth texture without any lumps (walang buo-buo)
- Perfect thickness that clings beautifully to food
- More affordable than store-bought alternatives
- Customizable to your taste preferences
- Ready in just 20 minutes
Ingredients
This recipe captures KFC's signature gravy flavor by using a carefully balanced combination of simple ingredients. Butter creates the rich base while all-purpose flour provides the perfect thickening power when browned properly.
The chicken bouillon cube delivers that distinctive savory flavor that makes KFC gravy so addictive, eliminating the need for actual chicken drippings.The optional garlic and onion powders add subtle depth without overwhelming the classic taste, while black pepper provides that slight warmth in the background.
What makes this recipe special isn't fancy ingredients, but rather the technique of slowly browning the flour until golden – creating that unmistakable KFC color and nutty flavor that turns ordinary ingredients into something extraordinary.

- 3 tablespoons butter or vegetable shortening
- 5 tablespoons all-purpose flour
- 1 piece chicken bouillon cube
- 2 cups water
- ¼ teaspoon garlic powder (optional)
- ¼ teaspoon onion powder (optional)
- ¼ teaspoon black pepper (optional)
- Salt to taste (if needed)
Equipment
- Medium Saucepan - For cooking the gravy base and providing enough surface area for even browning of the flour
- Wooden Spoon - For stirring without scratching the pan and helping to incorporate ingredients gently
- Whisk - Essential for breaking up lumps and ensuring a perfectly smooth texture
- Measuring Cups and Spoons - For precise ingredient portions to achieve the right consistency
- Strainer - Optional, for extra smooth gravy by removing any small lumps that may have formed
How To Make
- Heat your saucepan over low heat, around 140°C/285°F. Add the butter and let it melt completely. Once melted, sprinkle in 2 tablespoons of flour and cook for 7 to 8 minutes, stirring constantly. Keep stirring until the flour turns a medium brown color - be patient and watch carefully to prevent burning.
- Add the remaining flour and continue stirring. The mixture will start to look like wet sand. This is your roux, and it needs to become golden brown to give your gravy that perfect color. If it starts to smell nutty, you're on the right track.
- Now comes the most important part: slowly pour in the water while whisking continuously. Add it bit by bit - this prevents lumps from forming. Drop in the chicken cube and keep whisking until it dissolves completely.
- Turn the heat up to medium (175°C/350°F) and bring everything to a gentle boil. Keep cooking for about 5 more minutes, stirring occasionally. You'll know your gravy is ready when it coats the back of a spoon and slowly drips off instead of running like water.
- If your gravy seems too thick, add a little hot water, one tablespoon at a time. If it's too thin, let it simmer a bit longer. Give it a final taste and add a pinch of salt if needed. Pour it through a strainer if you want it extra smooth, then serve hot over your fried chicken or mashed potatoes.
Remember: Low and slow is the key to perfect gravy. Take your time with the flour-browning step, and you'll be rewarded with rich, lump-free gravy every time.

Tips from Lola's Kitchen
- Start with a dry pan before adding butter to prevent a watery roux
- Use a heavy-bottomed pan for even heat distribution and to prevent burning
- Toast the flour well for better color and flavor - this is where the signature taste comes from
- Add liquid gradually to prevent lumps forming - small amounts at first, whisking thoroughly
- Keep your stirring motion constant for smooth gravy development
- Use hot water instead of cold when thinning gravy for faster incorporation
- Let the gravy rest for 1-2 minutes before serving to allow flavors to fully develop
- Strain through a fine-mesh sieve for restaurant-quality smoothness
Substitutions
- Butter: Use margarine, vegetable oil, or even chicken fat skimmed from stock for extra flavor
- Chicken bouillon cube: Replace with 2 teaspoons chicken powder, 1 teaspoon chicken base, or 1 cup chicken stock (reduce water accordingly)
- All-purpose flour: Cornstarch (use half the amount) or rice flour for a gluten-free option
- Water: Chicken stock for deeper flavor or a mix of stock and milk for a creamier version
- Garlic/onion powder: Fresh minced garlic or onion (1 teaspoon each), sautéed in the butter before adding flour
Troubleshooting
- Lumpy gravy: Whisk vigorously or strain through a fine-mesh sieve. Next time, add liquid more gradually.
- Too pale: The roux wasn't cooked long enough. Cook roux longer next time until it reaches a peanut butter color.
- Too thick: Add hot water or stock gradually, one tablespoon at a time, whisking after each addition.
- Too thin: Mix 1 teaspoon cornstarch with 1 tablespoon cold water and whisk into simmering gravy, or simmer longer uncovered.
- Burnt taste: Unfortunately, you'll need to start over. Watch heat carefully and use a heavy-bottomed pan.
- Bland flavor: Add more bouillon or a dash of soy sauce for umami depth.
Storage & Reheating
- Refrigerator: Store in an airtight container for 3-4 days. A thin film will form on top - this is normal.
- Freezer: Pour cooled gravy into ice cube trays or freezer bags and freeze for up to 3 months.
- Refrigerated gravy: It will thicken considerably when cold. This is normal.
- Reheating: Warm over low heat with a splash of water or stock (about 1-2 tablespoons per cup of gravy), whisking constantly to restore silky consistency.
- Signs of spoilage: Discard if you notice an off smell, mold, or significant separation that doesn't reincorporate when heated.

FAQ
Why isn't my gravy brown enough?
The key is cooking the roux (flour and butter mixture) long enough. For KFC-style color, the roux should reach a medium-brown shade, similar to peanut butter. This takes patience - around 7-8 minutes of constant stirring.
Can I make this ahead for a party?
Absolutely! Make it up to 3 days ahead and store in the refrigerator. When reheating, add a splash of water or stock as it will thicken in storage. Whisk while reheating for the best consistency.
Why did my gravy get lumpy?
This typically happens when liquid is added too quickly to the roux. The solution is to add liquid very gradually while whisking constantly. If you already have lumps, strain the gravy through a fine-mesh sieve or blend with an immersion blender.
Is this gluten-free?
No, the traditional recipe uses wheat flour. For a gluten-free version, substitute cornstarch (use half the amount) or a gluten-free flour blend. Be sure your bouillon cube is also gluten-free.
Can I double the recipe?
Yes, this recipe doubles well. The cooking time remains similar, but you may need to extend the roux-browning phase by a minute or two for larger quantities.
How can I make this healthier?
Use olive oil instead of butter, reduce the amount to 2 tablespoons, and use low-sodium bouillon. You can also use whole wheat flour, though it will change the flavor slightly.
Why does KFC gravy taste different from other gravies?
KFC's signature flavor comes from properly browning the flour and using the right seasonings. Their original recipe likely included drippings from their fried chicken, but our homemade version compensates with bouillon and careful technique.
Can I add drippings from fried chicken?
Absolutely! Replace 2-3 tablespoons of butter with strained drippings from fried chicken for an even more authentic KFC flavor.
Related
Looking for other recipes like this? Try these:


Homemade KFC-Style Gravy Recipe
Equipment
- Medium Saucepan (Kaserola) For cooking the gravy base
- Wooden spoon For stirring without scratching the pan
- Whisk (Panghalo) Essential for breaking up lumps
- Measuring cups and spoons (Panukat) For precise ingredient portions
- Strainer [Salaan] Optional, for extra smooth gravy
Ingredients
- 3 tablespoons butter or vegetable shortening mantikilya o shortening
- 5 tablespoons all-purpose flour harina
- 1 piece chicken bouillon cube
- 2 cups water tubig
- ¼ teaspoon garlic powder pulbos na bawang - optional
- ¼ teaspoon onion powder pulbos na sibuyas - optional
- ¼ teaspoon black pepper paminta - optional
- Salt to taste asin - if needed
Instructions
- Heat your saucepan over low heat, around 140°C/285°F. Add the butter and let it melt completely. Once melted, sprinkle in 2 tablespoons of flour and cook for 7 to 8 minutes, stirring constantly. Keep stirring until the flour turns a medium brown color - be patient and watch carefully to prevent burning.
- Add the remaining flour and continue stirring. The mixture will start to look like wet sand. This is your roux, and it needs to become golden brown to give your gravy that perfect color. If it starts to smell nutty, you're on the right track.
- Now comes the most important part: slowly pour in the water while whisking continuously. Add it bit by bit - this prevents lumps from forming. Drop in the chicken cube and keep whisking until it dissolves completely.
- Turn the heat up to medium (175°C/350°F) and bring everything to a gentle boil. Keep cooking for about 5 more minutes, stirring occasionally. You'll know your gravy is ready when it coats the back of a spoon and slowly drips off instead of running like water.
- If your gravy seems too thick, add a little hot water, one tablespoon at a time. If it's too thin, let it simmer a bit longer. Give it a final taste and add a pinch of salt if needed. Pour it through a strainer if you want it extra smooth, then serve hot over your fried chicken or mashed potatoes.
- Remember: low and slow is the key to perfect gravy. Take your time with the flour-browning step, and you'll be rewarded with rich, lump-free gravy every time.
Tips from Lola's Kitchen
- Toast the flour well for better color and flavor
- Add liquid gradually to prevent lumps
- Keep stirring motion constant for smooth gravy
- If too thick, add hot water tablespoon by time
- If too thin, simmer longer to reduce
- Strain before serving for restaurant-quality smoothness
Nutrition
The Story Behind Homemade KFC-Style Gravy
Growing up in a Filipino household, there was always something magical about those special trips to KFC. While everyone raved about the chicken (and rightfully so), it was their gravy that left an indelible mark on our food memories. That rich, velvety sauce became the gold standard of what gravy should be - not just a condiment, but an essential part of the meal itself.
The origins of KFC's gravy recipe date back to the 1950s when Colonel Sanders himself perfected the formula alongside his famous 11 herbs and spices. The story goes that the Colonel insisted on making gravy fresh throughout the day, understanding that great fried chicken deserved an equally outstanding sauce. What made it unique was its consistency - neither too thick nor too thin, with a distinctive color that came from perfectly browned flour rather than artificial additives.
Over the years, countless home cooks and food enthusiasts have tried to recreate this iconic sauce. Many recipes called for canned gravies or beef bouillon, overcomplicating what should be a straightforward process. The secret, I discovered, lies not in special ingredients but in technique - particularly in how you brown the flour and incorporate the liquid. This patient process creates that signature KFC flavor that we've all come to love.
After years of experimentation in my own kitchen, this recipe emerged as the closest homemade version to the beloved original. It captures that perfect balance of savory flavors and silky texture that makes KFC's gravy so irresistible. The best part? It uses simple pantry staples, proving that sometimes the most authentic flavors come from the most basic ingredients.
Today, this gravy recipe has become a staple in countless Filipino homes, where it's not uncommon to see it served not just with fried chicken, but also drizzled over hot rice or used as a dip for french fries. It's a testament to how a simple sauce can transcend its original purpose to become something truly special in our culinary repertoire.

Comments
No Comments