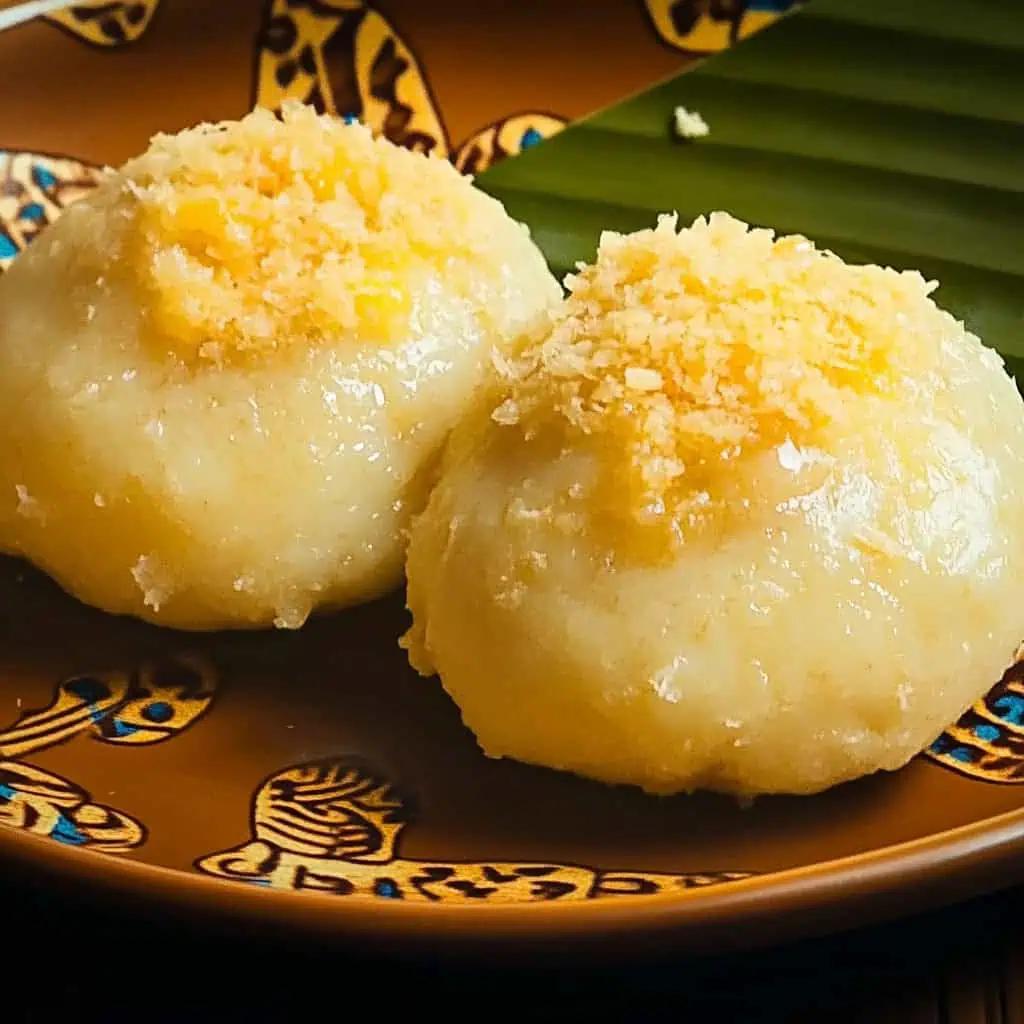
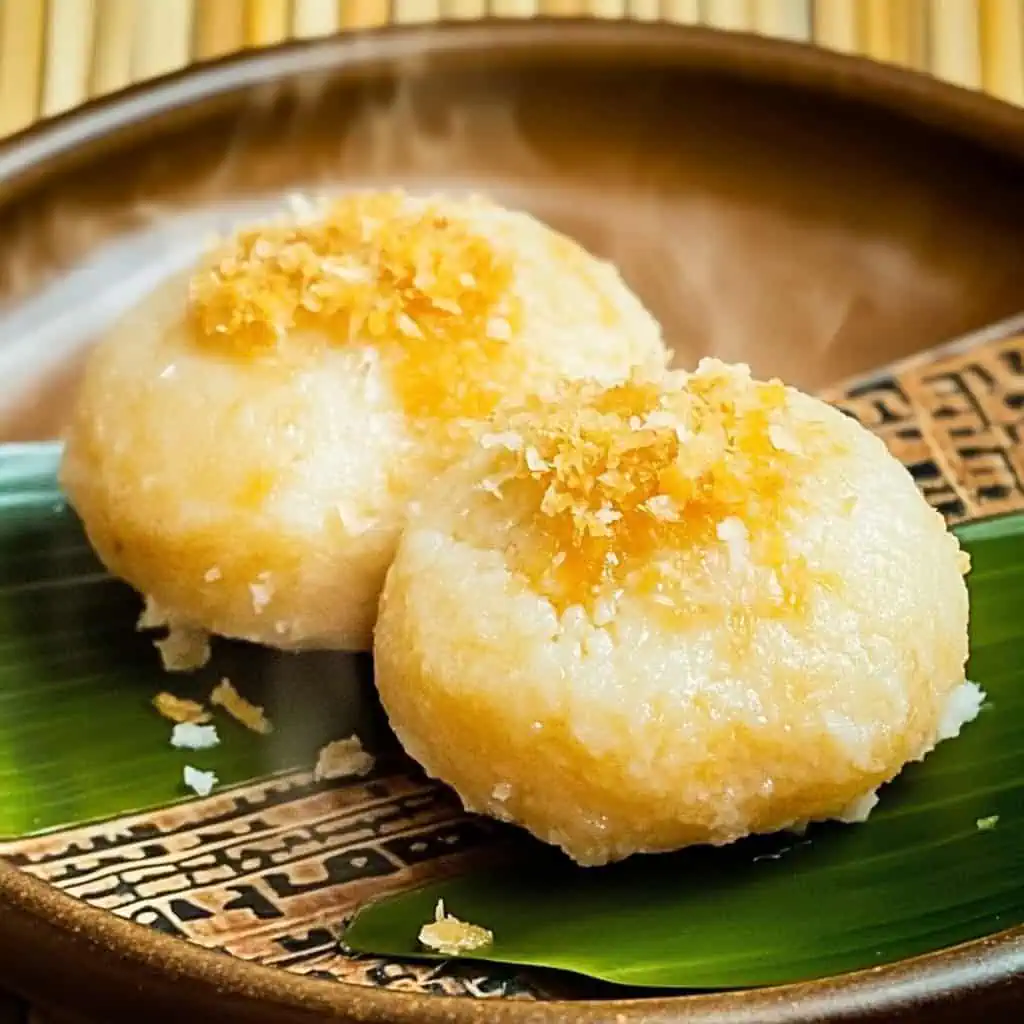
I grew up watching my grandmother make Puto Balanghoy in our small kitchen, and it's still my favorite Filipino afternoon snack. This steamed cassava cake might look fancy, but trust me - if you can grate cassava and squeeze coconut milk, you can make this.
What makes this recipe special is its simple ingredients that create the most comforting merienda. The chewy texture of cassava, sweetness of brown sugar, and that heavenly coconut-condensed milk topping bring back memories of afternoon snacks at home after school.
I've spent years perfecting my Lola's recipe, making it easier for anyone to recreate in their own kitchen. Every time I serve this to my friends and family, they're surprised at how something so delicious can be made from basic ingredients like cassava and coconut.
Whether you're missing home or just want to try making traditional Filipino kakanin, this recipe will help you create the perfect Puto Balanghoy - soft, sweet, and topped with that signature creamy sauce that makes everyone ask for seconds.
Important Safety Note
Cassava must be properly prepared to remove natural toxins. Always use fresh cassava with pure white flesh, no dark spots or lines. Peel, wash, and grate thoroughly. Never skip the liquid extraction step.
Jump to:
Why You'll Love This Recipe
- Authentic Filipino flavor passed down through generations
- Simple, wholesome ingredients
- Perfect balance of sweetness and texture
- Can be made ahead for gatherings
- Naturally gluten-free
- Rich in energy and nutrients from cassava
Ingredients
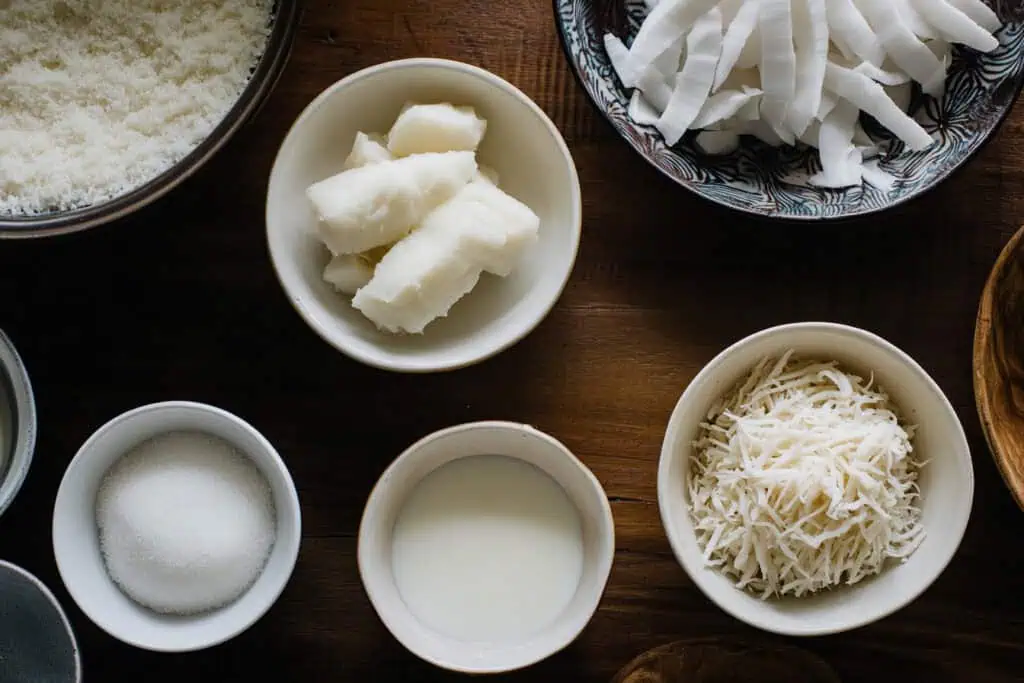
For the Cassava Cake:
- 1 kg fresh cassava (about 2-3 large roots)
- 1 medium coconut, freshly grated (about 3-4 cups when grated)
- ½ cup brown sugar, packed
- 1 cup young coconut meat (buko), finely shredded
- ¼ teaspoon salt
For the Topping:
- 1 can (300ml) condensed milk
- 2 cups coconut milk (extracted from remaining grated coconut)
- ⅔ cup toasted pinipig
- ⅓ cup desiccated coconut, lightly toasted
Equipment
- Steamer - Essential for cooking the cassava cakes properly with gentle, moist heat
- Grater (kudkuran) - For finely grating both cassava and fresh coconut
- Mixing bowls (mangkok) - Various sizes needed for preparing ingredients
- Cheesecloth or muslin (Katsa) - Critical for extracting coconut milk and squeezing excess liquid from cassava
- Small molds or coconut shells - For shaping the individual puto servings
- Aluminum foil - Covers the molds while steaming to prevent water droplets from falling on the cakes
- Measuring cups and spoons (Panukat) - Ensures precise ingredient proportions
- Small saucepan - For preparing the topping sauce
- Wooden spoon (sandok na kahoy) - Best for mixing without damaging the cassava fibers
How To Make
- Prepare the cassava: Peel the cassava roots and wash them well under running water. Cut them lengthwise and remove the woody core in the middle. Grate the cassava finely.
- Extract excess liquid: Put your grated cassava in a cheesecloth and squeeze out as much liquid as you can. Do this 2-3 times until the cassava is quite dry. Let it rest in a colander for 5 minutes to drain more.
- Prepare coconut: Grate your fresh coconut. Take 2 cups of the grated coconut and set it aside for the cake. Keep the rest for making coconut milk later.
- Make coconut milk: Take the remaining grated coconut and add 2 cups of warm water. Squeeze it through the cheesecloth to get the milk. Do this again with 1 cup of warm water. Keep this coconut milk for the topping.
- Make cake mixture: In a large bowl, mix together your squeezed cassava, 2 cups grated coconut, brown sugar, and salt. Mix everything well and let it sit for 10 minutes. The mixture should be moist but not watery.
- Prepare steamer: Fill your steamer with water and start heating it to a boil.
- Fill molds: While waiting for the water to boil, grease your molds with a little coconut oil. Fill each mold about ¾ full with your cassava mixture. Put some shredded young coconut on top of each one. Cover the molds with foil.
- Steam the cakes: Once your steamer is boiling steadily, put in your molds and steam them for 20-25 minutes.
- Make topping: While the cakes are steaming, make your topping. Put your coconut milk and condensed milk in a saucepan over medium-low heat. Keep stirring until it thickens a bit, about 5 minutes. You'll know it's ready when the sauce coats the back of your spoon.
- Check doneness: To check if your cakes are done, stick a toothpick in the middle - it should come out clean. The top should be set but still soft.
- Cool slightly: Let the cakes cool in their molds for 5 minutes. Then carefully take them out onto your serving plates.
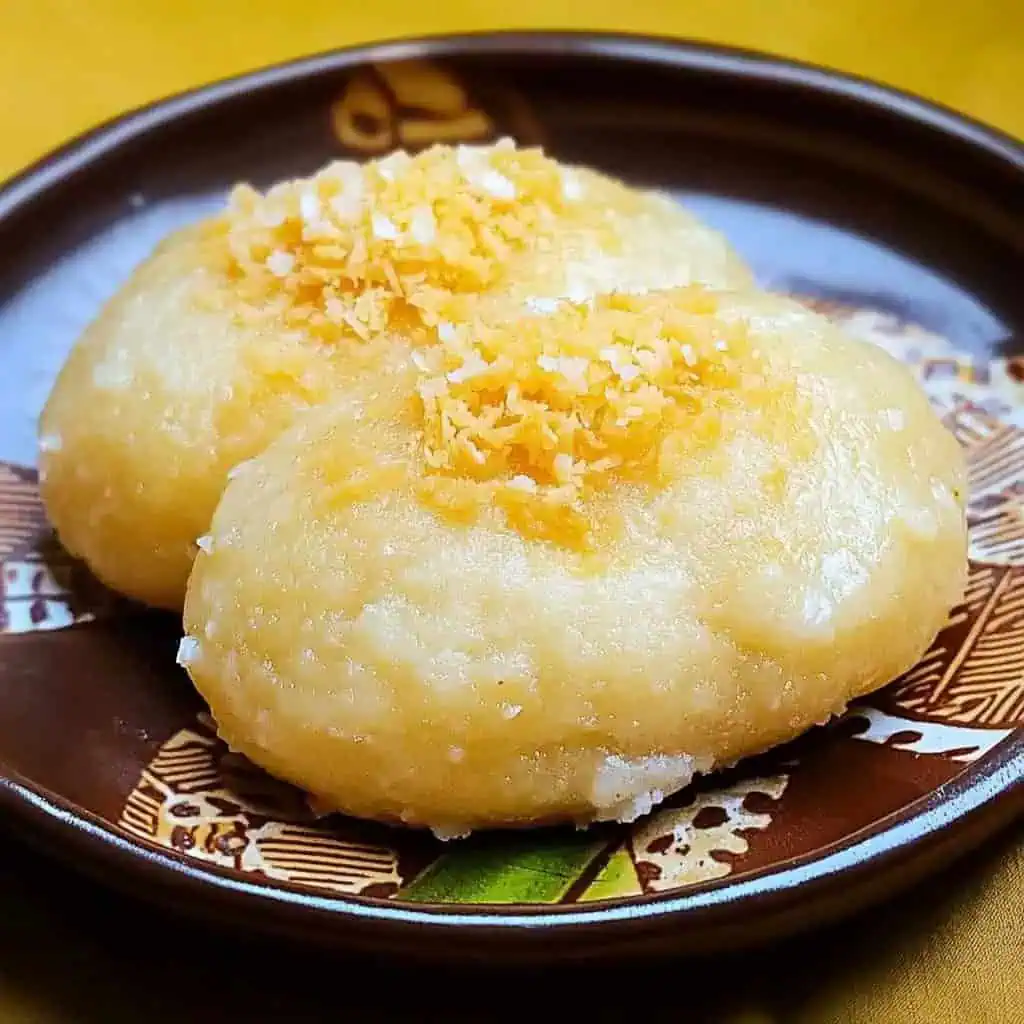
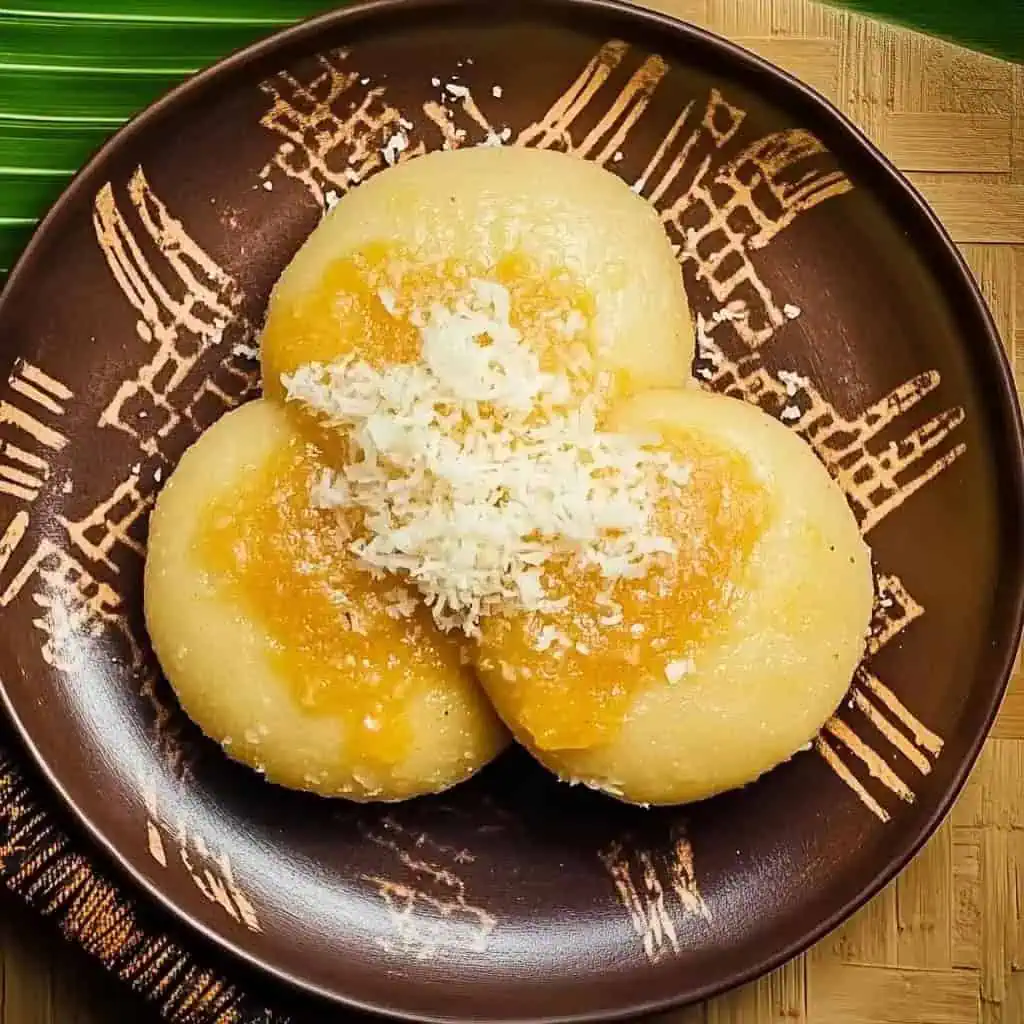
- Top and serve: Pour your warm coconut-condensed milk sauce over each cake. Sprinkle with toasted pinipig and coconut on top. Serve while warm!

Tips from Lola's Kitchen
- Choose fresh cassava carefully - Look for firm roots with no blemishes or soft spots
- Proper extraction is crucial - The more liquid you remove from the cassava, the better the texture
- Steam at consistent heat - Maintain a steady rolling boil for even cooking
- Don't rush the process - Allow the mixture to rest before steaming for better texture
- Test multiple areas - Insert toothpicks in several spots to ensure even cooking
- Prepare molds properly - A light coating of coconut oil prevents sticking
- Toast toppings separately - Pinipig and coconut should be toasted just until golden and fragrant
- Serve immediately - Puto Balanghoy is best enjoyed fresh and warm
- Adjust sweetness - Taste your mixture before steaming and adjust sugar to preference
Substitutions
- Brown sugar → Muscovado sugar or palm sugar (panutsa) for deeper flavor
- Fresh coconut → Frozen grated coconut (reduce added liquid by 2 tablespoons)
- Young coconut meat → Macapuno strings or additional desiccated coconut
- Pinipig → Crushed cornflakes, toasted rice, or crushed graham crackers
- Condensed milk → Coconut caramel (latik) for a more traditional flavor
- Fresh cassava → Frozen cassava (thaw completely and squeeze thoroughly)
Troubleshooting
- Cakes are too wet or soggy: You likely didn't extract enough liquid from the cassava. Squeeze more thoroughly next time, and steam a few minutes longer.
- Cakes are too dry or crumbly: You may have over-squeezed the cassava or overcooked it. Add a tablespoon of coconut milk to the mixture next time, and reduce steaming time by 2-3 minutes.
- Uneven cooking: Your steamer heat may be inconsistent. Ensure water is at a consistent boil and rotate molds halfway through cooking time.
- Cakes stick to molds: Grease molds more generously with coconut oil or line with small pieces of banana leaf.
- Sauce is lumpy or separated: Heat was too high or cooking time too long. Use lower heat and stir constantly next time.
Storage & Reheating
- Room temperature: Best consumed within 24 hours. Cover with a clean cloth.
- Refrigerator: Store in an airtight container for up to 3 days. The texture will firm up when cold.
- Freezer: Wrap individual portions in plastic wrap, then aluminum foil. Freeze for up to 1 month.
- Reheating methods:
- Steaming (best method): Steam for 3-5 minutes until heated through
- Microwave: Heat for 30 seconds, then in 10-second intervals until warm
- Oven: Wrap in foil and heat at 325°F for 5-7 minutes
- Sauce storage: Keep sauce separate in the refrigerator for up to 5 days. Reheat gently before serving.
FAQ
Why is my puto balanghoy too dense?
The cassava might not have been squeezed enough. Make sure to remove excess liquid thoroughly. Also, avoid overmixing which can make the texture heavy.
Can I make this ahead for parties?
Yes, but it's best served within 24 hours. Prepare the cakes and sauce separately, then reheat both before serving and assemble just before eating.
Why did my topping become too thick?
You likely cooked it too long or at too high heat. Cook the topping on lower heat and stir constantly. Add warm coconut milk a tablespoon at a time to adjust consistency.
Can I use frozen cassava?
Yes, but thaw completely and drain well before using. Fresh cassava gives better texture and flavor, but frozen works in a pinch.
How do I know when it's fully cooked?
Insert a toothpick in the center - it should come out clean with no raw batter. The cake should also feel set but slightly springy when gently pressed.
Can I add other flavors to the cassava mixture?
Yes! Popular additions include pandan extract, ube flavoring, or a bit of vanilla. Add these to the cassava mixture before steaming.
Why is my cassava turning blue/gray?
This indicates oxidation. Work quickly after grating and squeeze lemon juice into your water when washing to prevent discoloration.
Is this recipe safe for children?
Yes, when properly prepared. The steaming process and thorough preparation of cassava removes the natural toxins, making it safe for everyone.
Related
Looking for other recipes like this? Try these:


Puto Balanghoy (Filipino Steamed Cassava Cake)
Equipment
- Steamer for cooking the cassava cakes
- Grater (kudkuran) for grating cassava and coconut
- Mixing bowls (mangkok) for mixing ingredients
- Cheese cloth or muslin (Katsa) for extracting coconut milk and squeezing cassava
- Small molds or coconut shells for shaping the puto
- Aluminum foil for covering while steaming
- Measuring cups and spoons (Panukat) for precise ingredients portions
- Small saucepan for making the topping sauce
- Wooden spoon (sandok na kahoy) for mixing
Ingredients
For the Cassava Cake:
- 1 kg fresh cassava about 2-3 large roots
- 1 medium coconut freshly grated (about 3-4 cups when grated)
- ½ cup brown sugar packed
- 1 cup young coconut meat buko, finely shredded
- ¼ teaspoon salt
For the Topping:
- 1 can 300ml condensed milk
- 2 cups coconut milk extracted from remaining grated coconut
- ⅔ cup toasted pinipig
- ⅓ cup desiccated coconut lightly toasted
Instructions
- First, prepare your cassava. Peel the cassava roots and wash them well under running water. Cut them lengthwise and remove the woody core in the middle. Grate the cassava finely.
- Put your grated cassava in a cheesecloth and squeeze out as much liquid as you can. Do this 2-3 times until the cassava is quite dry. Let it rest in a colander for 5 minutes to drain more.
- Next, grate your fresh coconut. Take 2 cups of the grated coconut and set it aside for the cake. Keep the rest for making coconut milk later.
- To make coconut milk for the topping, take the remaining grated coconut and add 2 cups of warm water. Squeeze it through the cheesecloth to get the milk. Do this again with 1 cup of warm water. Keep this coconut milk for later.
- Now make your cake mixture. In a large bowl, mix together your squeezed cassava, 2 cups grated coconut, brown sugar, and salt. Mix everything well and let it sit for 10 minutes. The mixture should be moist but not watery.
- Get your steamer ready. Fill it with water and start heating it to a boil.
- While waiting for the water to boil, grease your molds with a little coconut oil. Fill each mold about ¾ full with your cassava mixture. Put some shredded young coconut on top of each one. Cover the molds with foil.
- Once your steamer is boiling steadily, put in your molds and steam them for 20-25 minutes.
- While the cakes are steaming, make your topping. Put your coconut milk and condensed milk in a saucepan over medium-low heat. Keep stirring until it thickens a bit, about 5 minutes. You'll know it's ready when the sauce coats the back of your spoon.
- To check if your cakes are done, stick a toothpick in the middle - it should come out clean. The top should be set but still soft.
- Let the cakes cool in their molds for 5 minutes. Then carefully take them out onto your serving plates.
- Pour your warm coconut-condensed milk sauce over each cake. Sprinkle lots of toasted pinipig and coconut on top.
- Serve and eat while warm!
Tips from Lola's Kitchen
- Use fresh cassava for best results - older cassava can be fibrous and bitter
- When squeezing cassava, make sure to remove as much liquid as possible to achieve the right texture
- Test doneness by inserting a toothpick - it should come out clean
- Keep the steamer water at a consistent rolling boil for even cooking
- Toast pinipig and desiccated coconut separately until golden brown for maximum flavor
Nutrition
The Story Behind Puto Balanghoy
Puto Balanghoy emerged from the resourceful kitchens of rural Filipino homes, where cassava (known locally as balanghoy or kamoteng kahoy) grew abundantly in backyards and small farms. This humble root crop, originally from South America, became a staple in Filipino cuisine because it was easy to grow and could survive even in poor soil conditions, making it a reliable food source for many families.
In the countryside, particularly in the Visayas and Mindanao regions, locals discovered that combining grated cassava with coconut and brown sugar created a delightful snack that was both filling and affordable. The genius of this recipe lies in its simplicity - transforming basic ingredients into a beloved merienda (afternoon snack) through the traditional method of steaming, a cooking technique deeply rooted in Filipino food culture.
What makes Puto Balanghoy special is how it reflects the Filipino value of "diskarte" - the creative ability to make something wonderful from simple ingredients. Unlike its more famous cousin, the puto (rice cake), Puto Balanghoy used cassava instead of rice, making it an economical alternative that eventually became a treasured recipe in its own right. The addition of coconut milk and condensed milk topping came later, as Filipino families began adapting the recipe to changing times and tastes.
Today, Puto Balanghoy remains a cherished part of Filipino food heritage, often served during afternoon merienda or special occasions. While modern versions might include new twists like cheese toppings or ube flavoring, the traditional recipe continues to be passed down through generations, keeping alive the memory of countless Filipino grandmothers who first created this delightful kakanin in their humble kitchens.
What's remarkable about this snack is how it represents the Filipino talent for turning everyday ingredients into something extraordinary. Whether enjoyed in a small provincial home or a busy city kitchen, Puto Balanghoy continues to tell the story of Filipino ingenuity, resourcefulness, and the enduring comfort of traditional homemade treats.


Comments
No Comments