Let me tell you about my family's absolute favorite pasta dish. I first learned this recipe from my mom, who always made it for special occasions. But now I've tweaked it to make it even creamier and more flavorful.
It's all in how you cook the chicken and that perfect blend of sweet Filipino-style sauce with just the right amount of cheese. If you have pasta lovers in your house like I do, this dish is about to become your new family favorite.
Jump to:
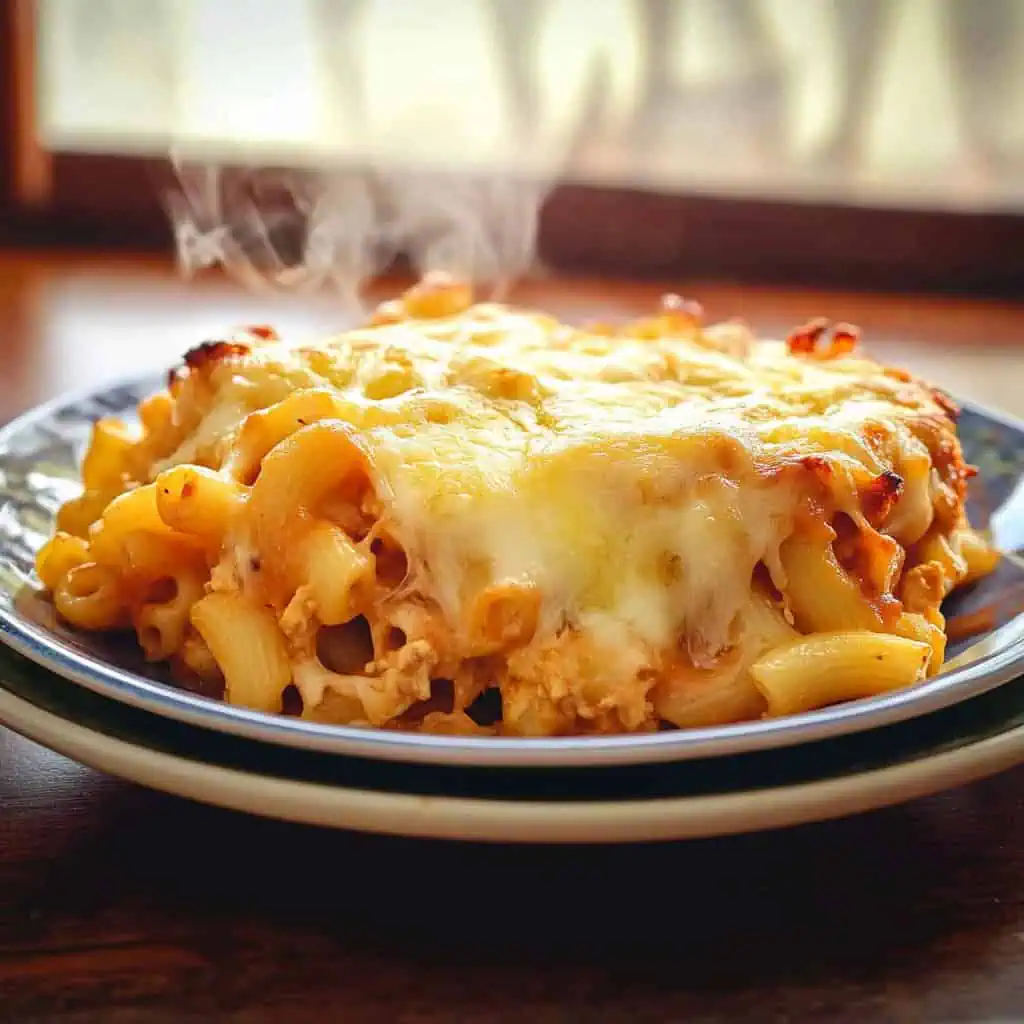
Why You'll Love This Recipe
- Family-Friendly: A crowd-pleasing dish that both kids and adults adore
- Make-Ahead Friendly: Can be prepared up to 3 days in advance
- Budget-Conscious: Chicken is more economical than traditional ground beef
- Versatile: Easy to customize with different ingredients
- Special Occasion Worthy: Perfect for Noche Buena, fiestas, or potlucks
- Balanced Meal: Includes protein, carbs, and vegetables in one dish
Ingredients
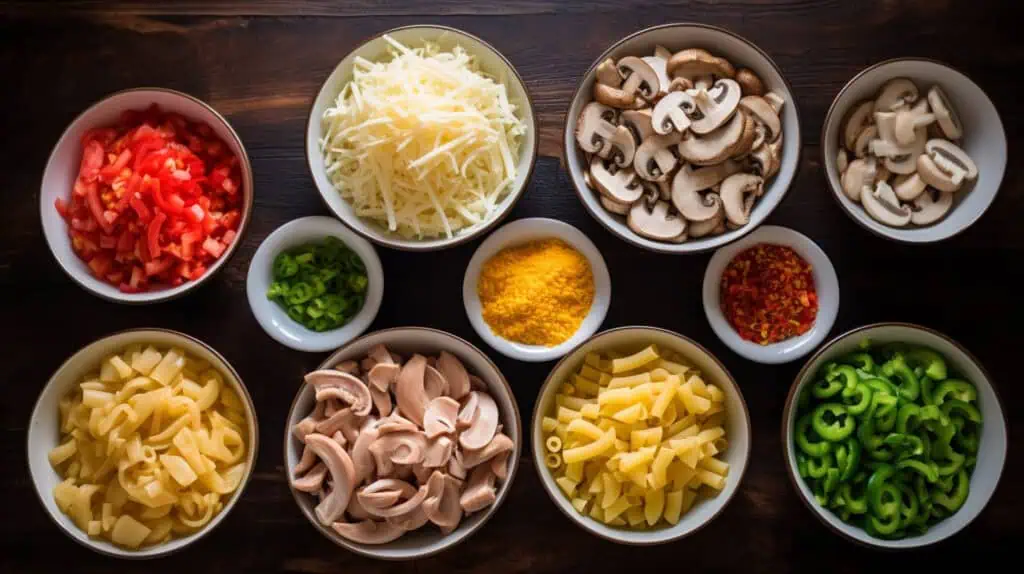
This Filipino-style Chicken Baked Macaroni combines ingredients that create a perfect balance of flavors and textures. The elbow macaroni provides a sturdy base that holds up well during baking, while chicken offers lean protein that absorbs flavors beautifully.
Sweet-style spaghetti sauce gives that distinctly Filipino sweet-savory profile that appeals to all ages. Bell peppers and mushrooms add color, nutrition, and earthy depth, complementing the sweetness of the sauce.
The quick-melt cheese creates that irresistible golden, stretchy topping that defines a great baked pasta dish. Black peppercorns and Italian seasoning enhance the flavor without overpowering, while the chicken bouillon cube amplifies the savory notes throughout.
Together, these ingredients create a harmonious, comforting dish that's both satisfying and uniquely Filipino.
edients
- 1 pound (500g) elbow macaroni
- 3 pounds (1.4kg) chicken breast or thigh meat
- 1 tablespoon salt
- 1 tablespoon whole black peppercorns
- 1 tablespoon canola oil
- 1 large onion, chopped
- 2 cloves garlic, minced
- 8 ounces fresh button mushrooms, sliced
- 1 red bell pepper, chopped
- 1 green bell pepper, chopped
- 1 package (34 ounces) Filipino sweet-style spaghetti sauce
- 1 cup water
- 1 cube chicken bouillon
- ½ teaspoon Italian seasoning
- Salt and pepper to taste
- 12 ounces quick-melt cheese, shredded
Equipment
- Large Baking Dish (9x13 inches): For even heat distribution and perfect serving size
- Large Pot: For cooking pasta and sauce
- Colander: For draining pasta
- Heavy-bottomed Pot: For poaching chicken
- Box Grater: For shredding cheese
- Sharp Knife: For chopping ingredients
- Measuring Cups and Spoons: For accurate measurements
- Aluminum Foil: For covering while baking
- Meat Thermometer: For checking chicken doneness
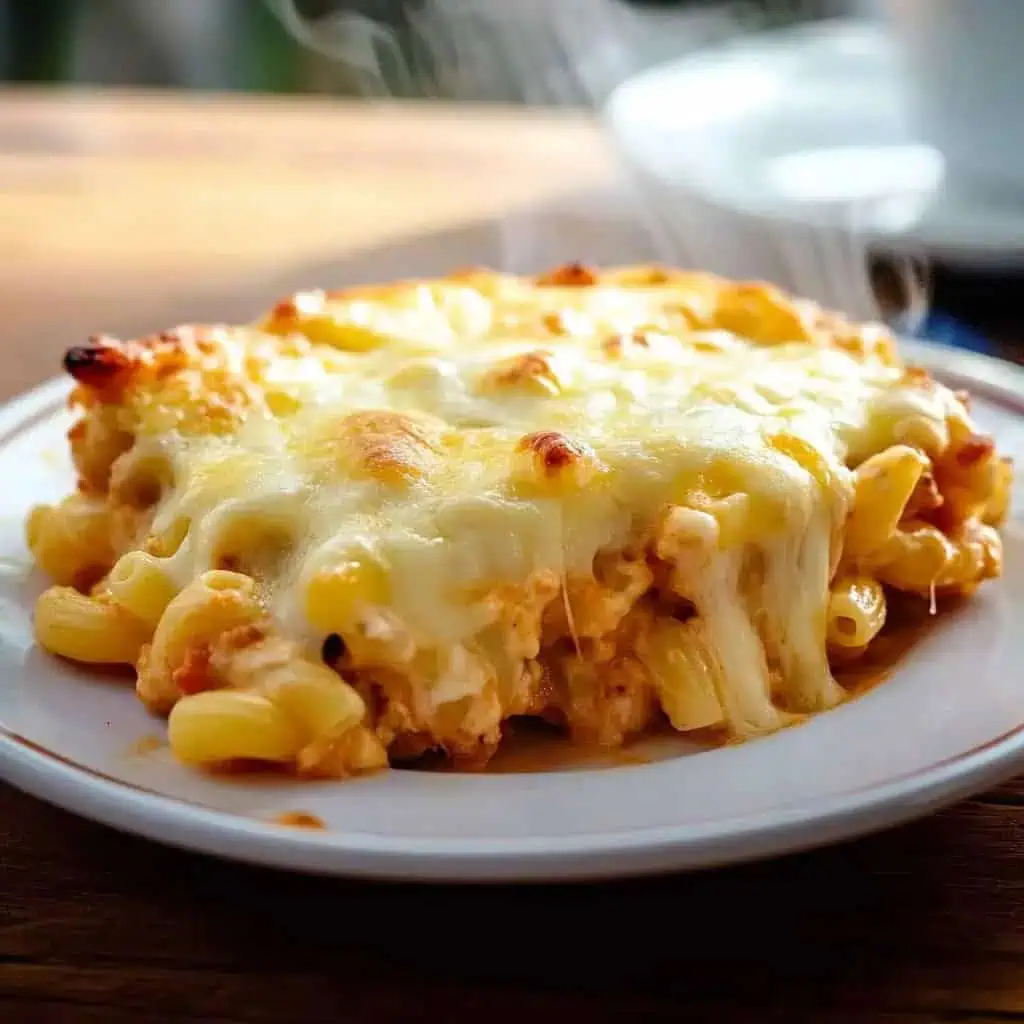
How To Make
- Prep ingredients: Gather and prepare all ingredients. Cut chicken into even pieces, chop vegetables, and set everything aside within easy reach.
- Cook pasta: Fill a large pot with water, add salt, and bring to a boil. Add macaroni and cook for about 7 minutes – slightly less than package directions since it will cook more in the oven. Drain and set aside.
- Cook chicken: Place chicken pieces in a deep pot and add enough water to cover. Add salt and peppercorns. Bring to a boil, then lower heat to a gentle simmer. Cook for 10-15 minutes until chicken reaches 165°F. Remove chicken, cool slightly, then shred into bite-sized pieces.
- Make sauce: Heat canola oil in a large pot over medium heat. Cook onions until translucent, about 2-3 minutes. Add garlic and cook until fragrant, about 30 seconds. Add mushrooms and bell peppers, cooking until softened, about 3-5 minutes.
- Develop flavor: Pour in sweet-style spaghetti sauce and water. Add chicken bouillon cube and Italian seasoning. Stir well and simmer gently. Cook for 5 minutes, then add shredded chicken. Season with salt and pepper to taste.
- Assemble: Preheat oven to 375°F. Combine cooked macaroni with the chicken-sauce mixture in a large bowl, mixing until pasta is evenly coated. Transfer to a greased 9x13-inch baking dish.
- Add cheese: Cover top generously with shredded quick-melt cheese, spreading it evenly. Cover dish with foil, ensuring it doesn't touch the cheese.
- Bake: Place in oven and bake for 20 minutes. Remove foil and bake for another 5-7 minutes until cheese turns golden brown and starts bubbling. Remove from oven and let rest for 10-15 minutes before serving to allow sauce to set.
- Serve: Cut into squares while still warm when cheese is stretchy. Pairs perfectly with garlic bread and your favorite cold drink.

Tips from Lola's Kitchen
- Perfect Poaching: Keep water at barely a simmer for tender chicken
- Cheese Hack: Freeze cheese for 10 minutes before grating for easier handling
- Pasta Doneness: Slightly undercook pasta as it will continue to soften while baking
- Even Cooking: Let dish come to room temperature before baking if refrigerated
- Sauce Consistency: If sauce seems too thick, add a splash more water before mixing with pasta
- Flavor Boost: For extra depth, add 1 tablespoon of soy sauce to the chicken poaching liquid
- Cheese Selection: For authentic Filipino taste, use the traditional quick-melt cheese rather than sharp varieties
- Rest Before Serving: Allow dish to rest for 10-15 minutes after baking for cleaner slices and better texture
Substitutions
- Pasta Options: Replace elbow macaroni with penne, fusilli, or ziti
- Chicken Alternatives: Use 4 cups shredded rotisserie chicken to save time
- Sauce Variations: If sweet-style spaghetti sauce is unavailable, use regular pasta sauce with 2 tablespoons sugar added
- Cheese Options: Substitute with a 50/50 mix of mozzarella and mild cheddar if quick-melt cheese isn't available
- Vegetable Swaps: Add or substitute carrots, celery, or green peas
- Herb Alternatives: No Italian seasoning? Use a combination of dried basil, oregano, and thyme
- Meat Options: Ground chicken, turkey, or even plant-based protein can work as alternatives
- Healthier Version: Use whole wheat pasta and low-fat cheese to reduce calories
Troubleshooting
- Dry Pasta: Add ¼ cup hot milk or cream sauce before reheating
- Too Runny: Let stand longer before serving or simmer sauce longer to reduce excess liquid
- Unmelted Cheese: Ensure oven is fully preheated and cover with foil for first portion of baking
- Bland Taste: Adjust seasoning with additional bouillon or a pinch of MSG for authentic Filipino flavor
- Burning Cheese: Position rack in middle of oven and watch carefully during final browning stage
- Pasta Too Soft: Be sure to undercook pasta initially as it will continue to absorb moisture during baking
- Uneven Cooking: Rotate dish halfway through baking for more consistent results
- Soggy Bottom: Pre-bake empty pasta for 5 minutes before adding sauce to prevent excessive moisture
Storage & Reheating
- Refrigeration: Store in airtight container for up to 3 days
- Freezing: Can be frozen for up to 2 months. Wrap well in foil and plastic wrap
- Thawing: Thaw overnight in refrigerator before reheating
- Microwave Reheating: Add a few drops of water or milk, cover loosely, and heat in intervals until hot throughout
- Oven Reheating: Cover with foil and warm at 350°F until heated through (about 20-25 minutes)
- Maintaining Moisture: Always add a small amount of liquid when reheating to prevent dryness
- Portion Control: Consider freezing in individual portions for quick meals
- Quality Preservation: For best taste and texture, consume within 2 days
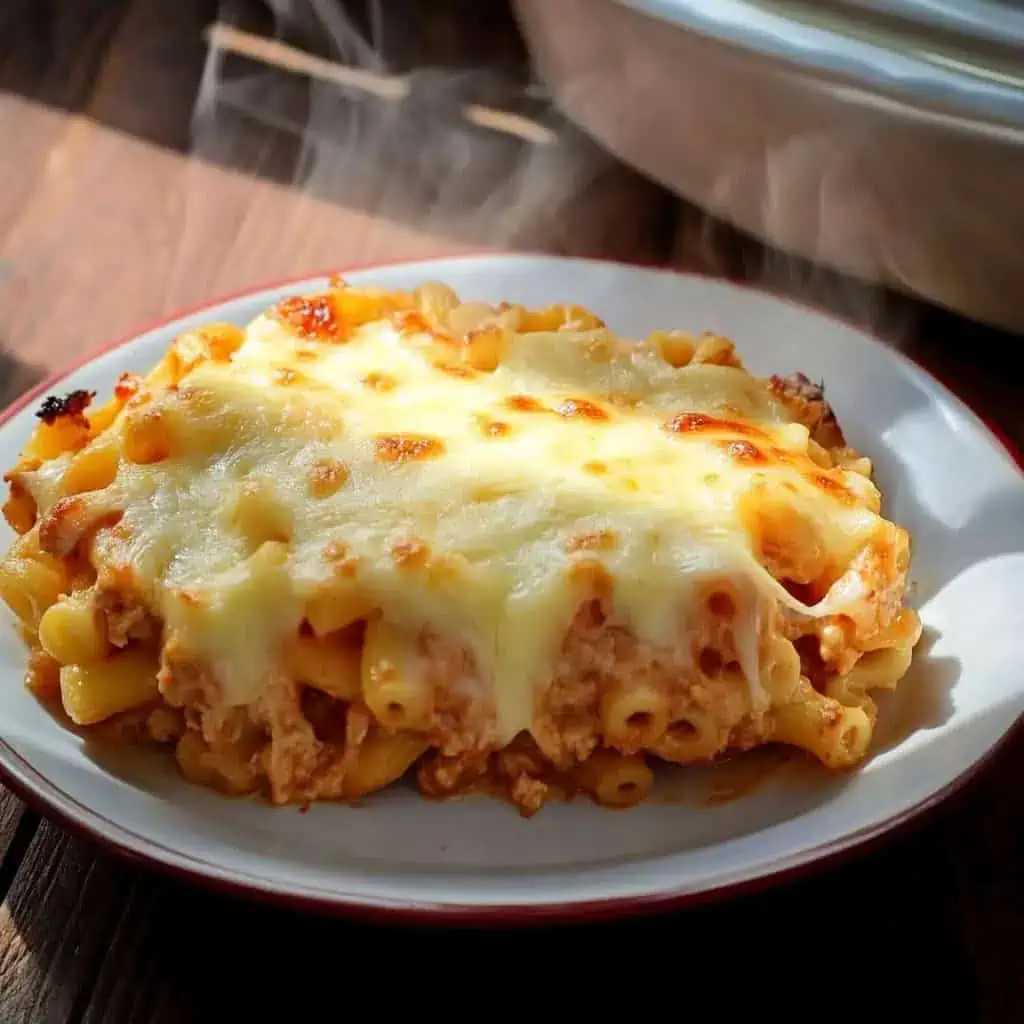
FAQ
Can I make this ahead for a party?
Yes! You can prepare this dish up to 3 days ahead. Either prepare the pasta mixture and refrigerate unbaked, then bake on serving day; or bake completely, refrigerate, and reheat until hot and bubbly.
Why is my sauce too runny?
Let the sauce simmer longer to reduce excess liquid, or add 1-2 tablespoons of tomato paste to thicken. The sauce will also thicken slightly during baking.
Can I use other types of pasta?
Yes! While elbow macaroni is traditional, you can use penne, fusilli, or ziti. Cook any pasta 1-2 minutes less than package directions since it will continue cooking in the oven.
Why use quick-melt cheese instead of regular cheddar?
Quick-melt cheese provides that signature Filipino creamy, stretchy texture. If unavailable, use a mix of mozzarella and mild cheddar for similar results.
Can I use rotisserie chicken to save time?
Absolutely! Use about 4 cups of shredded rotisserie chicken as a time-saving alternative. Reduce added salt since rotisserie chicken is usually well-seasoned.
Why is my baked macaroni dry after reheating?
Pasta naturally absorbs sauce over time. When reheating, add a splash of milk or cream and cover with foil to maintain moisture. Heat gradually rather than using high temperatures.
What makes this version "Filipino-style"?
The Filipino version is distinct because it uses sweet-style spaghetti sauce, quick-melt cheese, and chicken instead of beef. These adaptations cater to Filipino taste preferences for slightly sweeter pasta dishes.
Can I add other vegetables?
Yes! Common additions include carrots, celery, or green peas. Just make sure to cut vegetables uniformly and cook them until tender.
How many people does this recipe serve?
This recipe comfortably serves 12 people as a main dish. For parties or when serving with other dishes, it can stretch to feed 15-18 people.
Can I make a vegetarian version?
Yes! Replace chicken with 2 cups of mixed vegetables like zucchini, eggplant, and extra mushrooms. Use vegetable bouillon instead of chicken.
How do I know when the dish is fully cooked?
The dish is ready when the edges are bubbling, the cheese is golden brown, and the internal temperature reaches 165°F.
Can I prepare this in advance and freeze before baking?
Yes, assemble the dish completely (except for the cheese topping), cover tightly, and freeze for up to 1 month. Thaw in refrigerator overnight, add cheese, and bake as directed, adding 10-15 minutes to the baking time.
Related
Looking for other recipes like this? Try these:
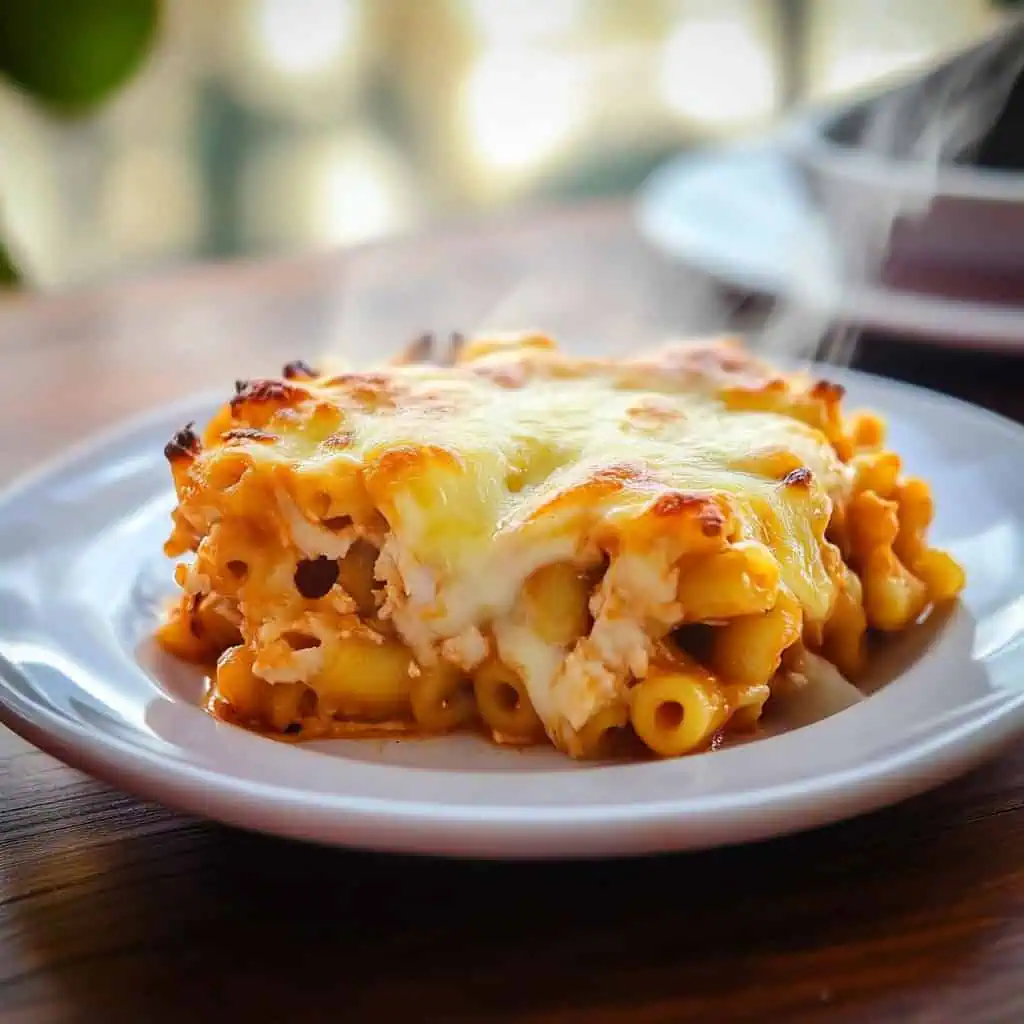
Filipino-style Chicken Baked Macaroni
Equipment
- Large Baking Dish (9x13 inches) For even heat distribution and perfect serving size
- Large Pot For cooking pasta and sauce
- Colander (salaan) For draining pasta
- Heavy-bottomed Pot (kaldero) For poaching chicken
- Box grater (Kudkuran) For shredding cheese
- Sharp knife [Matalas na kutsilyo] For chopping ingredients
- Measuring cups and spoons (Panukat) For accurate measurements
- Aluminum foil For covering while baking
- Meat thermometer For checking chicken doneness
Ingredients
For the Pasta and Chicken:
- 1 pound 500g elbow macaroni
- 3 pounds 1.4kg chicken breast or thigh meat (dibdib o hita ng manok)
- 1 tablespoon salt asin
- 1 tablespoon whole black peppercorns paminta
For the Sauce:
- 1 tablespoon canola oil
- 1 large onion chopped (sibuyas)
- 2 cloves garlic minced (bawang)
- 8 ounces fresh button mushrooms sliced (kabute)
- 1 red bell pepper chopped (pulang sili)
- 1 green bell pepper chopped (berdeng sili)
- 1 package 34 ounces Filipino sweet-style spaghetti sauce
- 1 cup water tubig
- 1 cube chicken bouillon sabaw ng manok
- ½ teaspoon Italian seasoning
- Salt and pepper to taste
- 12 ounces quick-melt cheese shredded (kinudkod na keso)
Instructions
- First, gather and prepare all your ingredients. Cut the chicken breasts into even pieces, chop your onions and bell peppers, mince the garlic, and slice the mushrooms. Set everything aside within easy reach.
- Start by cooking your pasta. Fill a large pot with water, add salt, and bring to a boil. Add the elbow macaroni and cook for about 7 minutes – slightly less than what the package says since it will cook more in the oven. You want the pasta still a bit firm. Drain and set aside.
- For the chicken, place the pieces in a deep pot and add enough water to cover them. Add salt and peppercorns. Bring to a boil, then lower the heat right away to a gentle simmer. Cook for 10-15 minutes until the chicken reaches 165°F. Take the chicken out and let it cool a bit before shredding it into bite-sized pieces.
- Now make your sauce. Heat canola oil in a large pot over medium heat. Cook the onions until they turn clear, about 2-3 minutes. Add garlic and cook until you can smell its aroma, about 30 seconds. Put in your mushrooms and bell peppers, cooking until they soften, about 3-5 minutes.
- Pour in the sweet-style spaghetti sauce and a cup of water. Add your chicken bouillon cube and Italian seasoning. Stir well and let it gently simmer. Cook for 5 minutes, then add your shredded chicken. Taste and add salt and pepper as needed.
- Turn your oven on to 375°F. While it's heating up, combine your cooked macaroni with the chicken and sauce mixture in a large bowl. Mix everything well so the pasta is evenly coated. Pour it all into a greased 9x13-inch baking dish.
- Cover the top generously with shredded quick-melt cheese, making sure to spread it evenly. Cover the dish with foil, but be careful not to let it touch the cheese.
- Put it in the oven and bake for 20 minutes. Then take the foil off and bake for another 5-7 minutes until the cheese turns golden brown and starts bubbling. Take it out of the oven and let it rest for about 10-15 minutes before serving – this helps the sauce set and makes it easier to serve.
- When you're ready to serve, cut into squares while it's still warm and the cheese is stretchy. It goes perfectly with garlic bread and your favorite cold drink. If you have leftovers, keep them in a covered container in the fridge for up to 3 days. When reheating, add a few drops of milk or water to keep it moist, and warm it slowly for the best results.
Tips from Lola's Kitchen
- Perfect Poaching: Keep water at barely a simmer (hindi kumukulo) for tender chicken
- Cheese Tip: Freeze cheese for 10 minutes before grating for easier handling
- Make-Ahead: Prepare up to 3 days in advance and refrigerate
- Even Cooking: Let dish come to room temperature before baking if refrigerated
- Serving Tip: Rest for 10 minutes before cutting for cleaner slices
Nutrition
The Story Behind Filipino-style Chicken Baked Macaroni
Growing up in a Filipino household, baked macaroni was always more than just another pasta dish – it represented celebration, family gatherings, and the unique way Filipinos transform international recipes into something distinctly our own. This beloved Filipino version of baked macaroni emerged during the American colonial period, but like many adopted dishes, it evolved to suit local tastes and traditions.
While Italian-American baked macaroni typically features a robust, savory tomato sauce, Filipino cooks adapted the recipe by incorporating our signature sweet-style spaghetti sauce, a modification that perfectly matches Filipino palates. The use of chicken instead of the traditional ground beef wasn't just a taste preference – it reflected both economic practicality and the Filipino talent for creative adaptation.
What makes this dish particularly special in Filipino culture is its presence at important celebrations. From Christmas Eve (Noche Buena) to town fiestas, birthday parties to family reunions, baked macaroni has earned its place alongside pancit and lumpia as a must-have party dish. Its ability to feed a crowd while remaining budget-friendly has made it a staple of Filipino gatherings.
The addition of quick-melt cheese, a distinctly Filipino preference, creates that signature stretchy, creamy texture that kids and adults alike have come to love. Unlike its Western counterparts that might use sharp cheddar or parmesan, our version prioritizes meltability and mild, creamy flavors that complement the sweet-style sauce perfectly.
Today, every Filipino family has their own version of this dish, passed down through generations and tweaked to perfection. Some add hot dogs for extra flavor, others include local vegetables like carrots and celery, but the heart of the dish remains the same – a perfect blend of Filipino ingenuity and comfort food traditions that brings families together around the table.
Modern Filipino home cooks continue to adapt this recipe, making it healthier with whole grain pasta or adding more vegetables, but the essence of what makes it Filipino – the sweet-savory sauce, tender chicken, and generous topping of melted cheese – remains unchanged. It's a testament to how Filipino cuisine constantly evolves while maintaining its cultural identity.
Whether served at a grand celebration or a simple family dinner, Filipino-style Chicken Baked Macaroni represents the warmth and creativity of Filipino cooking. It's comfort food that tells the story of our culture's ability to adapt foreign dishes into something uniquely and deliciously our own.




Comments
No Comments