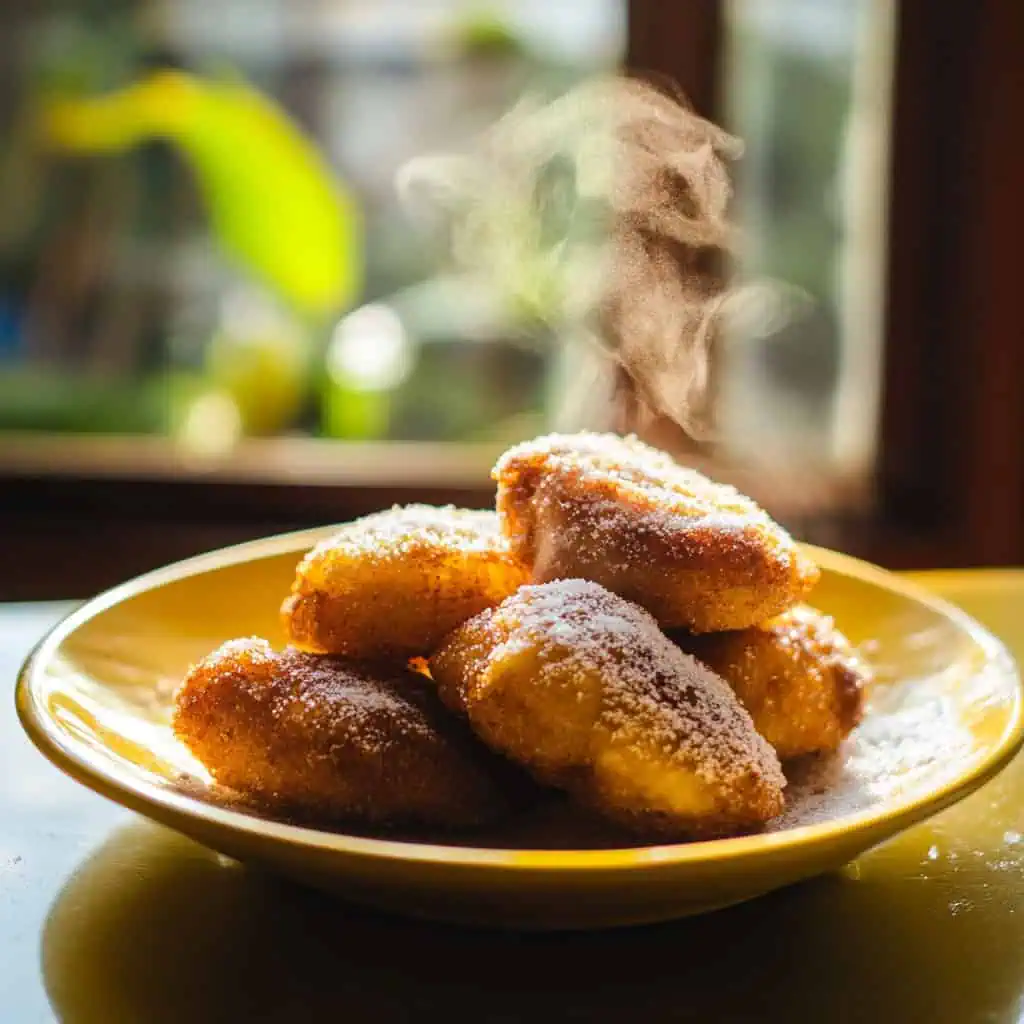
I grew up loving Maruya from the street vendors near our school in Manila. There's nothing quite like biting into those sweet, crispy banana fritters while they're still warm. But these days, I prefer making them at home in a healthier way: baked instead of fried.
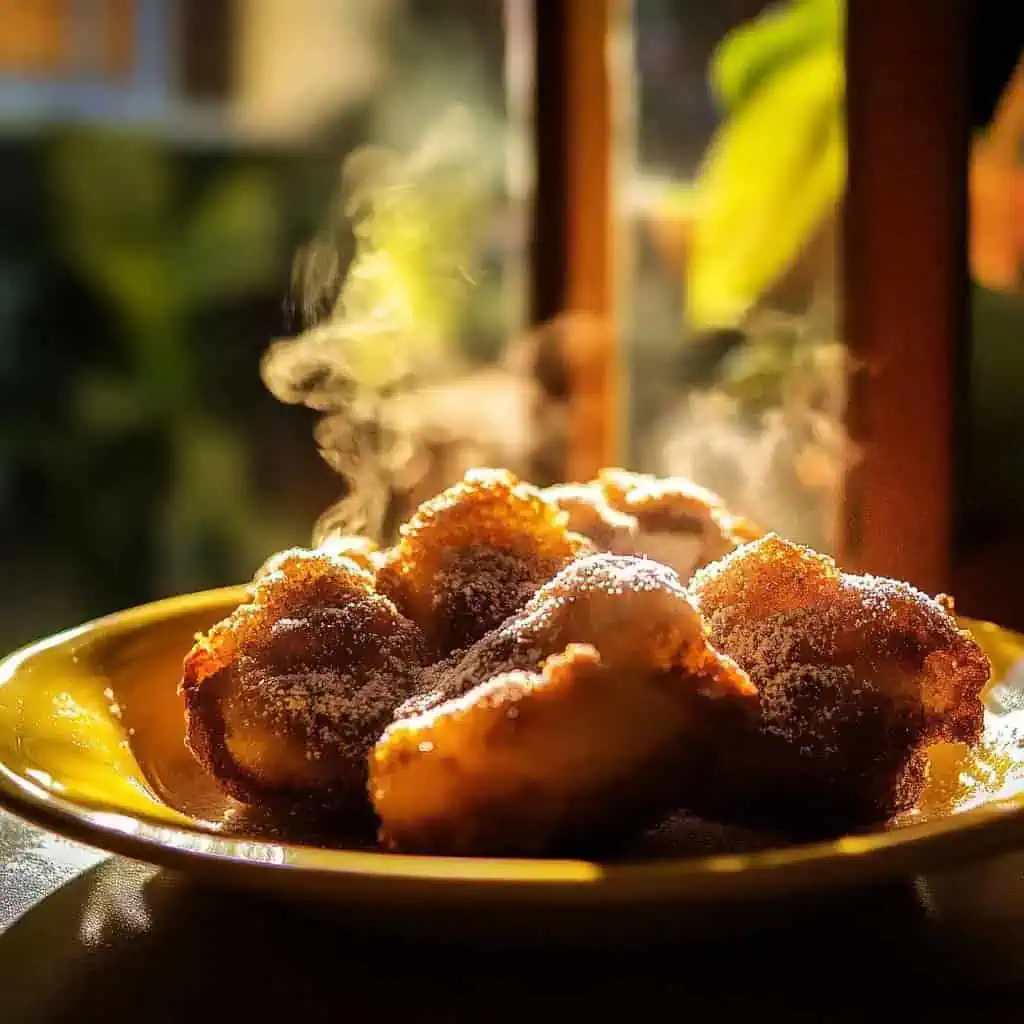
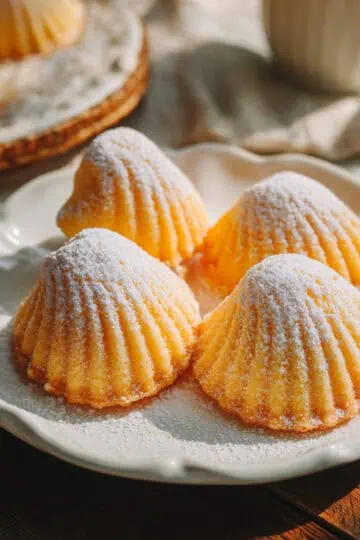
After many tries in my kitchen, I've finally perfected this baked Maruya recipe that tastes just as good as the ones we buy sa kanto. A quick broil at the end gives you that same crispy, golden crust we all love, but without all the oil.
My kids actually prefer this version, and my mom keeps asking me to make it whenever she visits for merienda. If you miss Maruya but want a healthier option, or if you're just tired of the mess from frying, this recipe is for you. It's simple, less messy, and still gives you that classic Filipino snack we all grew up with.
Jump to:
Why You'll Love This Recipe
- Healthier Alternative: Baked instead of deep-fried while maintaining the classic crispy exterior
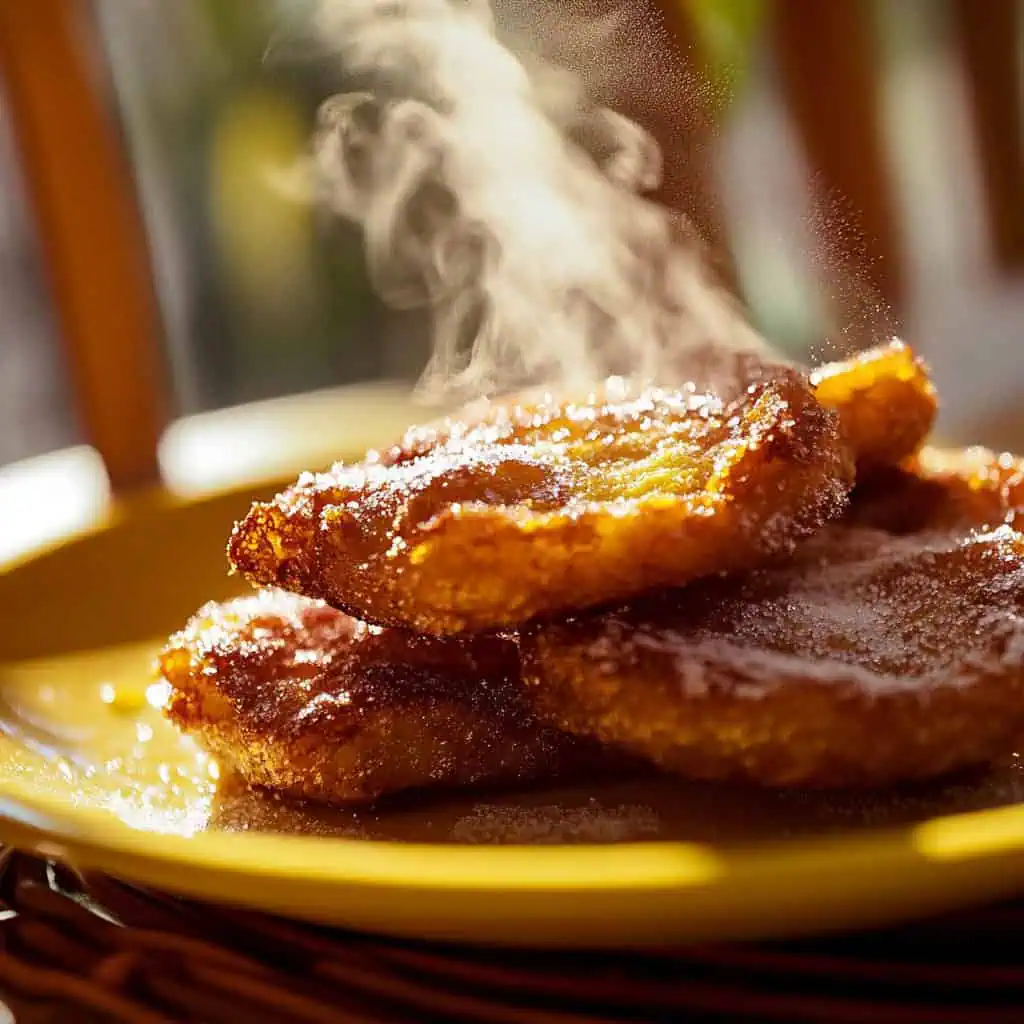
- Perfect Texture: Light and fluffy inside with a beautiful golden-brown crust
- Versatile: Great for breakfast (almusal), afternoon snack (merienda), or dessert
- Make-Ahead Friendly: Can be prepared in advance and reheated
- Budget-Friendly: Uses simple, affordable ingredients
- Kid-Friendly: Less messy to make and eat than traditional fried versions
Ingredients
This recipe combines ripe Saba bananas (for authentic Filipino flavor and natural sweetness) with cornstarch and all-purpose flour (for a light, crispy texture).
The room-temperature wet ingredients ensure a smooth batter, while the butter-sugar crust creates that signature caramelized exterior without deep frying.

For the Batter:
- 4 very ripe Saba bananas, cut into small cubes
- 1 cup all-purpose flour
- ¼ cup cornstarch
- ¼ cup superfine sugar
- 1 teaspoon baking powder
- 1 large egg, room temperature
- ½ cup milk, room temperature
- ¼ cup melted butter, cooled
For the Sugar Crust:
- ¼ cup melted butter
- ¼ cup sugar
Equipment
- 12-cup muffin tin: Creates perfectly portioned fritters with even baking (either square or round works)
- Large mixing bowl: For combining dry ingredients
- Medium mixing bowl: For mixing wet ingredients separately
- Wire whisk: Ensures smooth, lump-free batter
- Pastry brush: For applying butter coating before broiling
- Wire cooling rack: Allows air circulation for the perfect crispy exterior
- Measuring cups and spoons: For accurate ingredient measurements
- Rubber spatula: Gently folds ingredients without deflating the batter
How To Make
- Preheat your oven to 375°F (190°C) and spray a 12-cup muffin tin with baking spray. Set aside.
- Take a large bowl and mix together 1 cup flour, ¼ cup cornstarch, ¼ cup sugar, and 1 teaspoon baking powder. Whisk well to remove any lumps.
- In another bowl, combine 1 egg, ½ cup milk, and ¼ cup melted butter – make sure these are all at room temperature. Whisk until well mixed.
- Pour your wet ingredients into the dry ingredients. Mix gently with a spatula just until combined. Some small flour streaks are okay – don't overmix.
- Cut 4 ripe saba bananas into small cubes. Fold them gently into your batter.
- Divide the batter evenly between the 12 muffin cups.
- Bake at 375°F for 17 minutes until just cooked through.
- Remove from oven and turn on your broiler to 500°F.
- While the broiler heats, brush the tops of your Maruya generously with ¼ cup melted butter, then sprinkle with ¼ cup sugar.
- Place under the broiler for 1-2 minutes, watching carefully, until the tops turn golden brown and crispy.
- Take out of the oven and let rest in the pan for 5 minutes.
- Transfer to a wire rack to cool slightly for another 5 minutes.
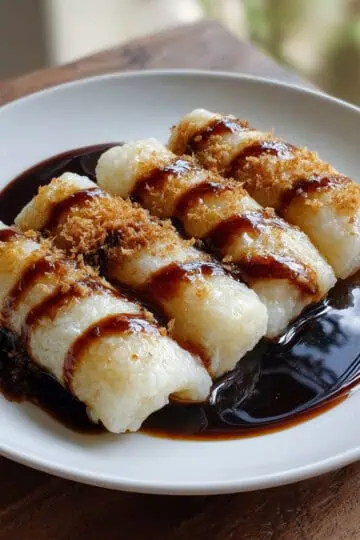
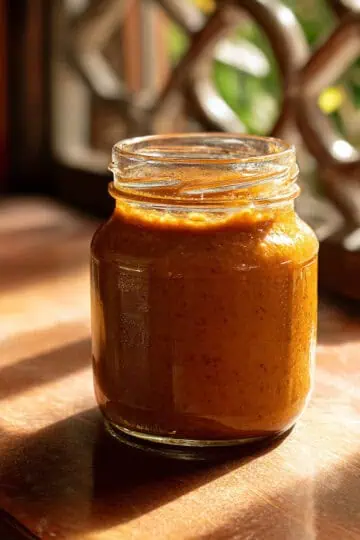
- Serve warm, optionally with a drizzle of coco jam or a cup of hot chocolate or ginger tea.

Tips from Lola's Kitchen
- Choose the right bananas: Very ripe Saba bananas with black spots provide maximum sweetness and the authentic flavor.
- Temperature matters: Room temperature ingredients prevent curdling and ensure proper mixing.
- Gentle mixing: Don't overmix the batter - stop when just combined to keep it light and fluffy.
- Watch the broiler: Keep a close eye during broiling as the sugar can burn quickly.
- Remove air bubbles: Tap muffin tin gently on counter before baking to eliminate air pockets.
- Banana sizing: Cut bananas into uniform pieces for even distribution and cooking.
- Test for doneness: Insert a toothpick in the center - it should come out with a few moist crumbs but no wet batter.
- Cooling time: The 5-minute rest in the pan is crucial for setting the structure before moving to the cooling rack.
Substitutions
- Milk: Substitute with coconut milk, almond milk, or any plant-based milk for a dairy-free version.
- Saba bananas: Lakatan bananas can work but reduce cooking time by 2 minutes as they're softer.
- Butter: Replace with margarine or coconut oil for different flavor profiles.
- All-purpose flour: Use a 50/50 mix of whole wheat and all-purpose flour for added nutrition.
- Sugar: Brown sugar or coconut sugar can replace white sugar but will affect color and taste.
- Cornstarch: Potato starch or arrowroot powder can substitute in equal amounts.
- Superfine sugar: Regular granulated sugar works but may not dissolve as easily in the batter.
Troubleshooting
Maruya is too dense
- Cause: Overmixing the batter or cold ingredients
- Solution: Mix only until ingredients are just combined and ensure all ingredients are at room temperature
Not browning evenly
- Cause: Uneven oven temperature or placement
- Solution: Rotate pan halfway through broiling and ensure your oven rack is centered
Bananas sinking to bottom
- Cause: Batter too thin or bananas too heavy
- Solution: Coat banana pieces in a light dusting of flour before mixing into batter
Crust not crispy enough
- Cause: Insufficient butter coating or too short broiling time
- Solution: Apply a generous, even layer of butter and ensure proper broiling time
Muffins sticking to pan
- Cause: Insufficient greasing or cooling too long in the pan
- Solution: Use both spray and paper liners if needed, and don't exceed the 5-minute rest time
Storage & Reheating
Room Temperature:
- Store in an airtight container for up to 2 days
- Best eaten within 24 hours for optimal texture
Refrigerator:
- Keep in a sealed container for up to 5 days
- Wrap each piece individually to maintain moisture
Freezer:
- Freeze for up to 1 month when properly wrapped
- Cool completely before freezing
- Place parchment paper between layers if stacking
Reheating Methods:
- Oven: Warm at 350°F for 5 minutes for best texture restoration
- Air fryer: Heat at 325°F for 3 minutes for extra crispiness
- Microwave: 20 seconds on medium power (note: loses crispiness but quickest option)
- Toaster oven: 3-4 minutes at medium setting for individual pieces

FAQ
Can I use regular bananas instead of Saba?
While possible, Saba bananas are firmer and less sweet, making them ideal for this recipe. Regular bananas may become too mushy and affect the texture. If using regular bananas, reduce the amount by 25% and choose slightly underripe ones.
Why bake instead of fry?
Baking reduces oil content by nearly 70% while maintaining the classic taste and texture. It's healthier, less messy, and eliminates the strong cooking oil smell that can linger in your kitchen.
Can I make this gluten-free?
Yes, substitute all-purpose flour with a 1:1 gluten-free flour blend. Add ¼ teaspoon xanthan gum if your blend doesn't already contain it to help with structure.
How do I know when the Saba is ripe enough?
The skin should be yellow with black spots, and the banana should yield slightly when pressed. Too green and they'll lack sweetness; too ripe and they'll be difficult to cut.
Can I make the batter ahead of time?
You can prepare the batter up to 2 hours ahead and refrigerate it, but add the bananas just before baking to prevent them from turning brown.
Is it possible to make these in a regular baking pan?
Yes, you can use an 8x8 inch baking pan and increase baking time by 5-7 minutes. Cut into squares after cooling for 10 minutes.
Why add cornstarch to the batter?
Cornstarch creates a lighter, more tender texture by reducing the formation of gluten, resulting in a more delicate crumb in the finished product.
How can I tell when they're done baking?
A toothpick inserted into the center should come out with a few moist crumbs but no wet batter. The tops should be lightly golden before applying the butter-sugar coating.
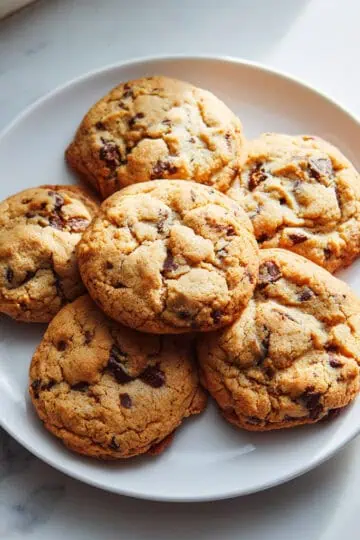
Related
Looking for other recipes like this? Try these:


Maruya (Baked Filipino Banana Fritters)
Equipment
- 12-cup muffin tin (either square or round
- Large mixing bowl
- Medium mixing bowl
- Wire whisk
- Pastry brush
- Wire cooling rack
- Measuring cups and spoons
- Rubber spatula
Ingredients
For the Batter:
- 4 very ripe Saba bananas saging na saba, cut into small cubes
- 1 cup all-purpose flour harina
- ¼ cup cornstarch cornstarch
- ¼ cup superfine sugar asukal
- 1 teaspoon baking powder pampaalsa
- 1 large egg room temperature (itlog)
- ½ cup milk room temperature (gatas)
- ¼ cup melted butter cooled (tinunaw na mantikilya)
For the Sugar Crust:
- ¼ cup melted butter tinunaw na mantikilya
- ¼ cup sugar asukal
Instructions
- Preheat your oven to 375°F (190°C) and spray a 12-cup muffin tin with baking spray. Set aside.
- Take a large bowl and mix together 1 cup flour, ¼ cup cornstarch, ¼ cup sugar, and 1 teaspoon baking powder. Whisk well to remove any lumps.
- In another bowl, combine 1 egg, ½ cup milk, and ¼ cup melted butter – make sure these are all at room temperature. Whisk until well mixed.
- Pour your wet ingredients into the dry ingredients. Mix gently with a spatula just until combined. Some small flour streaks are okay – don't overmix.
- Cut 4 ripe saba bananas into small cubes. Fold them gently into your batter.
- Divide the batter evenly between the 12 muffin cups.
- Bake at 375°F for 17 minutes until just cooked through.
- Remove from oven and turn on your broiler to 500°F.
- While the broiler heats, brush the tops of your Maruya generously with ¼ cup melted butter, then sprinkle with ¼ cup sugar.
- Place under the broiler for 1-2 minutes, watching carefully, until the tops turn golden brown and crispy.
- Take out of the oven and let rest in the pan for 5 minutes.
- Transfer to a wire rack to cool slightly for another 5 minutes.
- Serve warm, optionally with a drizzle of coco jam or a cup of hot chocolate or ginger tea.
Tips from Lola's Kitchen
- Choose very ripe Saba bananas with black spots for maximum sweetness
- Bringing ingredients to room temperature prevents curdling
- Don't overmix the batter to keep it light and fluffy
- Watch carefully during broiling as it can burn quickly
- Tap muffin tin gently on counter before baking to remove air bubbles
Nutrition
The Story Behind Maruya
In every corner of the Philippines, from busy Manila streets to small provincial towns, you'll find vendors selling Maruya, our beloved banana fritters. This simple yet satisfying snack has been a Filipino merienda favorite for generations, bringing comfort and sweetness to afternoon breaks and casual gatherings.
Maruya's story begins with the saba banana, a sturdy cooking banana that's a staple in Filipino cuisine. Unlike regular sweet bananas, saba has a firmer texture and less sweetness, making it perfect for cooking and frying. When Spanish colonizers brought their cooking techniques to the Philippines, they mixed with our local ingredients and cooking methods. This blend of influences likely contributed to the creation of Maruya, where European-style fritter-making met our local saba bananas.
In traditional Filipino homes, Maruya is more than just a snack – it's a way to use up ripening saba bananas and turn them into something special. Street vendors traditionally prepare it by dipping banana slices in a simple batter made from flour, eggs, and milk, then deep-frying them until golden brown. Some vendors create the classic fan-shaped version called "pinaypay," where the banana is sliced like a fan before frying, while others prefer cutting the bananas into chunks or mashing them into the batter.
Today, you'll find different versions of Maruya across the country. In some regions, vendors dust it with white sugar while still hot, while others serve it plain. In Mindanao, some add a pinch of cinnamon to the sugar coating, showing how this humble snack adapts to local tastes. Whether enjoyed with hot coffee, paired with ginger tea (salabat), or eaten on its own, Maruya continues to be a cherished part of Filipino food culture.
This modern baked version offers a healthier take on the classic street food, making it possible to enjoy this beloved snack at home without the mess of deep-frying. While the cooking method may be different, it still captures the essence of what makes Maruya special – the sweet, caramelized bananas and crispy exterior that generations of Filipinos have loved.
Comments
No Comments