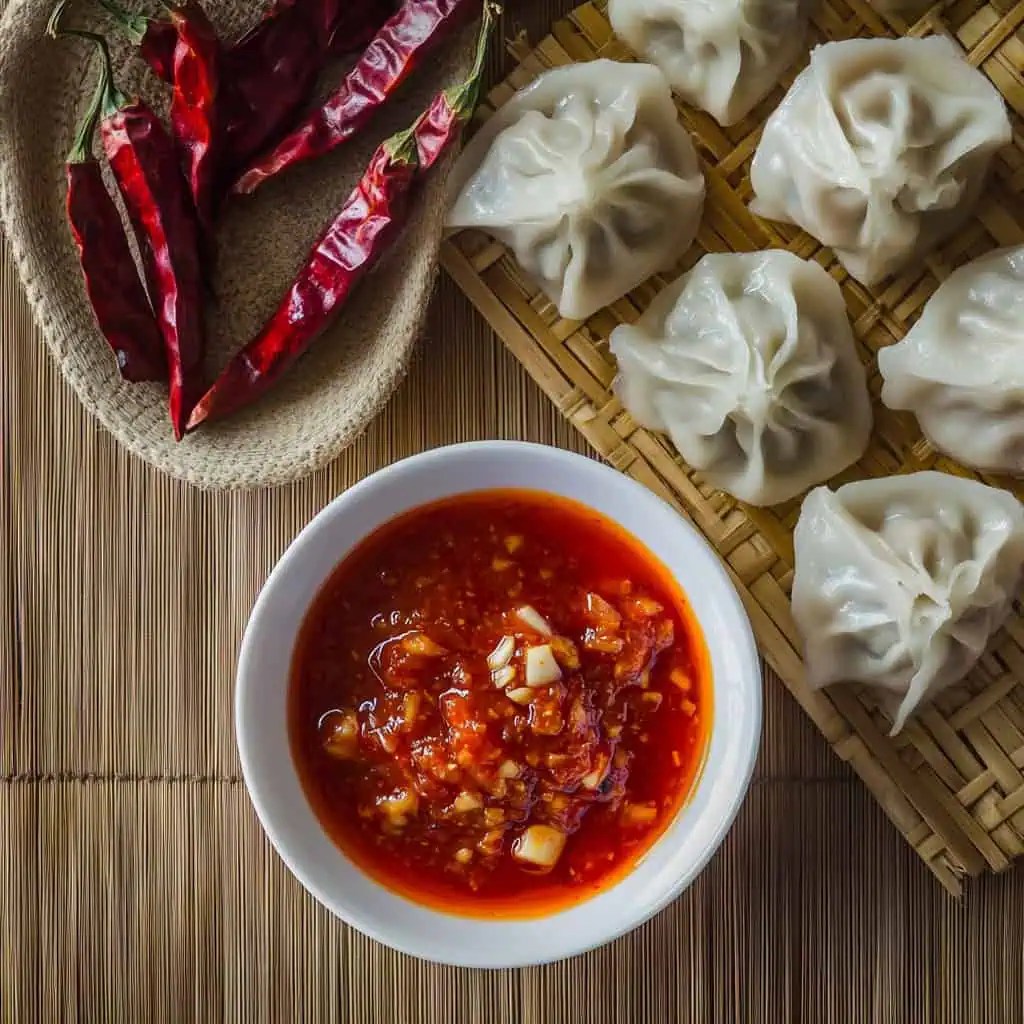
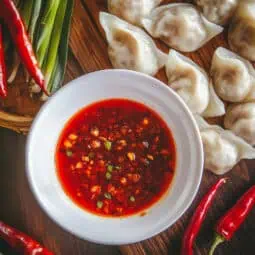
Siomai has always been my go-to merienda. I really love those steaming hot dumplings paired with the perfect spicy sauce that makes any afternoon complete.
After years of finding myself always bitin with the tiny packets of sauce from fast foods and constantly buying expensive bottled versions from the grocery, I finally perfected this homemade siomai sauce recipe that brings back memories of busy streets and food court favorites.
This recipe is exactly how we Filipinos love our siomai sauce: deeply garlicky, perfectly spicy, and without tomatoes (unlike other Asian versions).
Trust me, once you make this sauce at home, you'll never go back to store-bought versions again, plus it's super tipid since you can make a big batch that lasts for months.
Jump to:
Why You'll Love This Recipe
- Authentic Filipino-style recipe without tomatoes
- Perfect balance of spice and garlic
- Versatile condiment for various dishes
- Great for home use or small business
- Long shelf life
- Customizable spice level
- Cost-effective homemade version
Ingredients
This siomai sauce combines bird's eye chilies and garlic as its foundation because they create the authentic Filipino flavor profile that balances intense heat with aromatic depth. Unlike other Asian chili sauces, we purposely omit tomatoes to maintain the pure, traditional taste Filipinos prefer.
The oil not only helps extract flavors but also acts as a natural preservative, giving the sauce its characteristic red hue and longer shelf life. Dried shrimp adds umami complexity, while the careful balance of salt, pepper, and sugar enhances the overall flavor without overpowering the chilies and garlic.
Each ingredient serves a specific purpose in creating that distinctively Filipino condiment that perfectly complements dumplings and other dishes.
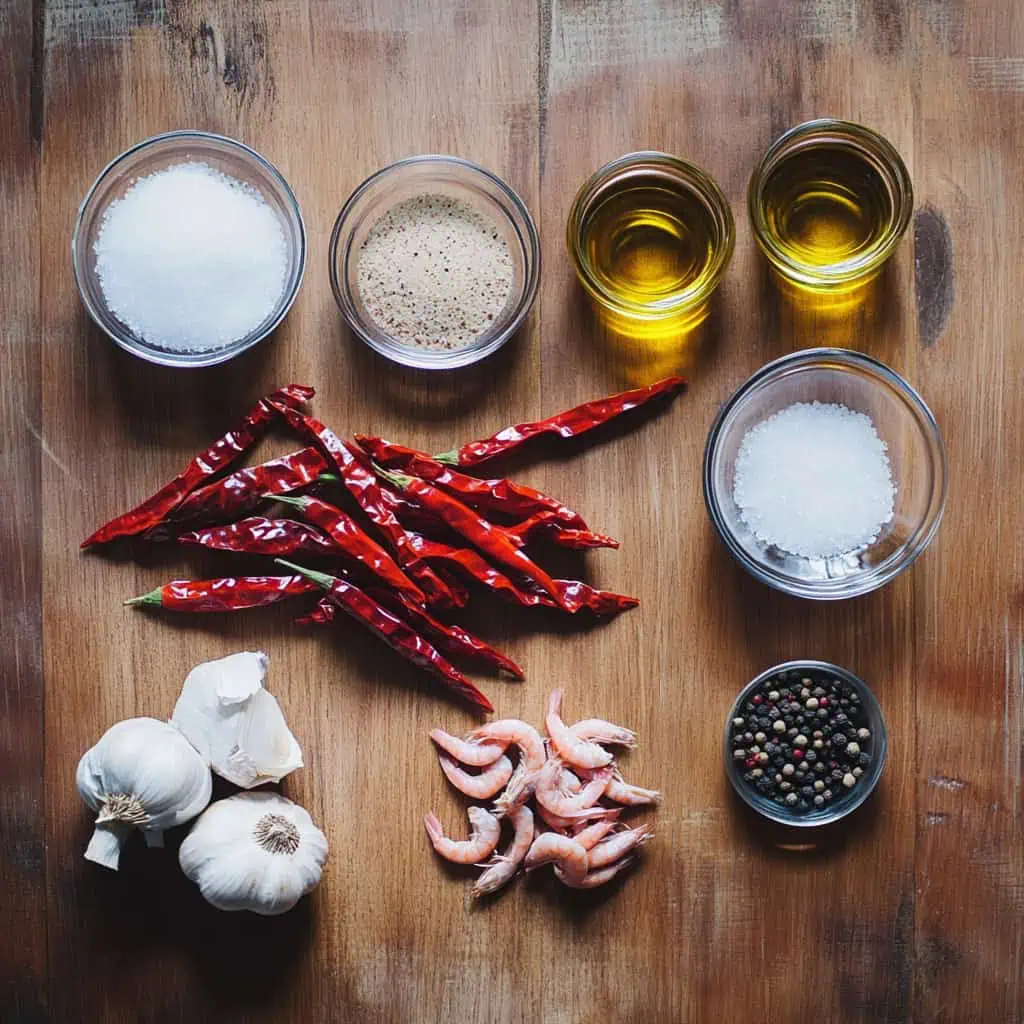
- 250g siling labuyo (Thai bird's eye chilies)
- 3 whole heads garlic, peeled and minced (approximately 30-36 cloves)
- 1 cup olive oil or cooking oil
- 2 tablespoons dried shrimp (hibe) or finely chopped meat (optional)
- 1 teaspoon salt
- ½ teaspoon ground black pepper
- 1-2 teaspoons sugar to balance heat
Equipment Needed
- Blender or food processor - Essential for grinding the chilies into a paste with the right consistency. A good blender will ensure your sauce has the perfect texture without chunks.
- Heavy-bottom pan or kawali - Provides even heat distribution, preventing hot spots that could burn your garlic or chilies.
- Wooden spoon or heat-resistant spatula - For stirring the sauce as it cooks without scratching your cookware.
- Sterilized glass jars with airtight lids - Critical for proper storage and preservation of your sauce.
- Face mask - Protects you from the strong, potentially irritating chili fumes during preparation.
- Rubber gloves - Shields your hands from chili oils that can cause burning sensations.
- Measuring cups and spoons - For precise ingredient measurements.
- Fine mesh strainer - Optional, use only if you prefer a smoother sauce texture.
How To Make
- Prepare your equipment and ingredients: Begin by sterilizing your glass jars in boiling water for 10 minutes to ensure food safety. While the jars are sterilizing, clean your bird's eye chilies and remove their stems. Peel and mince 3 whole heads of garlic. For safety, put on your protective mask and gloves as the chilies can release strong fumes during processing.
- Create the chili paste: Place the cleaned chilies in a blender with ½ cup of oil. Blend until you achieve a coarse paste texture. Set this mixture aside.
- Toast the garlic: Heat the remaining oil in a heavy-bottomed pan over medium heat. Add all the minced garlic and stir continuously until it turns golden brown and fragrant (about 3-5 minutes). Watch carefully to prevent burning the garlic as this will make the sauce bitter.
- Combine and simmer: Lower the heat to low and carefully add your chili paste mixture to the toasted garlic. If using dried shrimp, add it at this point. Allow the mixture to simmer for 20 minutes, stirring occasionally. During this time, add salt, pepper, and sugar to balance the flavors. Continue cooking until you see the oil separate from the solids and turn a deep red color (20-25 minutes total cooking time).
- Cool and store: Remove from heat and let the sauce cool completely to room temperature. Transfer the cooled sauce to your sterilized jars, leaving ½ inch of space at the top. Seal the jars tightly. For best results, refrigerate and consume within 3 months, always using a clean, dry spoon when serving.

Tips from Lola's Kitchen
- Select the right chilies: Use mature, bright red chilies for the best color and most intense flavor.
- Garlic golden rule: Toast garlic on medium-low heat for better control - golden brown is perfect, dark brown means it's burnt.
- Watch for the oil separation: When the oil turns red and floats to the top, your sauce is ready.
- Ventilation is key: Always open windows while cooking to avoid overwhelming chili fumes in your kitchen.
- Safety first: Never process hot sauce in a blender - the steam can cause pressure buildup and accidents.
- Test as you go: If you're unsure about spiciness, start with fewer chilies and adjust to taste.
- Oil preservation: The layer of oil that forms on top actually helps preserve your sauce longer.
- Steady temperature: Maintain a consistent low heat during the simmering process for the best flavor development.
Substitutions
- Chilies: If siling labuyo is too spicy, substitute with regular red chilies for a milder version. Remove seeds for even less heat.
- Oil: Olive oil can be replaced with any neutral cooking oil like vegetable, canola, or even coconut oil for a different flavor profile.
- Garlic: In a pinch, substitute fresh garlic with garlic powder (use about 1 tablespoon per head of fresh garlic).
- Dried shrimp: Ground pork or chicken can be used instead. Vegetarians can omit this entirely.
- Sugar: Honey or palm sugar can replace white sugar for a more complex sweetness.
Troubleshooting
- Sauce too watery? Continue cooking on low heat until excess moisture evaporates. The sauce should have a slightly thick consistency.
- Too spicy? Add more oil and garlic to dilute the heat, or incorporate an extra teaspoon of sugar to balance the spiciness.
- Bitter taste? This usually means the garlic was burned. Unfortunately, it's best to start over as the bitterness won't go away.
- Oil separation? This is normal and actually helps preserve your sauce. Simply stir before using.
- Sauce darkened over time? This is natural oxidation and doesn't affect flavor or safety as long as the sauce was properly stored.
- Mold forming? Always ensure your jar and utensils are completely sterilized and dry before storage, and never introduce water into the sauce.
Storage & Reheating
- Refrigeration: Store in the refrigerator for up to 3 months when kept in properly sterilized jars.
- Jar maintenance: Keep jars tightly sealed when not in use to prevent contamination.
- Serving etiquette: Always use a clean, dry spoon to prevent introducing bacteria.
- Room temperature serving: No reheating needed - the sauce is best served at room temperature.
- Before use: Let refrigerated sauce sit at room temperature for 10 minutes before serving for the best flavor.
- Long-term storage: For longer preservation, you can freeze portions in ice cube trays, then transfer to freezer bags.
FAQ
How long does homemade siomai sauce last?
When stored in properly sterilized jars in the refrigerator, it can last up to 3 months. The oil layer on top acts as a natural preservative.
Can I reduce the spiciness for children or those who prefer milder food?
Absolutely! Reduce the amount of chilies by half or remove the seeds (where most of the heat resides) before blending.
Why is my homemade sauce darker than commercial versions?
Homemade versions are naturally darker due to caramelization during the cooking process. Commercial versions often contain additives to maintain a brighter color.
Can I use a mortar and pestle instead of a blender?
Yes, though it requires more effort and time. The traditional method can actually produce more complex flavors but ensures your mortar is large enough to handle the volume.
Is it normal for the oil to separate in the sauce?
Yes, this is completely normal and actually helps preserve the sauce. Simply stir before using to reincorporate the oil.
Can I use this sauce for other dishes besides siomai?
Definitely! This versatile sauce complements noodle dishes, rice meals, dumplings, grilled meats, and can even be used as a marinade base.
How can I tell if my sauce has gone bad?
Look for any signs of mold, unusual smell, or significant color changes. Always trust your senses - if it looks or smells off, it's safer to discard it.
Can I process this sauce for longer shelf life (canning)?
Yes, with proper canning techniques using a water bath or pressure canner, you can extend shelf life up to a year. Research proper canning procedures for acidic foods.
Related
Looking for other recipes like this? Try these:


Authentic Filipino-Style Siomai Sauce (Chili Garlic Sauce)
Equipment
- Blender or food processor (para sa paggigilig ng sili / for grinding chilies)
- Heavy-bottom pan or kawali (for even heat distribution)
- Wooden spoon or spatula (panghalo / for stirring)
- Sterilized glass jars with airtight lids (para sa storage / for storage)
- Face mask (proteksyon sa usok ng sili / protection from chili fumes)
- Rubber gloves (proteksyon sa kamay / hand protection)
- Measuring cups and spoons
- Fine mesh strainer (optional, for smoother texture)
Ingredients
Main Ingredients:
- 250 g siling labuyo Thai bird's eye chilies
- 3 whole heads garlic peeled and minced (approximately 30-36 cloves)
- 1 cup olive oil or cooking oil
- 2 tablespoons dried shrimp hibe or finely chopped meat (optional)
- Salt pepper, and sugar to taste
Recommended Seasoning Measurements:
- 1 teaspoon salt
- ½ teaspoon ground black pepper
- 1-2 teaspoons sugar to balance heat
Instructions
- Begin by sterilizing your glass jars (garapon) in boiling water (100°C/212°F) for 10 minutes to ensure food safety. While the jars are sterilizing, clean your bird's eye chilies (siling labuyo) and remove their stems. Peel and mince 3 whole heads of garlic (bawang). For safety, put on your protective mask and gloves as the chilies can release strong fumes during processing.
- Create the chili paste by placing the cleaned chilies in a blender with ½ cup of oil. Blend until you achieve a coarse paste texture. Set this mixture aside. Heat the remaining oil in a heavy-bottomed pan over medium heat (katamtamang init - 175°C/350°F). Add all the minced garlic and stir continuously until it turns golden brown and fragrant (about 3-5 minutes). Watch carefully to prevent burning the garlic as this will make the sauce bitter.
- Lower the heat to low (mababang init - 120°C/250°F) and carefully add your chili paste mixture to the toasted garlic. If using dried shrimp (hibe), add it at this point. Allow the mixture to simmer for 20 minutes, stirring occasionally (paminsan-minsang haluin). During this time, add 1 teaspoon salt (asin), ½ teaspoon ground black pepper (paminta), and 1-2 teaspoons sugar (asukal) to balance the flavors. Continue cooking until you see the oil separate from the solids and turn a deep red color (20-25 minutes total cooking time).
- Remove from heat and let the sauce cool completely to room temperature. Transfer the cooled sauce to your sterilized jars, leaving ½ inch of space at the top. Seal the jars tightly (mahigpit na isara). For best results, refrigerate and consume within 3 months, always using a clean, dry spoon when serving.
Tips from Lola's Kitchen
- Use mature, red chilies for best color and flavor
- Toast garlic on medium-low heat for better control
- When oil turns red and floats to top, sauce is ready
- Open windows while cooking to ventilate
- Never process hot sauce in blender - let it cool first
- Test spiciness by starting with fewer chilies
Nutrition
The Story Behind Filipino-Style Siomai Sauce
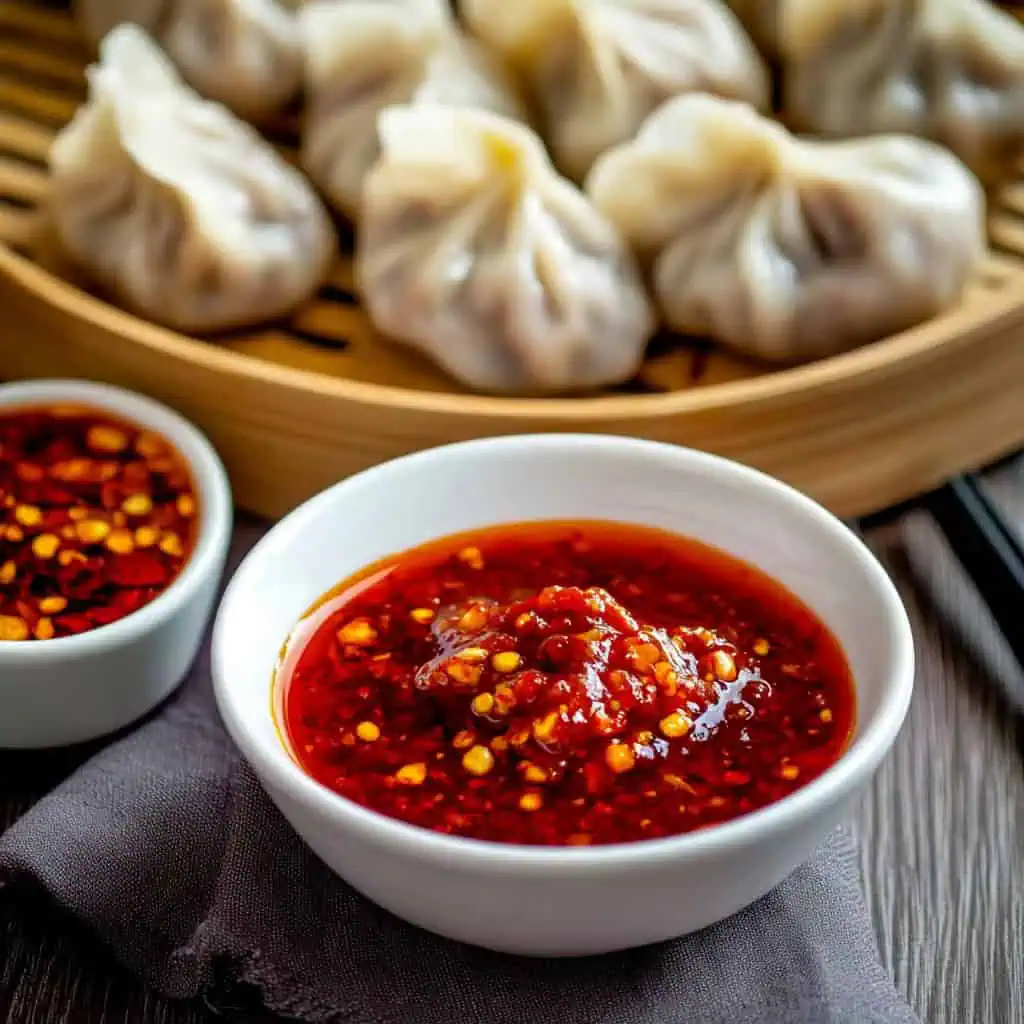
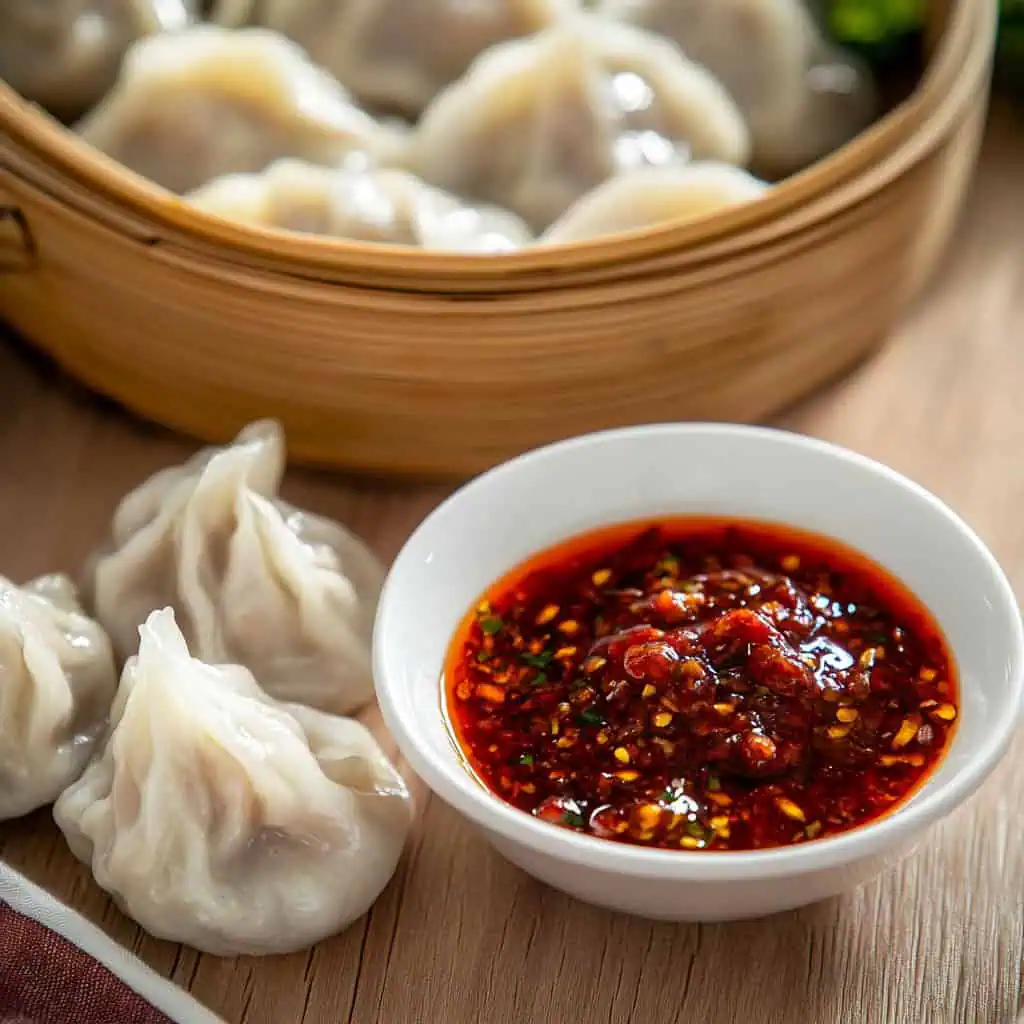
While siomai (Filipino-style shumai) traveled from China to become a beloved Filipino street food, our signature spicy siomai sauce tells a different story. This distinctly Filipino condiment evolved from Southeast Asian chili garlic sauces but took its own unique path in Philippine kitchens, where home cooks and street vendors crafted it without tomatoes – unlike its Thai and Chinese counterparts.
In the bustling streets of Metro Manila, from Binondo's authentic Chinese restaurants to humble street carts in Divisoria, siomai vendors began customizing their chili garlic sauce to match Filipino taste preferences. The sauce became spicier, more garlicky, and developed that signature deep red oil that Filipinos associate with quality siomai sauce. Street food vendors would keep their special sauce recipes secret, with each stall claiming to have the best version.
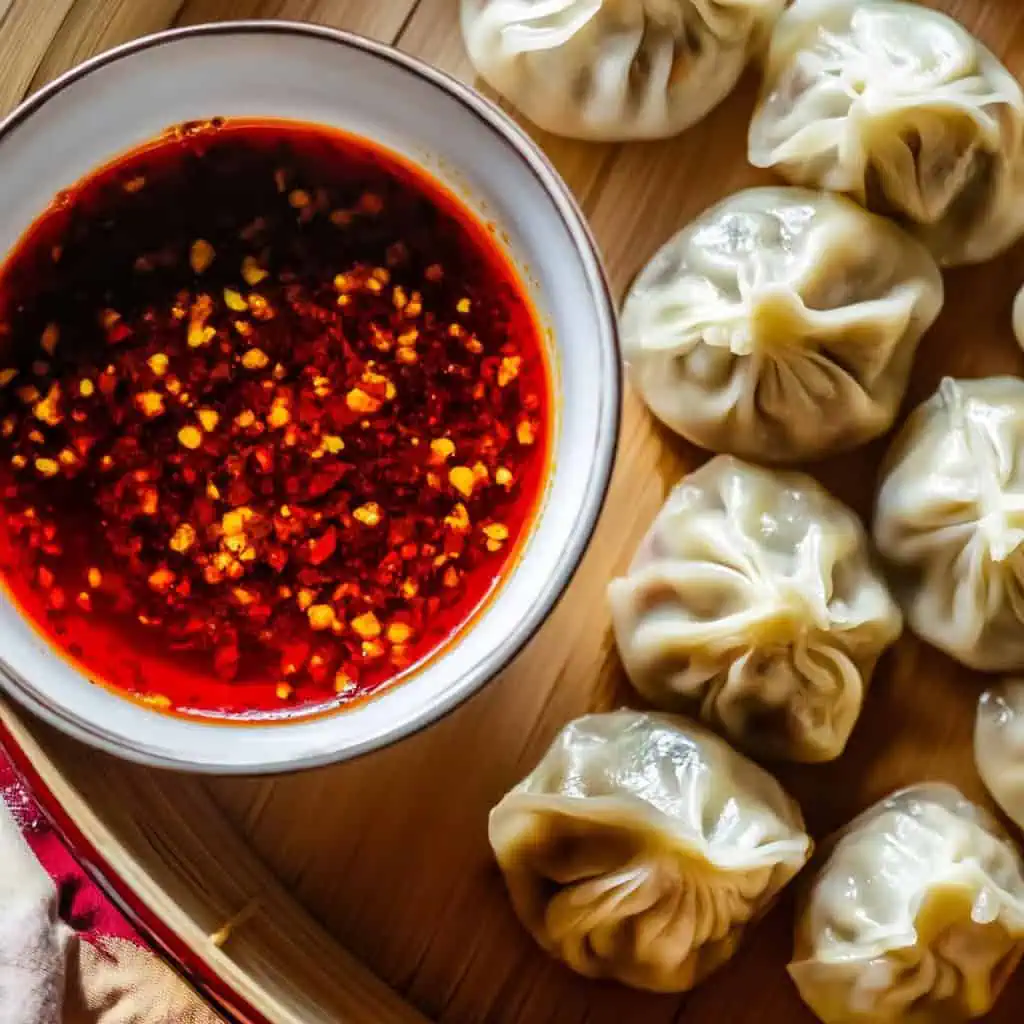
Today, this sauce has become so integral to Filipino food culture that it's not just for siomai anymore. You'll find it in Filipino homes as an all-around condiment for noodles, dimsum, and even as a spicy kick for traditional Filipino dishes. The sauce's popularity has also sparked numerous small businesses, with home cooks bottling their versions for sale in local markets and online shops.
What makes Filipino-style siomai sauce special is its simplicity – just chilies, garlic, oil, and sometimes dried shrimp (hibe). This minimalist approach allows each ingredient to shine through, creating that beloved spicy-savory flavor that's become a hallmark of Filipino street food culture. Whether you're enjoying it with siomai, lugaw, or pancit, this sauce adds that distinctly Pinoy touch that transforms any dish into a memorable meal.
Comments
No Comments